We often use textures while working with web backgrounds, textures for 3d, etc. But many of them have a common problem. When you fill an area with the pattern, seams may appear.
I'll give you the example. Create in Photoshop a new document 100x100px. Select any brush (B) and draw something.

Now using this painting define a pattern (Edit>Define Pattern...) and name it "texture". Now go to Image>Canvas size and set the new size for 400x400px. Fill the space using your pattern (Edit>Fill...)

You'll get something like this:
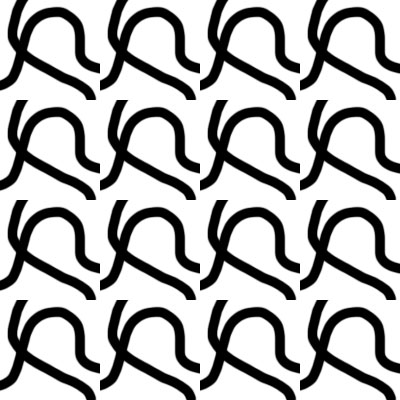
As you can see, it looks like many separate same images, but not solid.
This problem may be solved using the Offset filter. It cuts the image into parts and then combines the opposite sides which make external boundaries for the image.
So go to Image>Canvas size again and make it 100x100px again. Fill the space using your pattern (Edit>Fill...).
Now apply Offset filter (Filter>Other>Offset) with the following settings:
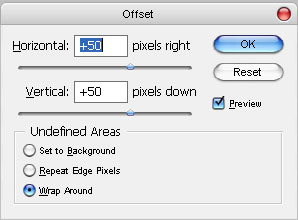
Horizontal and Vertical pixel movement should be half less than the full image size. Undefined Areas must always be "Wrap Around". You should get something like this:

All you have to do now is to connect the ends of the broken lines in the center using the same brush. So select Brush tool (B) and connect the lines. Be careful with the boundaries - don't touch anything there.

Now apply the Offset filter again (Ctrl+T)

and define the new pattern using this new image (Edit>Define Pattern...).
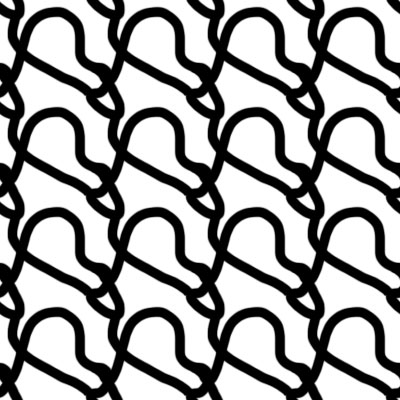
Now enlarge the canvas again to size 400x400 px (Image>Canvas Size...) and fill it using the new pattern (Edit>Fill...). You should get something like this:
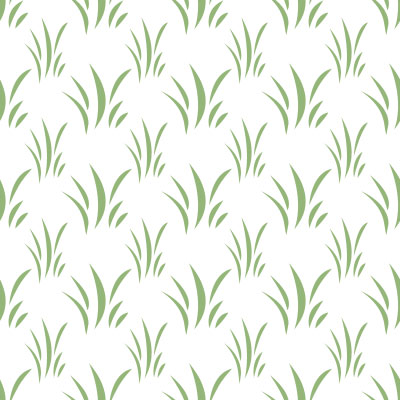
Using this simple technique you may create or edit various textures.
Here is one more example: