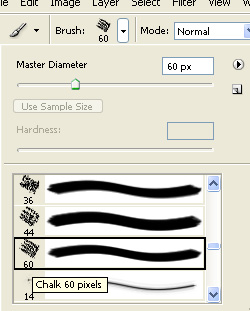
Start by select brush tool. Enable the default chalk 60 pixels brush settings.
Apply some strokes of this brush in a new layer.

Change brush mode to vivid light.
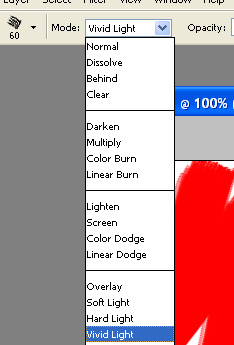
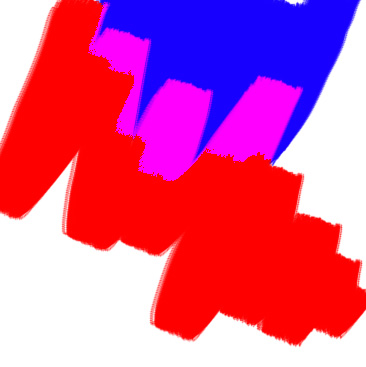
Apply the strokes with different colors.
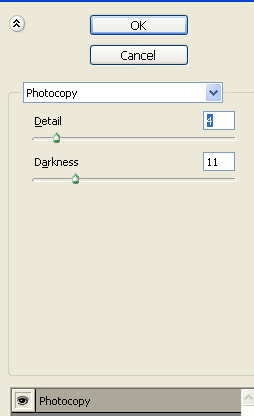
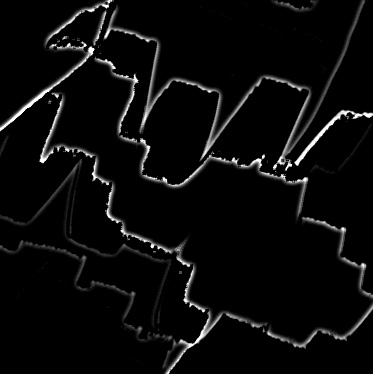
From filter menu select sketch>>photocopy.
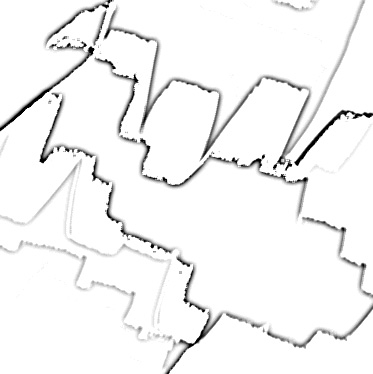
Press Ctrl+I to invert the colors.
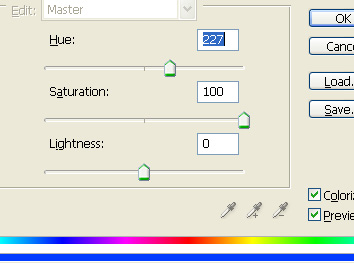
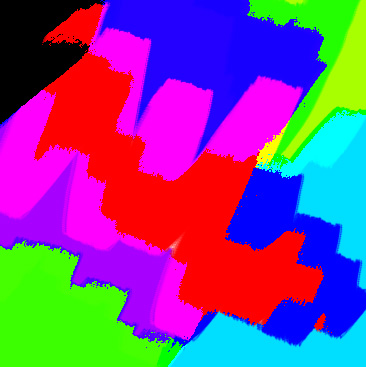
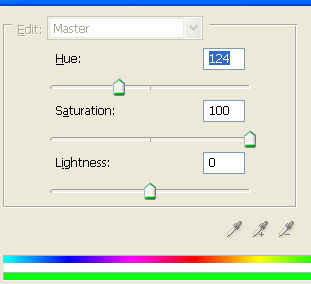
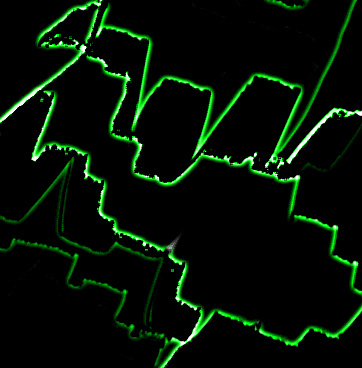
Press Ctrl+U to open hue/saturation window. Apply settings as shown.
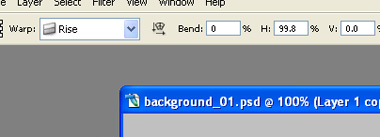
Press Ctrl+T. Right click the layer and select warp. Select rise from the preset warp styles at the top bar.
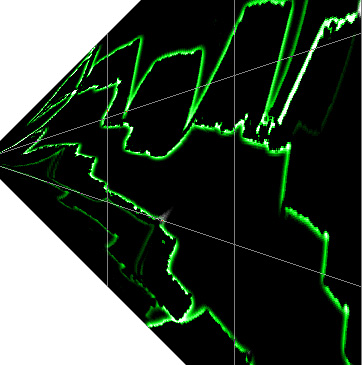
Press Ctrl+T and scale down.
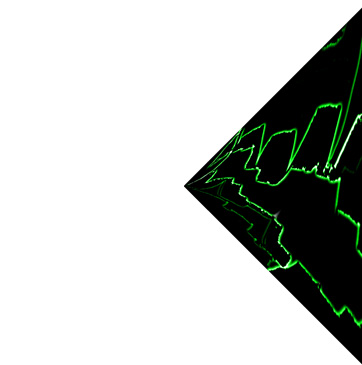
Duplicate layer. Press Ctrl+T. Right click the layer and select flip horizontal. Place as shown in the image.
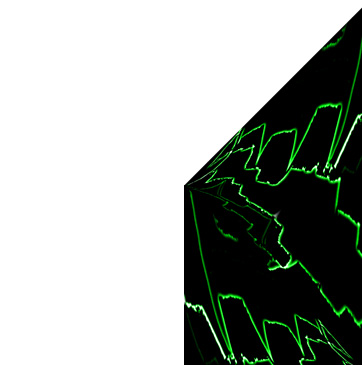
Duplicate layer. Press Ctrl+T. Right click the layer and select flip vertical. Place as shown in the image.
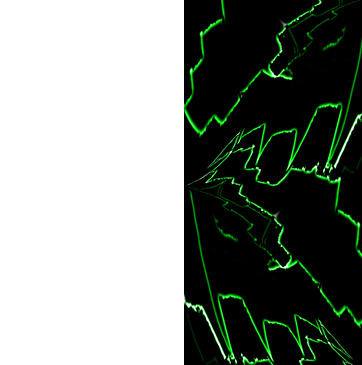
Select all the layer and duplicate the layers. Press Ctrl+T. Right click the layer and select flip horizontal.
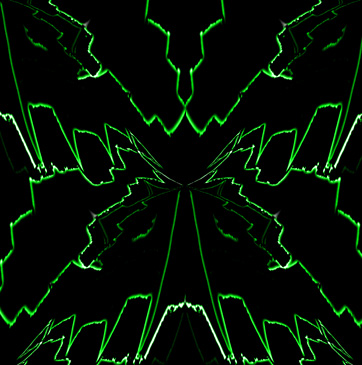
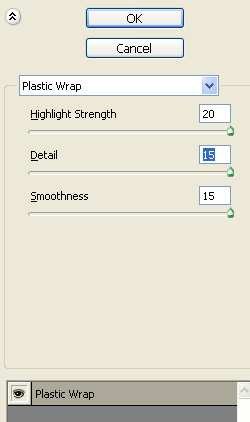
Select and merge all the layers. From filter menu select artistic>>plastic warp. Apply settings as shown.
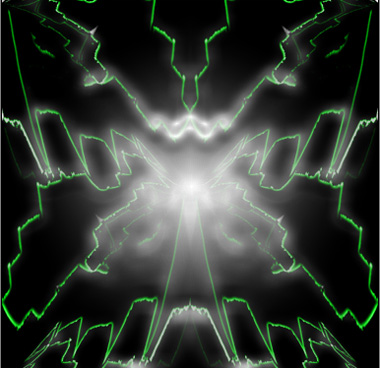
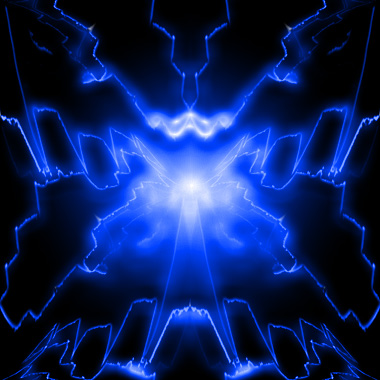
Press Ctrl+U to open hue/saturation window. Apply settings as shown.