Start by creating a new file of header size. Apply gradient to the background layer.

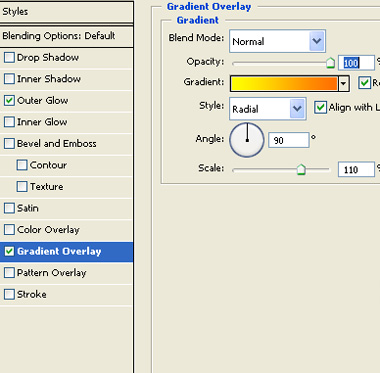
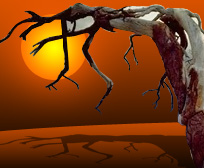
Create a big ellipse using elliptical shape tool. Double click the layer to open layer style window. Apply gradient layer style with the gradient shown.

Insert a cutout of a tree.

Duplicate layer. Enable lock transparent pixels from layer palette. Press Ctrl+T. Right click the layer and select distort. Fill it with black color. Adjust nodes to create a perspective shadow.

Reduce the opacity to 50%.

Create a circle using elliptical shape tool. Move this layer below all the layers in layer order in layer palette.

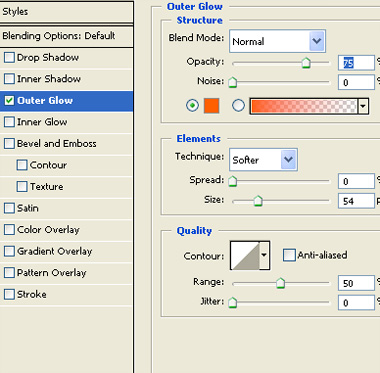
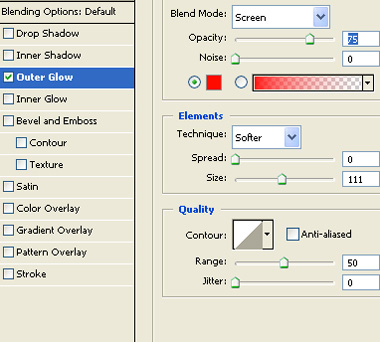
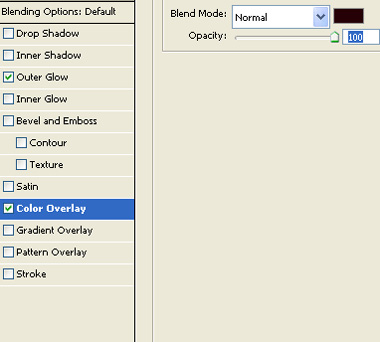
Double click the layer to open layer style window. Apply layer style with the settings shown.
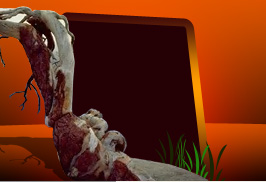
Create a rounded rectangle using rounded rectangle shape tool. Press Ctrl+T. Right click the layer and select distort. Adjust nodes to get the shape as shown.
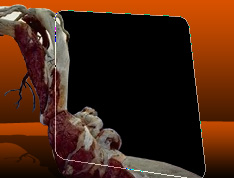
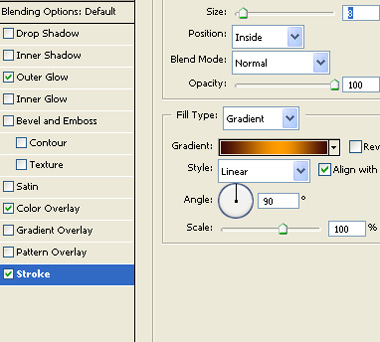
Double click the layer to open layer style window. Apply layer style with the settings shown.

Create some grass using custom shape tool.
Type link names inside the rounded rectangle.

Insert gallery logo on the right side of the header.

Create perspective shadow of the logo as we did previously.