

Start by creating a new file of the header size. Create a shape as shown using pen tool.

Enable subtract form shape area form the top bar.

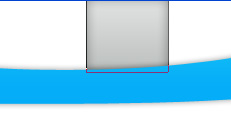
Create an ellipse using elliptical shape tool.

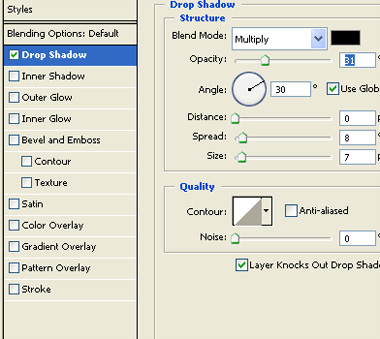
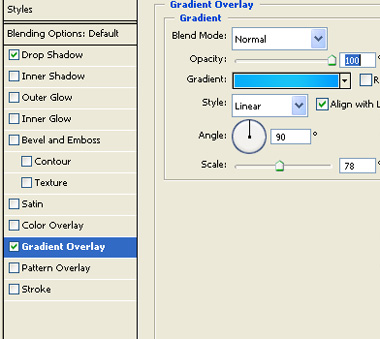
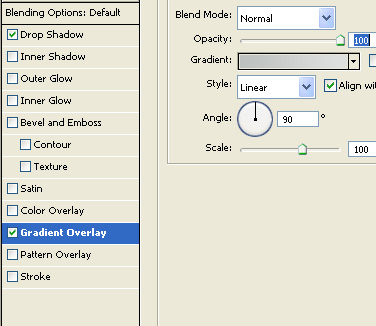
Double click the layer to open layer style window. Apply layer style with the settings shown.

Create a rectangle using rectangular shape tool.

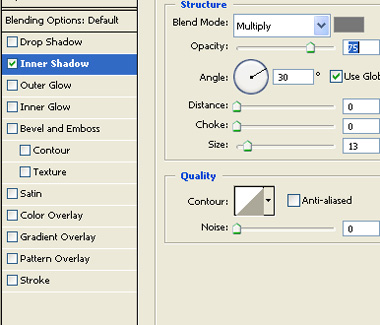
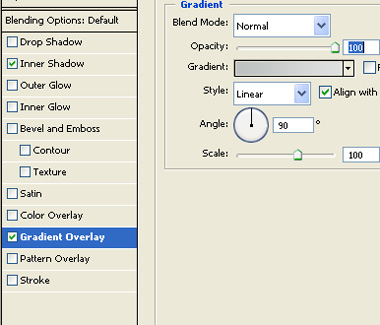
Double click the layer to open layer style window. Apply layer style with the settings shown.
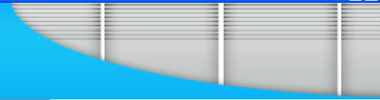
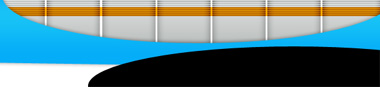
Duplicate the layer several times and place as shown.

Create some horizontal lines using line tool.

Change the layer mode to overlay.
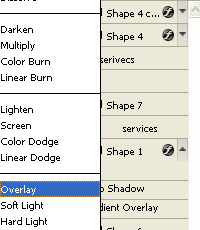
Create a rectangle using rectangular shape tool. Change the layer mode to overlay.
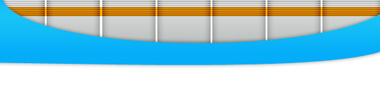
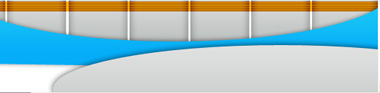
Create an ellipse using elliptical shape tool.
Double click the layer to open layer style window. Apply layer style with the settings shown.

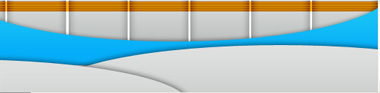
Duplicate the ellipse layer and place as shown.
Type link names over the button.

Insert company logo and place on the left of the header.
