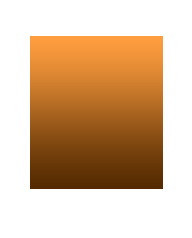
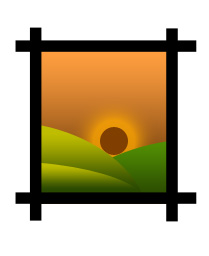
Start by creating a rectangle using rectangular shape tool.

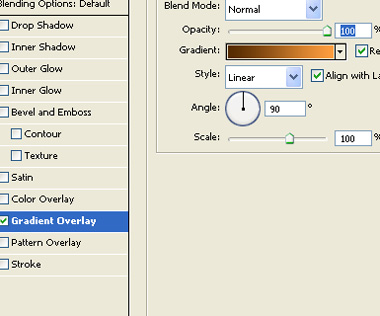
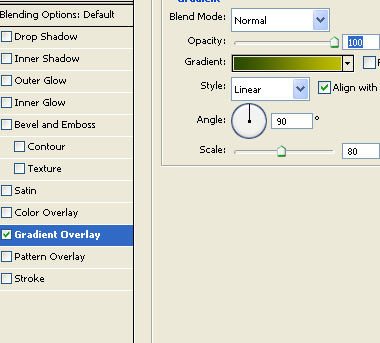
Double click the layer to open layer style window. Apply layer style with the settings shown.
Create some rectangles as shown in the image below.
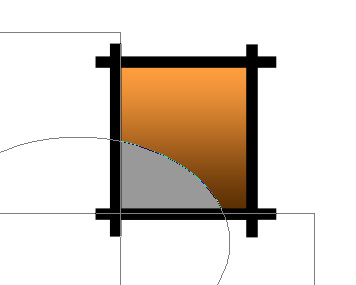
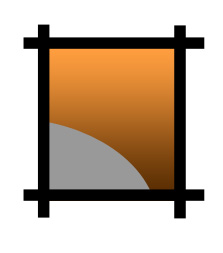
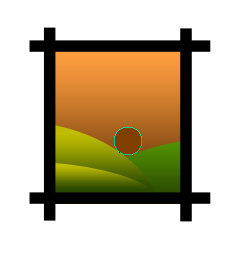
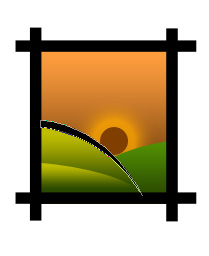
Create an ellipse using elliptical shape tool.
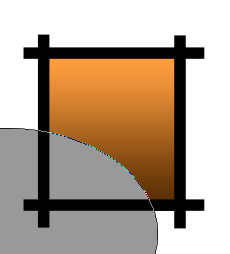
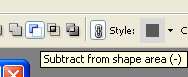
Enable subtract form shape area form the top bar.
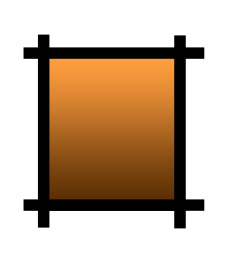
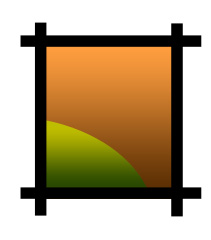
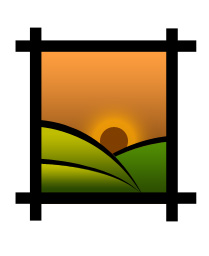
Create two rectangle using rectangular shape tool as shown.
Double click the layer to open layer style window. Apply layer style with the settings shown.
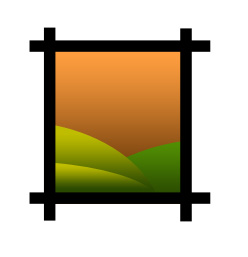
Similarly create other shapes to create a valley scene.
Create a circle for the sun using elliptical shape tool.
Double click the layer to open layer style window. Apply layer style with the settings shown.

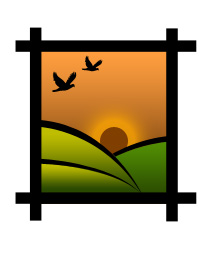
Create a few shapes as shown using pen tool. Fill with black color.
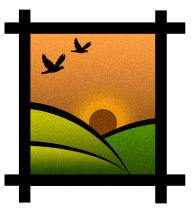
Create a few birds using custom shape tool. Fill with black color.
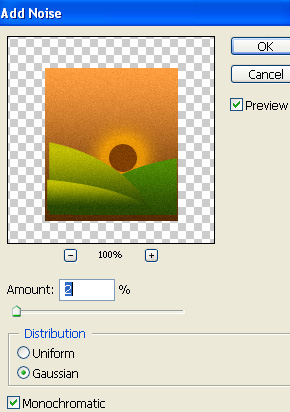
Except all the black layers select and merge other layers. From filter menu select noise>>add noise. Apply settings as shown.
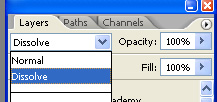
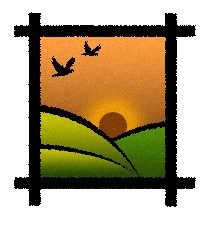
Select and merge all the black layers. Change the layer mode to dissolve.
Type the company name and place it below the scenery logo.