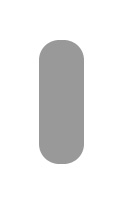
Create a rounded rectangle using rounded rectangle shape tool.
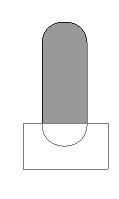
Enable subtract form shape area form the top bar. Create a rectangle using rectangular shape tool near the bottom of the rounded rectangle.
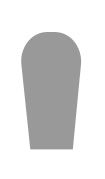
Press Ctrl+T. Right click the layer and select perspective. Adjust nodes to get the shape as shown.
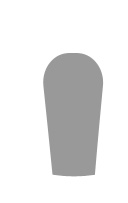
Press Ctrl+T. Right click the layer and select warp. Adjust nodes of the bottom side to get the curved shape as shown.
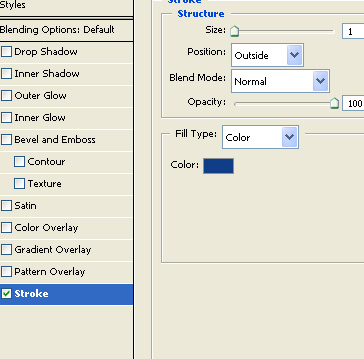
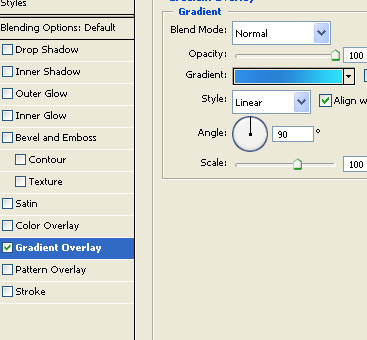
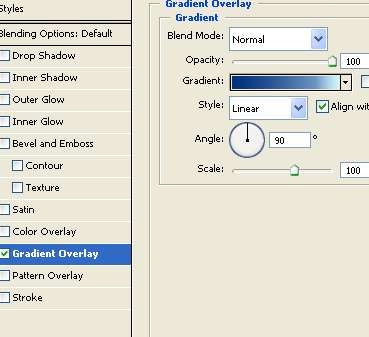
Double click the layer to open layer style window. Apply layer style with the settings shown.
Duplicate layer. Remove layer style. Enable subtract form shape area form the top bar. Create a shape as shown in the image below.

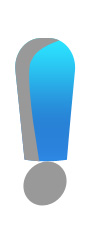
Create an ellipse using elliptical shape tool. Rotate a bit so that it looks like an exclamation sign.
Repeat above mentioned steps for circle layer too.
Double click the gray shape layer to open layer style window. Apply layer style with the settings shown.

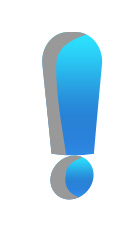
Using pen tool create thin shapes to add highlight to the icon.

Select the upper part layer of icon. Ctrl+Click the layer thumbnail to get the selection. Create a new layer. apply white to black gradient in this layer. repeat steps for circle too.
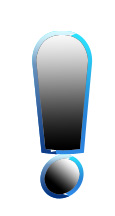
Change layer mode to screen.

Select eraser tool and using a feathered brush setting erase the left portion of this layer.

Select and merge all layers. Scale down to icon size. Double click the layer to open layer style window. Apply layer style with the settings shown.