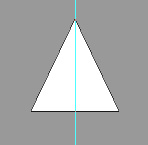
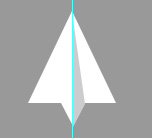
Start by creating a triangle using polygon shape tool.

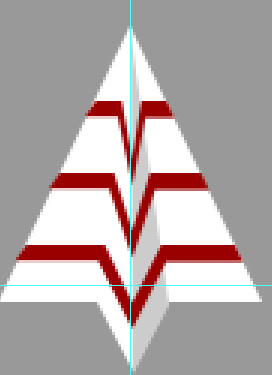
Press Ctrl+R to view rulers and create a guide at the center of the triangle.
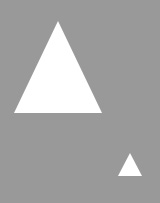
Create another small triangle.
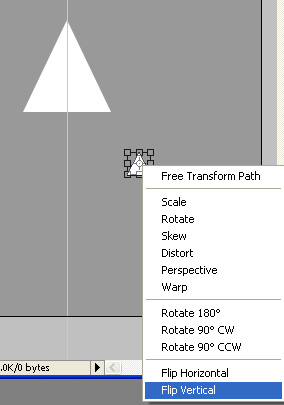
Press Ctrl+T. Right click the layer and select flip vertical.
Place this triangle as shown.
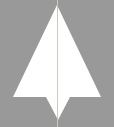
Using pen tool create a triangle shape connecting top of big and small triangle. Fill with a light gray color.
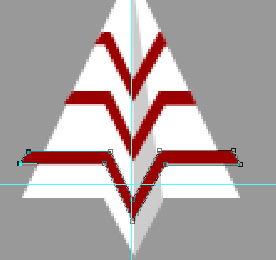
Using pen tool draw a shape as shown. Use any color of your choice.

Duplicate the layer twice.
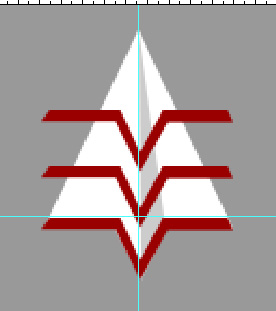
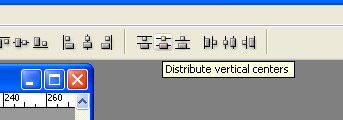
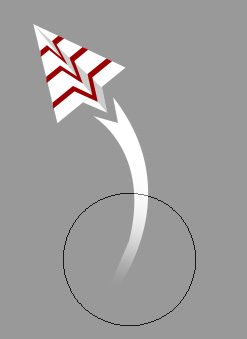
Select the three layers and enable distribute vertical centers from the top bar. place as shown below.
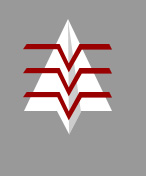
Adjust the nodes of the three layers using direct selection tool.
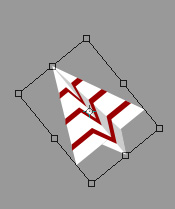
Press Ctrl+T and rotate it.
Using pen tool create a trail shape.
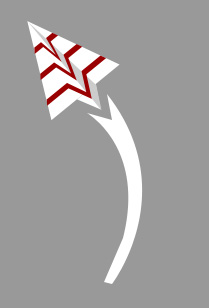
Right click and rasterize the layer. Select eraser tool with a big feathered brush and erase the bottom of the trail.
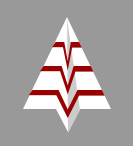
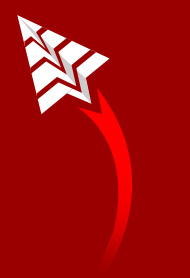
Fill background with a bright color.

Change the layer mode of trail layer to overlay.
Type company name using a nice font.