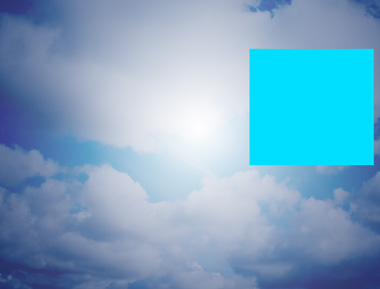
Start by applying a gradient in radial mode to the background.

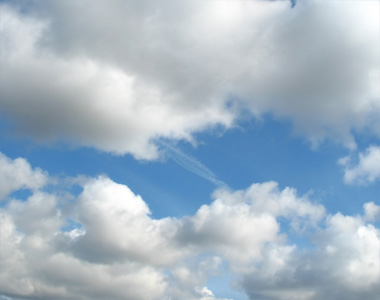
Insert a big size clouds image, big enough to cover the entire space of the file.
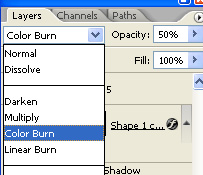
Change the layer mode to color burn and opacity to 50%.
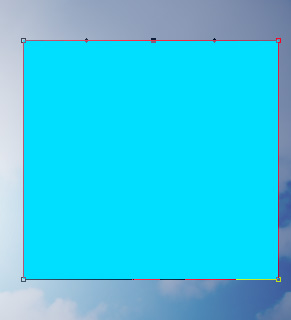
Create a rectangle using rectangular shape tool.
Select the rectangle using direct selection tool. Select add point tool and click on the top center of the rectangle.
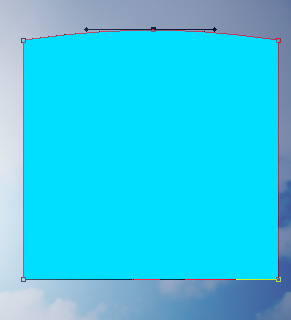
Drag the node upwards using direct selection tool.
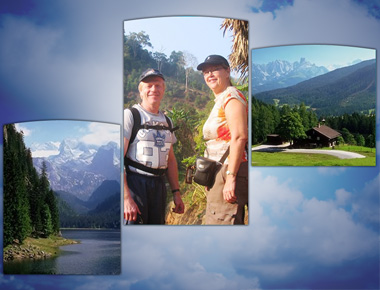
Insert a relevant image. Make sure this layer is above the rectangle layer.
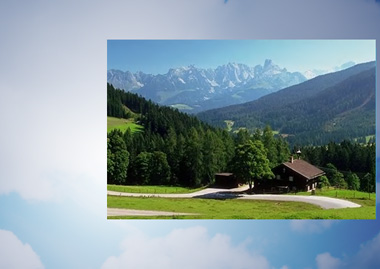
Press Ctrl+Alt+G to create a clipping mask.
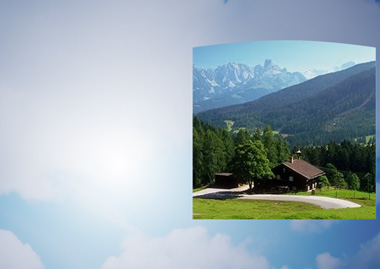
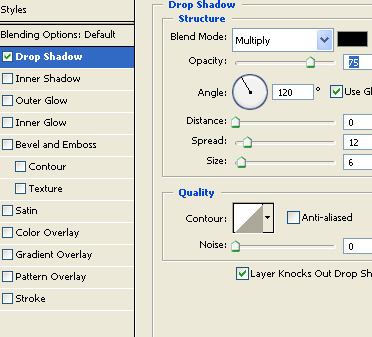
Select the shape layer we used as clipping mask. Double click the layer to open layer style window. Apply layer style with the settings shown.

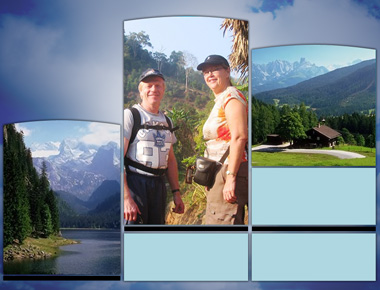
Similarly create more shape layers. Insert images and mask them with the shape layers. Apply same layer style to these.
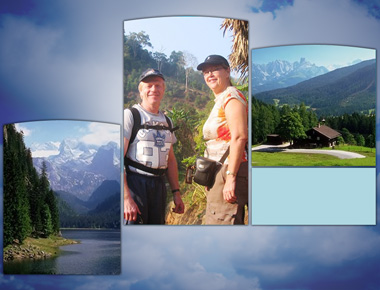
Create a few rectangles for content using rectangular shape tool. Apply the same layer style.
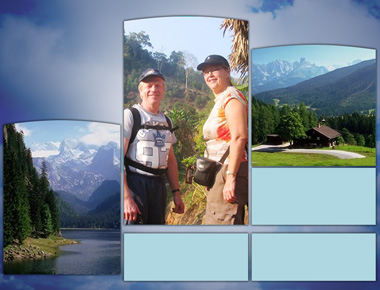
Create thin black color slits between the content rectangles.
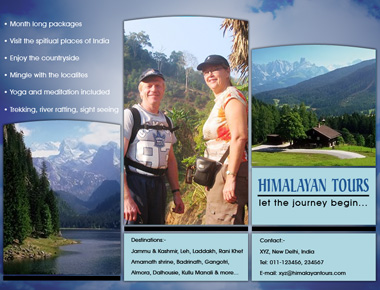
Insert company name along with punch line.
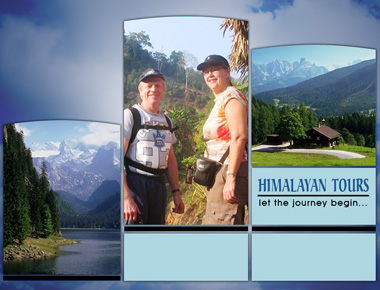
Type travel package highlights and other details suitably.