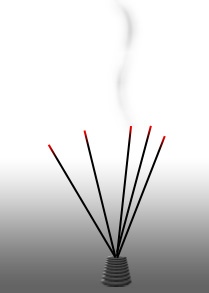
Start by applying a gradient to the background.

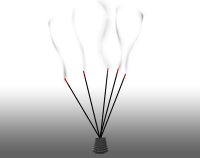
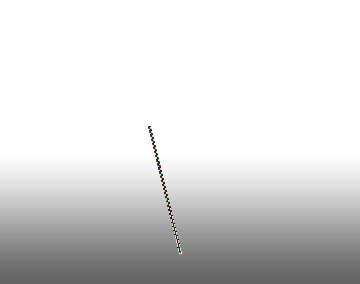
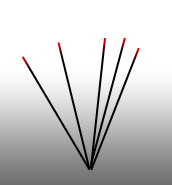
Create a 2 pixels tilted line using line tool.
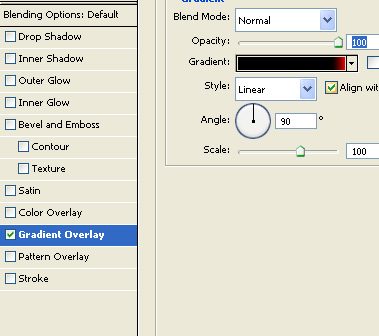
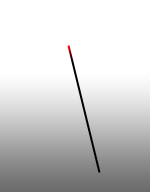
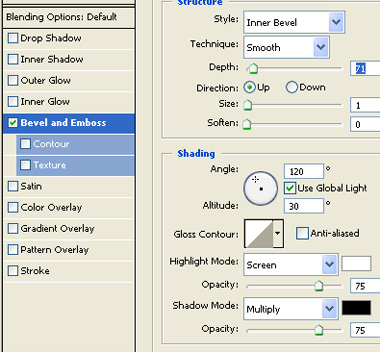
Double click the layer to open layer style window. Apply layer style with the settings shown.
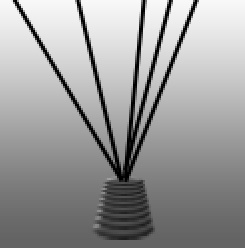
Create several duplicates of the line, rotate at different angles and place as shown.
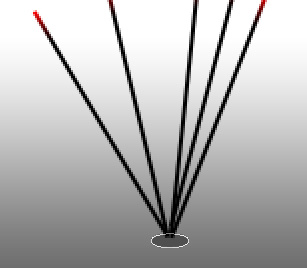
Create an ellipse using elliptical shape tool.
Double click the layer to open layer style window. Apply layer style with the settings shown.
Duplicate the layer several times and place below each other.
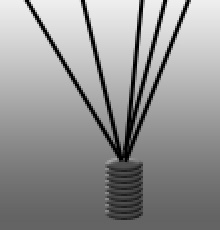
Select and merge all the ellipse layer. Press Ctrl+T. Right click the layer and select perspective. Adjust nodes to get the shape as shown.
Select a 4 pixels feathered brush and create a smoke shape.
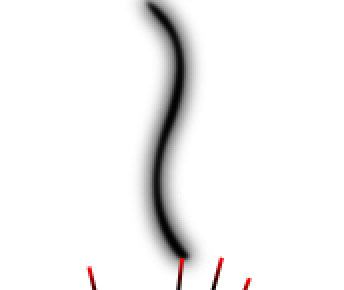
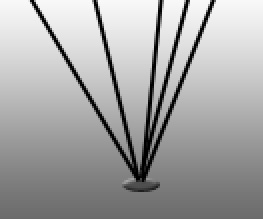
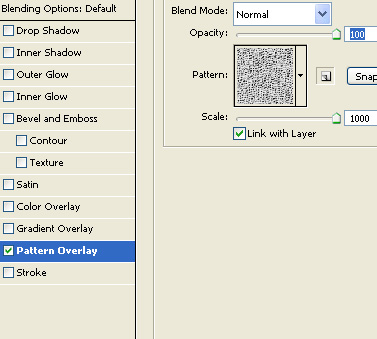
Double click the layer to open layer style window. Apply layer style with the settings shown.
Reduce the opacity to 50%.
![]()
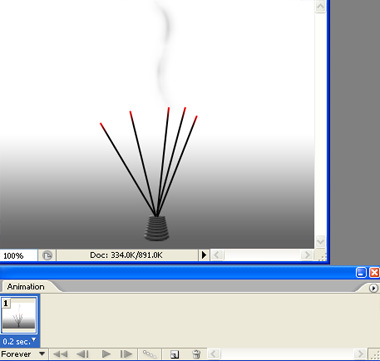
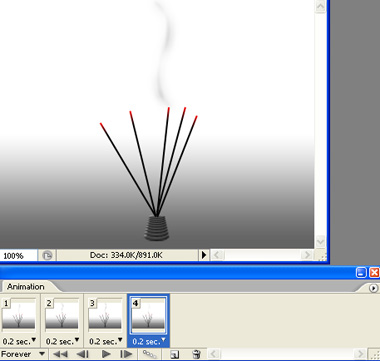
Open animation window. For the first frame keep the layers as shown in the image below.
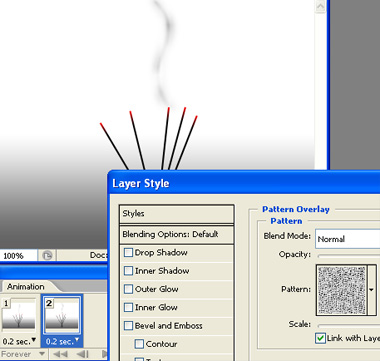
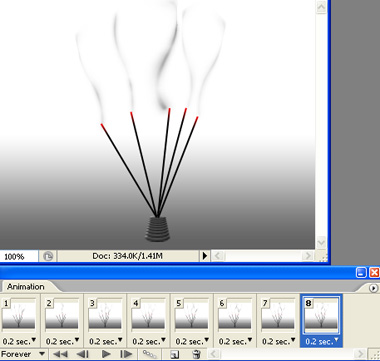
Duplicate frame. Select the smoke layer. Double click the layer to open layer style window. Open the pattern overlay panel. With this panel open drag the mouse on the smoke shape itself. This will move the pattern with in the smoke shape.
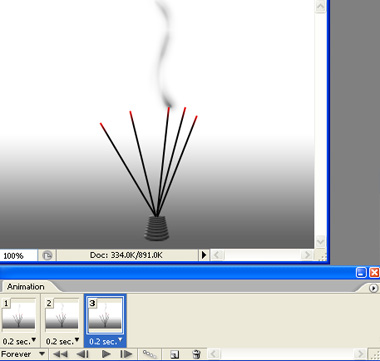
Duplicate frame and keep moving the pattern as explained above for these frames.

Similarly create smoke coming out from the other sticks.
Press Ctrl+Alt+Shift+S to save an optimized animated GIF.