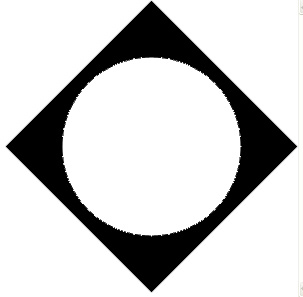
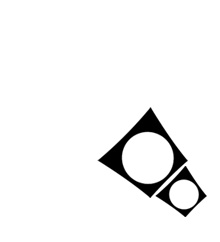
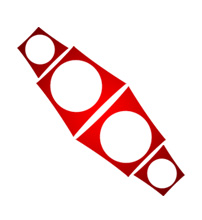
Start by creating a rectangle using rectangular shape tool. Rotate it 45°.
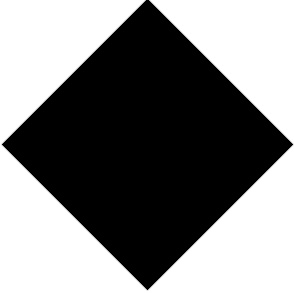
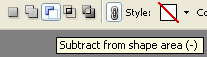
Enable subtract form shape area form the top bar.
Create a circle using elliptical shape tool.
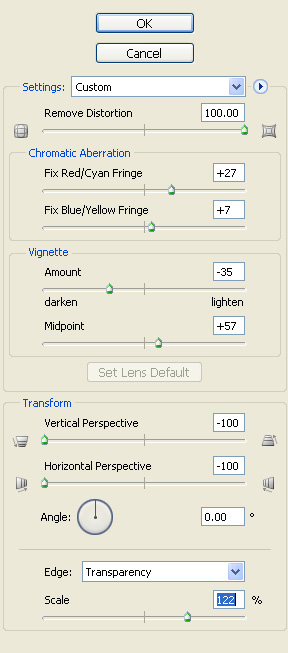
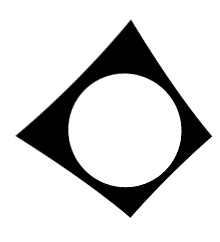
From filter menu select distort>>lens correction. Apply settings as shown.
Duplicate the layer and scale down. Place as shown.
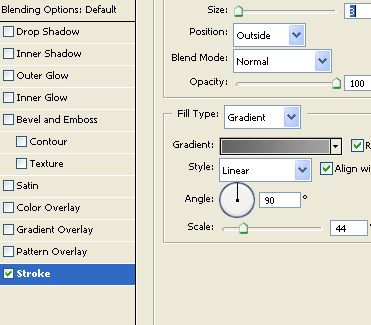
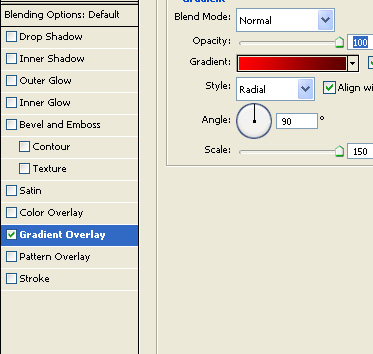
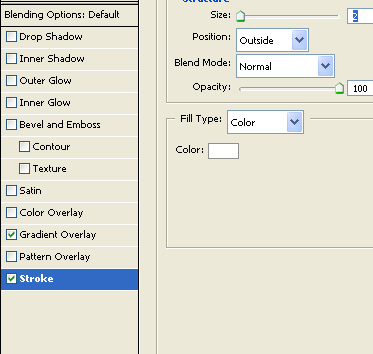
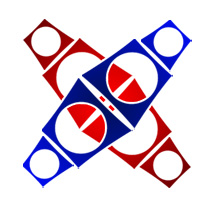
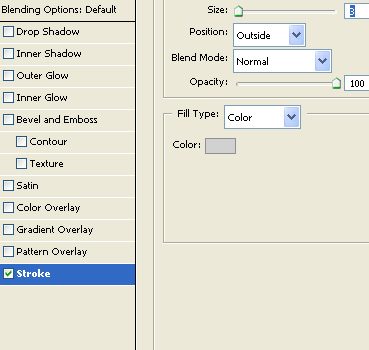
Select and merge all layers. Double click the layer to open layer style window. Apply layer style with the settings shown.
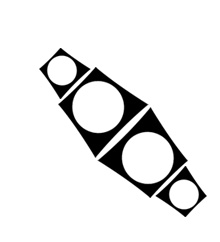
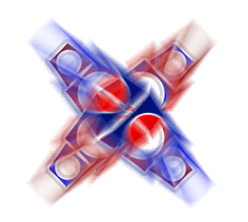
Duplicate layer. Press Ctrl+T. Right click the layer and select flip horizontal. Change the gradient overlay to blue shades.
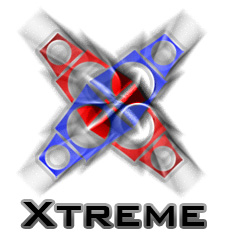
Select and merge both the layers. Double click the layer to open layer style window. Apply layer style with the settings shown.
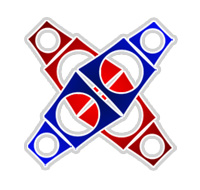
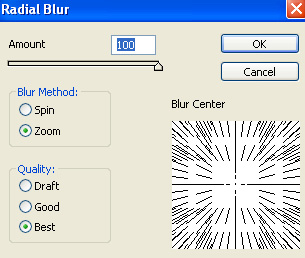
Duplicate the layer. From filter menu select blur>>radial blur. Apply settings as shown.
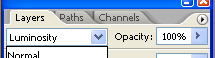
Change the layer mode to luminosity.
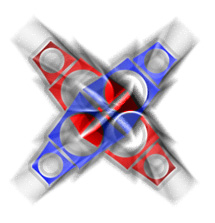
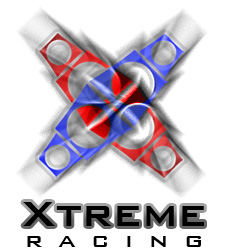
Type the company name below the logo.

Double click the layer to open layer style window. Apply layer style with the settings shown.