Start by creating a new file. Fill the background with the black color. Create a small rectangle using rectangular shape tool.
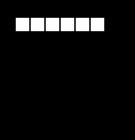
Duplicate the layer several times and place as shown in the image below.
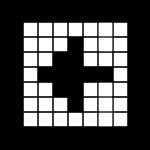
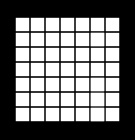
Select all the rectangle layers and duplicate them. Create some more duplicates and place as shown.
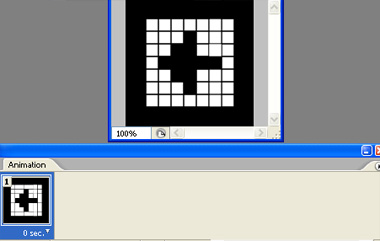
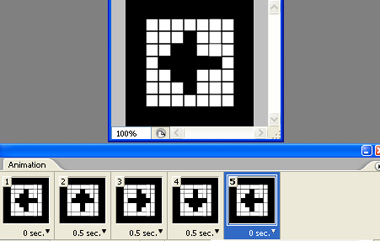
Open animation window. For the first frame hide the small squares to create left arrow shape. Follow along the images below to decide about the squares to hide.
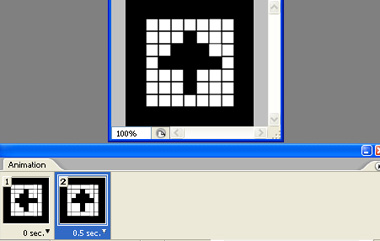
Duplicate frame. This time hide the squares to create an up arrow shape.
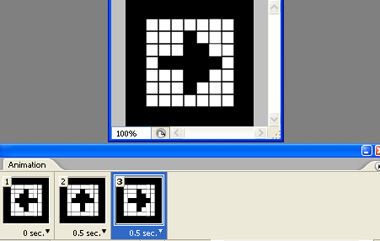
Duplicate frame. Similarly hide the squares to create an right arrow shape.
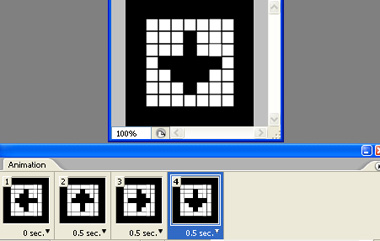
Repeat the above step to create a down arrow shape.
Create a duplicate of first frame and move it at the end of the frame sequence.
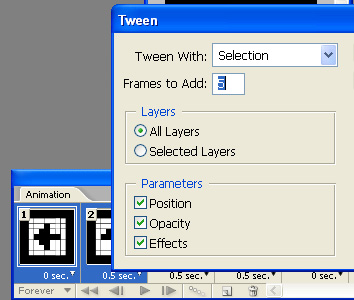
Select the first two frames. Press tween button in animation window. Apply settings as shown.
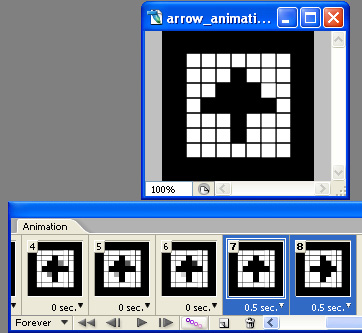
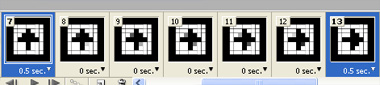
Select the 7th and 8th frames. Similarly tween and create additional frame.
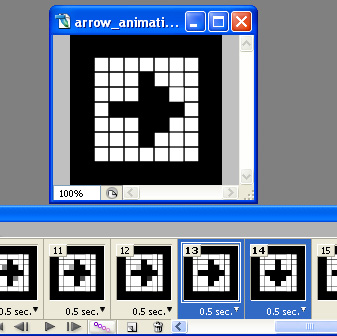
Select the 13th and 14th frames. Similarly tween and create additional frame.
Select the 19th and 20th frames. Similarly tween and create additional frame.
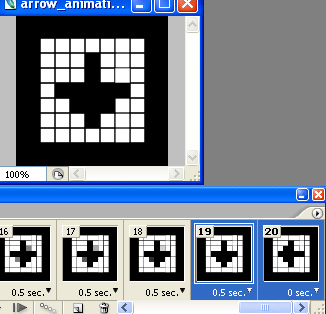
Adjust delay durations as shown in the images below.

Press Ctrl+Alt+Shift+S to save an optimized animated GIF.