


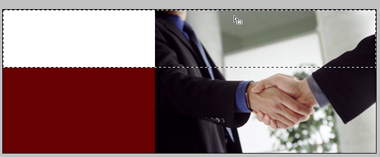
Start by creating rectangle using rectangular shape tool.

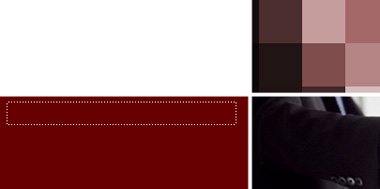
Insert an image at the right of the header.

Create upper selection using rectangular marquee tool.
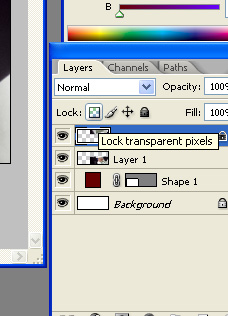
Enable lock transparency pixels form the layer palette.
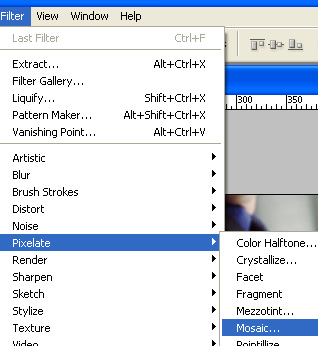
Press Shift+Ctrl+J to cut out the image from selection and appear in a new layer. Form filter menu select pixelate>>mosaic.
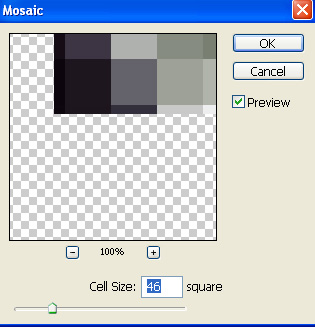
Apply settings as shown.

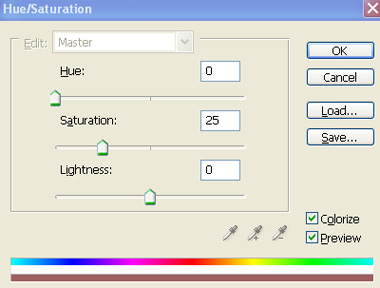
Press Ctrl+U to open hue/saturation window. Apply settings as shown.

Create dividers using line tool.

Create a rectangle using rectangular shape tool. This rectangle will serve as a button for links etc.

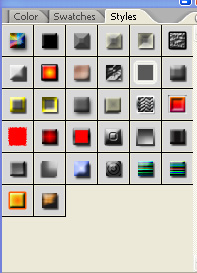
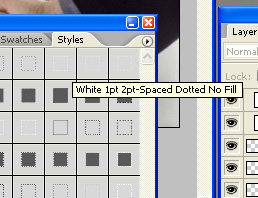
Open styles window.
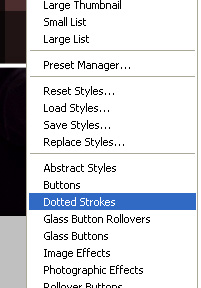
In style window click the small triangle on top right. This will open a flyout with default layer styles. Select Dotted Strokes.
The default styles palette will be replaced with a palette having various presets of dotted strokes.
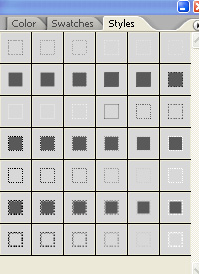
Select the shown dotted style form styles window.
Duplicate this dotted rectangle layer four times and place as shown in the image below.
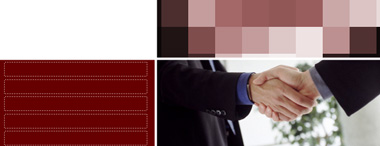
Type your links on the buttons.

Insert company name and logo on top left of the header.
