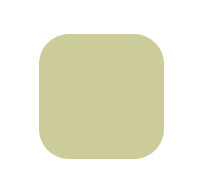
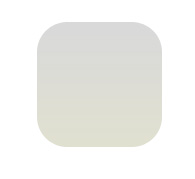
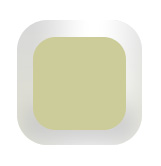
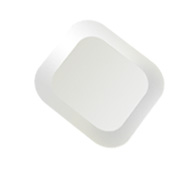
Start by creating a rounded rectangle.
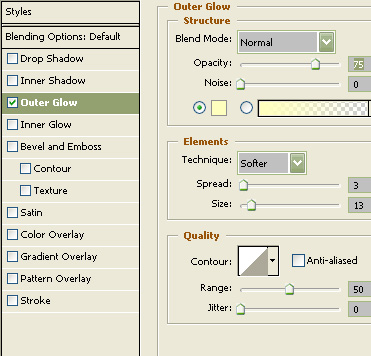
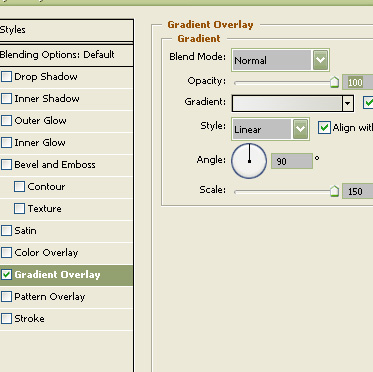
Double click the layer and apply layer style as shown.
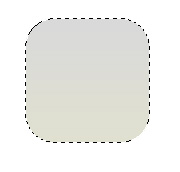
Ctrl+Click to get the selection.
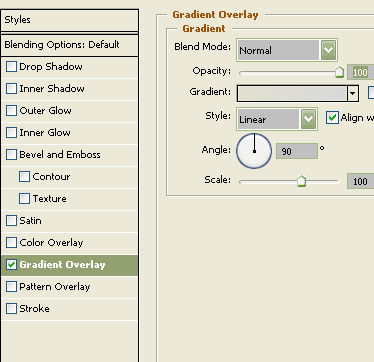
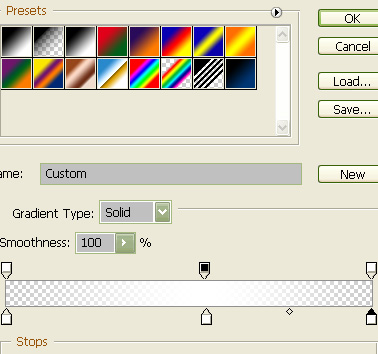
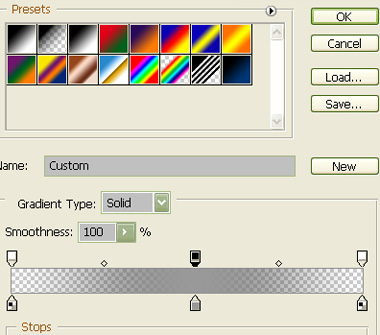
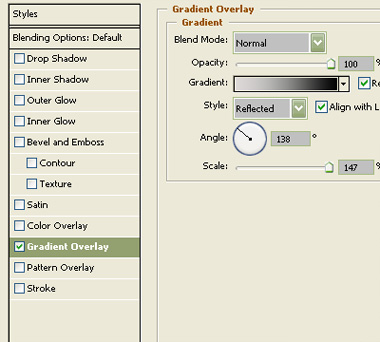
Create a gradient as shown.
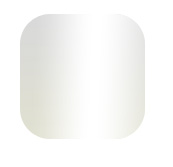
Create a new layer and apply this gradient in linear mode.
Create another gradient as shown.
Apply this gradient on the bottom half of the shape.

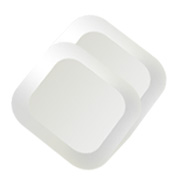
Duplicate the first rounded rectangle. Place it above all layers and remove the layer style. Scale it down.
Double click the layer and apply layer style as shown.

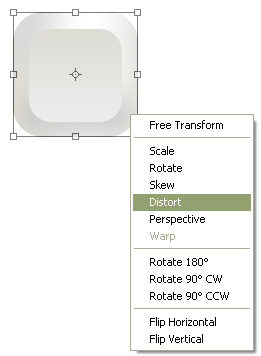
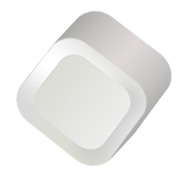
Merge all layers and press Ctrl+T. Right click and select distort.
Create a duplicate of this layer. Move the below layer few pixels up and right.
Double click the layer and apply layer style as shown.
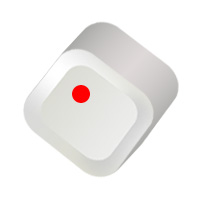
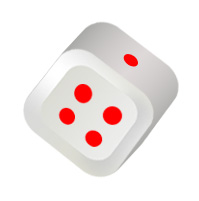
Create a circle using elliptical shape tool on the front face of the dice.
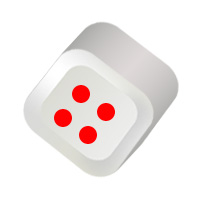
Create more circles.
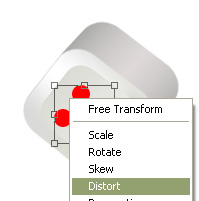
Merge all and distort.
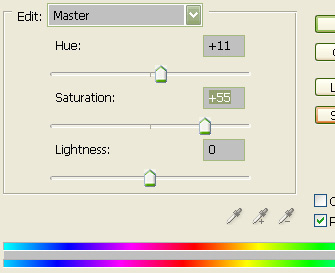
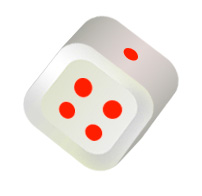
Merge all the layers and press Ctrl+U. Adjust settings as shown.
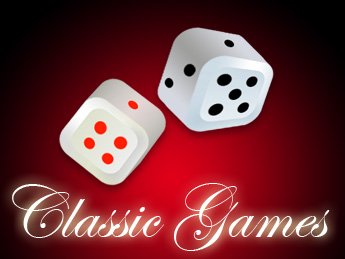
Similarly create another dice with a little variation in shape and color.
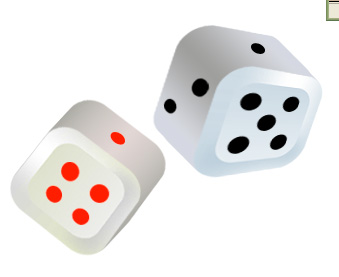
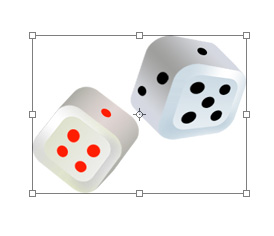
Merge both dice and scale down.
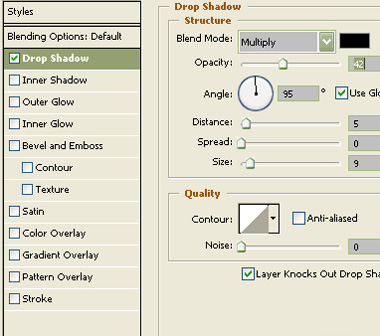
Double click the layer and apply layer style as shown.

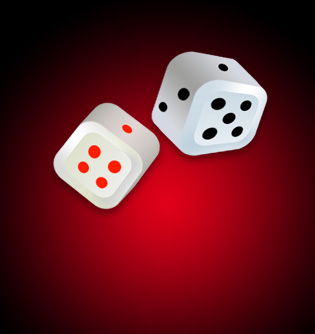
Apply a nice gradient in the background.
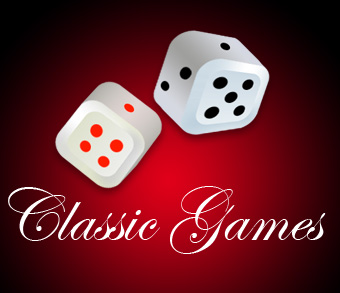
Type "Classic Games" below the dice.
Double click the layer and apply layer style as shown.