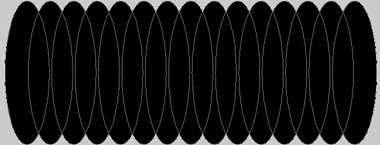
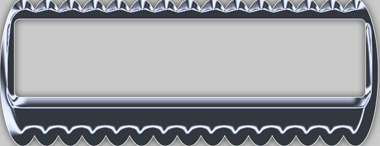
Start by creating a new file of header size. Create an ellipse vertically using elliptical shape tool.

Select the elliptical path using direct selection tool. Enable add to shape area form the top bar. Duplicate the path several times and place as shown.
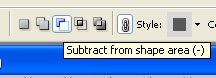
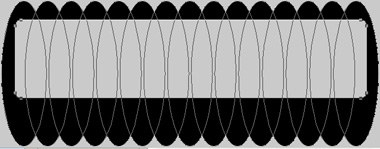
Enable subtract form shape area form the top bar.
Create a rounded rectangle using rounded rectangle shape tool.
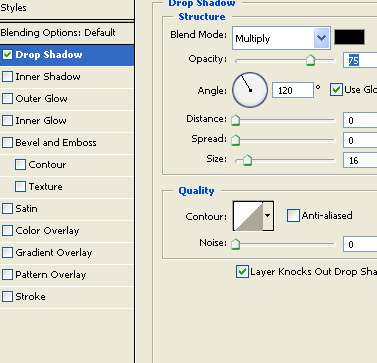
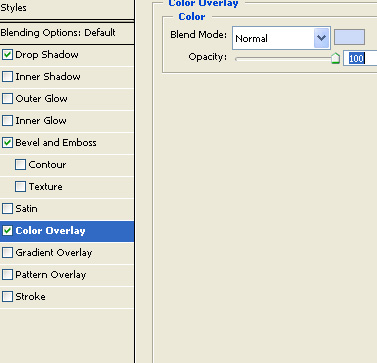
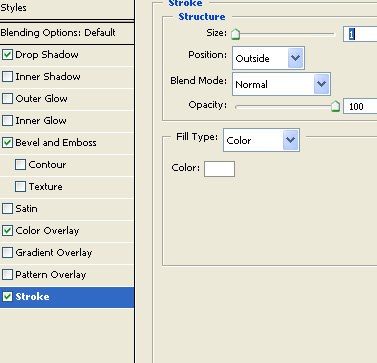
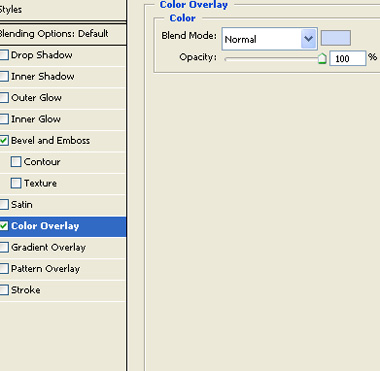
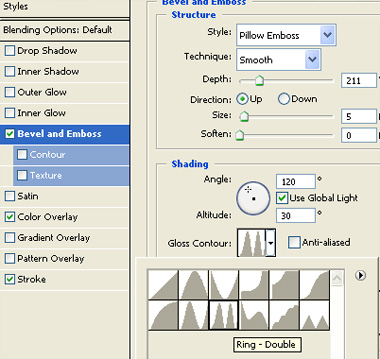
Double click the layer to open layer style window. Apply layer style with the settings shown.
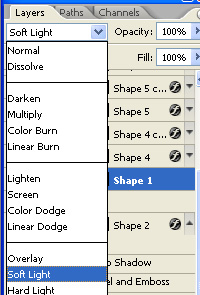
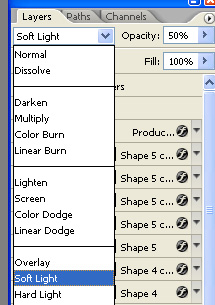
Duplicate the layer and remove the layer styles. Change the layer mode to soft light.

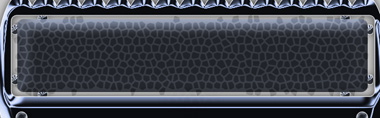
Create a rounded rectangle using rounded rectangle shape tool.
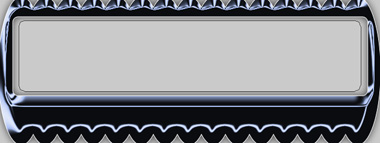
Double click the layer to open layer style window. Apply layer style with the settings shown.


Create a couple of tiny circle using elliptical shape tool. Apply the same layer style as we applied in the previous step.
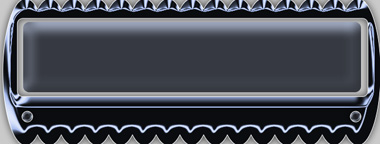
Create some more tiny circles for the joints. Apply same layer style.

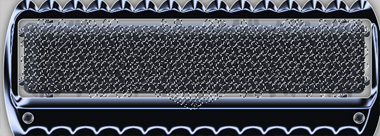
Select the rounded rectangle layer. Ctrl+Click the layer thumbnail to get the selection. Press Q to enable quick mask.
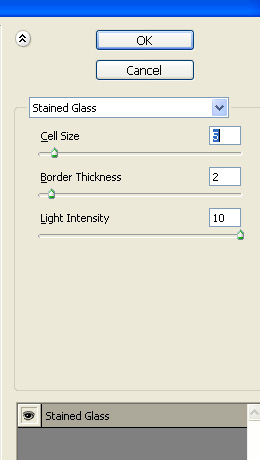
From filter menu select texture>>stained glass. Apply settings as shown.
Press Q to disable quick mask.
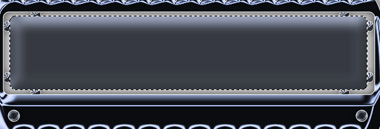
Create a new layer and fill it with black color.
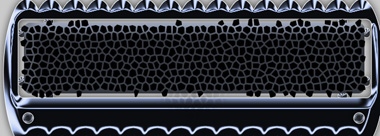
Change the layer mode to soft light.
Create a rounded rectangle for the button link using rounded rectangle shape tool.
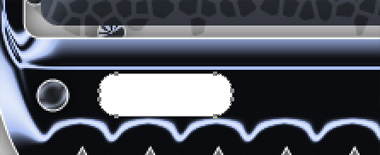
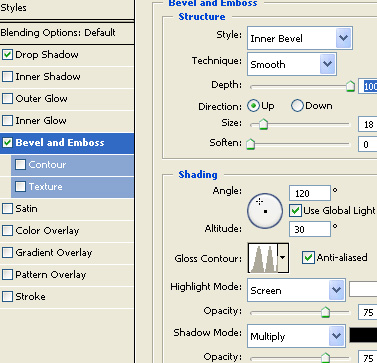
Apply same layer style to this layer. Double click the layer to open layer style window. Adjust bevel&emboss settings as shown.

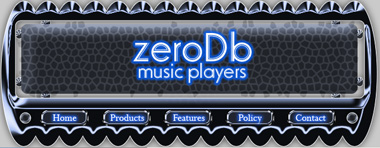
Duplicate the layer several times and place as shown in the image below.

Type button links over the rounded rectangles. Apply some outer glow.
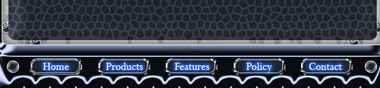
Insert company logo and place it on the center.