Start by creating a rounded rectangle in a new file.

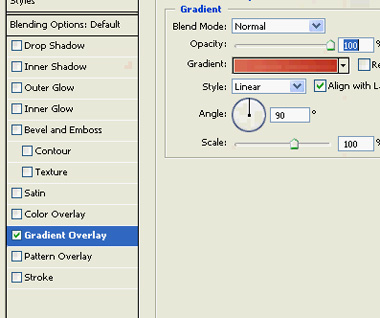
Apply gradient overlay with the settings shown.

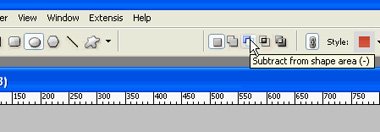
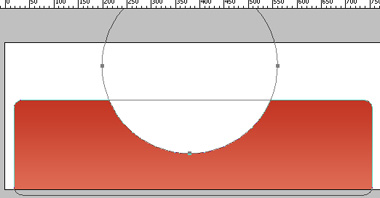
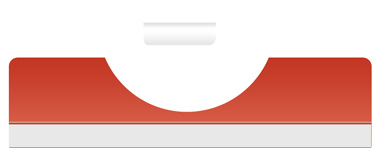
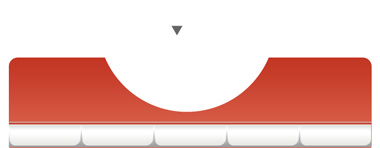
Enable subtract from shape area at the top bar and draw a circle using elliptical shape tool.
Create a light and a dark color line as a divider.

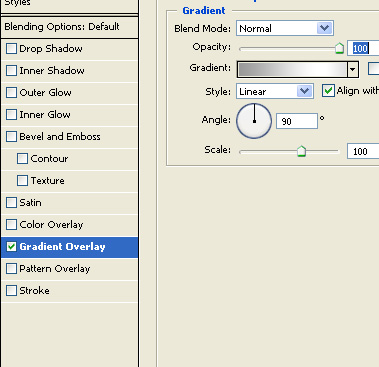
Create a rectangle and apply following layer style .
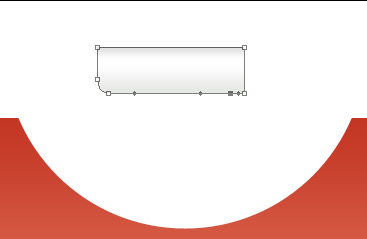
Select the rectangle using direct selection tool. Using add Anchor point tool add two anchor points at the each side of the bottom of the rectangle. Delete the corner nodes of the bottom and join the new anchor points using pen tool. This will create a button which is rounded at the bottom.

Create a rectangle below the divider lines. This will serve as a button bar.
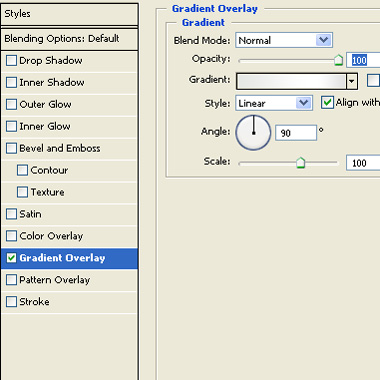
Apply gradient overlay with the settings shown.
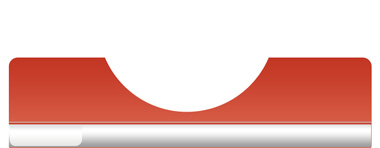
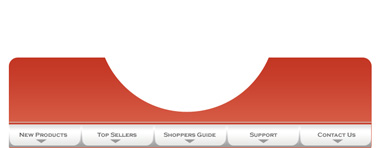
Place the button over this bar.
Duplicate this button 4 times.

Scale down the buttons and place it to fit the whole button bar.

Create a triangle using polygon shape tool.
Press Ctrl+T and squeeze it vertically.

Duplicate it and place over all buttons.

Type your text links on all buttons.
Insert a cutout of a relevant image and move it below all layers.

Insert the company logo and place it on the left of the header.

Type some categories to the right side of the header.