

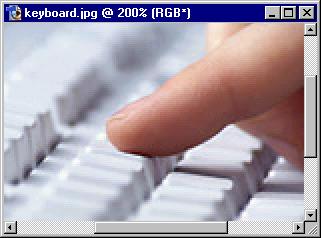
Step #1 - Open the Image
Right-click on this image and choose 'Save As' and save the file
Right-click on this image and choose copy
Open Photoshop and choose File > New
Click 'OK' and then choose Edit > Paste (CTRL + V)

Step #2 - Choose Tool Options
Choose the Background Eraser tool from the toolbox
Note: You will need to click and hold the Eraser tool to be able to select the Background Eraser tool from the menu.
On the toolbar, choose these options:
Brush Size Diameter: 20px
Limits: Find Edges
Tolerance: 50%
Sampling: Continuous
Step #3 - Erase the background
Note: You may want to zoom in on the image area being erased to help make the erasing process easier to control.
Position the mouse so that the edge of the cursor (the circle with the plus sign in it) is just touching the hand/finger. This should allow the tool to erase right up to the edge of the finger but not any portion of the finger.
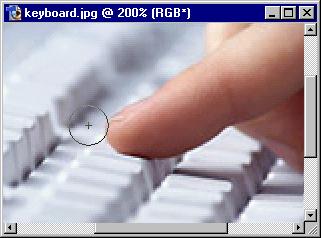
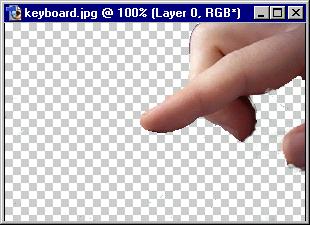
Click the mouse to begin erasing the background so only the hand/finger is left.
Click <Ctrl>Z to undo any mistakes you might make
Go SLOW!
Remember: This is a delicate skill that requires practice and patience to do a good job.
Note: Save your project as a PSD file so it can be opened and edited at a later time.