

Step 1: What is Fluid Mask 2?
Fluid Mask 2 is an Adobe Photoshop Plugin "next-generation" cut-out tool that makes the tedious job of making cut outs a walk in the park. For the Photoshopper who wants to increase their workflow and productivity while not sacrificing the results, Fluid Mask 2 could be the ultimate answer.
With Fluid Mask 2, we can make complex cutouts for advanced effects like shown below in just a few minutes (or less!).
Step 2: Getting Fluid Mask 2
You can find full details on our Fluid Mask 2 Plugin page on how you can get the plugin (GreyCobra Visitors can get a 5% discount on the full version!). However if you are only looking to try it out and see how amazing it is for yourself, you can download the free trial here
Step 3: Getting Started in Fluid Mask
There are lots of great tools inside of the Fluid Mask Plugin, but going over them all at once would be an overload of information. Rather, I will show you how fast and easy it is to use Fluid Mask to create a great cut out in this tutorial.
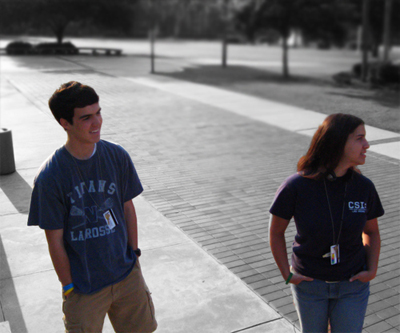
Begin by opening a photo that you would like to create a cut out from in Adobe Photoshop.
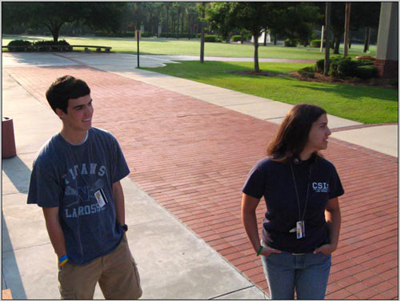
Our objective will be too cut out the two figures in this picture. This is not exactly an easy cut to make with the default tool sets in Adobe Photoshop for a few reasons. With the selection tools, it would be difficult because of some contrast/color/texture issues with the figures and the backdrop. With the pen tool, it could be done, but it would take an awful long time to get things cut out well because of the complex curves in the figures.
With Fluid Mask 2 however, this is a breeze!
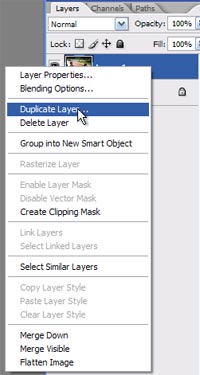
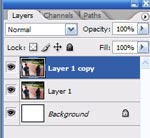
We will start by duplicating our background layer so that we do not get rid of our source image in the process of cutting out the figures. Right click the background layer, and click "Duplicate Layer".
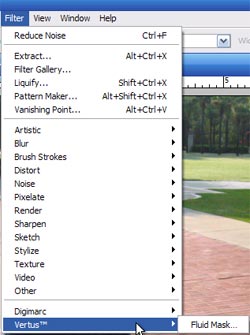
Now that we have a new layer to work with, lets open up the Fluid Mask 2 Plugin. Go to "Filter > Vertus > Fluid Mask…"
Step 4: Loading Fluid Mask
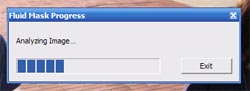
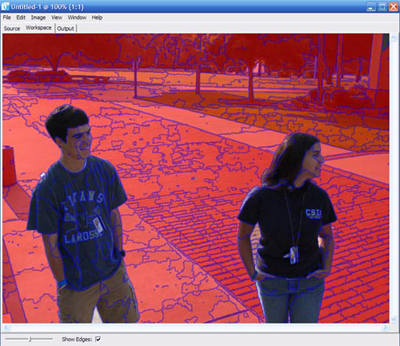
Adobe Photoshop will minimize as Fluid Mask loads up in a new window. As the Fluid Mask Plugin loads, it will start to analyze the image sent to it.
Basically, this is Fluid Mask 2 processing your image, and dividing similar areas (texture / color / edges) into separate objects. Once complete, your object will look similar to this:
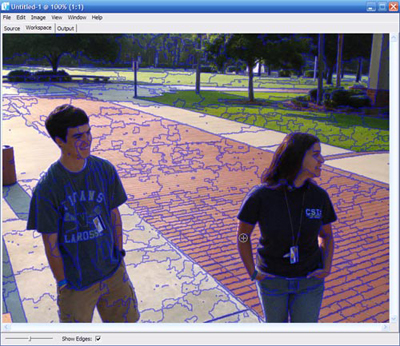
The way these objects are created can be adjusted using Fluid Mask 2's settings, but that will be covered in a later tutorial.
Step 5: Working with Objects
Let's take a look at how these objects work to make cutouts as easy as the ABC's, shall we?
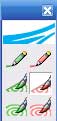
First, we want to make sure that our delete local tool is selected in our toolbar:
This tool functions very similar to the paint brush or pencil tool. The purpose of it is very different. Imagine that you are holding a paintbrush that is used to select objects. By simply clicking, or painting in an object(s), it is selected. Here is a demonstration:
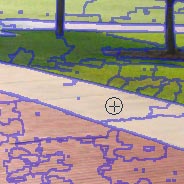
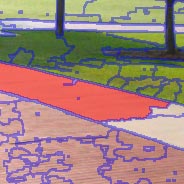
Notice that once this area is clicked, the entire object (objects are divided with edges, which are blue in this example) is selected.
In This example, multiple objects were painted through, and as a result, all of the objects were selected. This is how we Mask in Fluid Mask 2.
Very fast, very simple, and it takes almost no effort.
Step 6: Adjusting the brush size
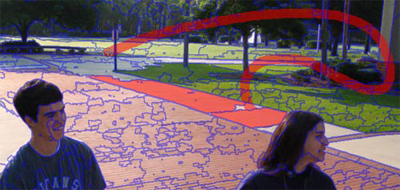
The brush size can be adjusted to make selections easier for certain areas. For the large gap between our two figures, we would want to use a larger brush to make the selecting much easier (where as a small area might need a smaller brush to get the details a bit better).
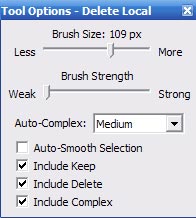
Change the brush size in this panel.
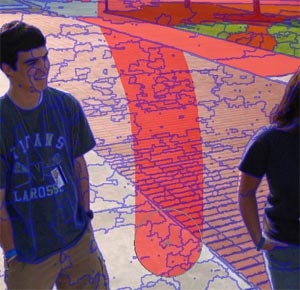
Select a series of objects with the large brush much more quickly.
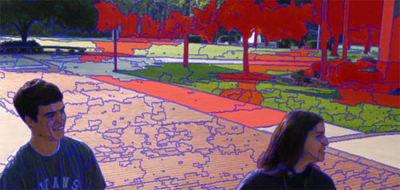
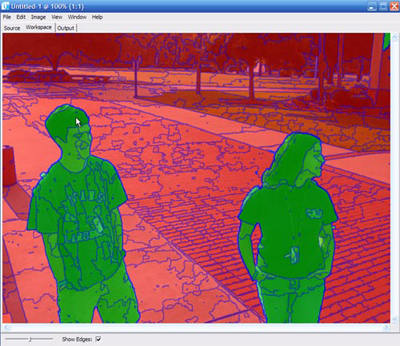
After filling in the objects, our document should look very similar to the one shown below:
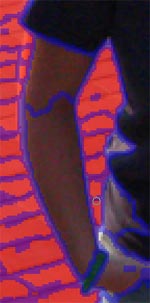
There are still a few areas that we might need to go back and touch up, such as between their legs and arms. Simply adjust the Brush size to make things easier, Zoom in (Ctrl + +), and select the objects.
Step 7: Cleaning the Image
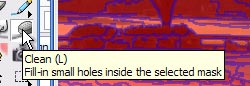
Once you feel like the image is pretty much masked the way you would like it to be, use the clean tool to fill the masks small holes that you might have missed. Simply click the Clean tool, and then click anywhere in your mask.
Step 8: Getting Started with Complex Masks
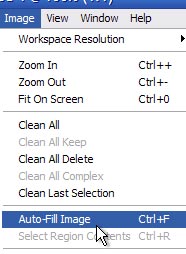
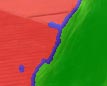
After cleaning, click Image > Auto-Fill Image to fill your non Masked, and add a complex mask to your image.
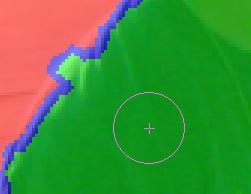
After clicking Auto Fill, you image should have anything you wanted to keep in the image highlighted in green. It will also surround the keep mask in a blue border. This blue border is called our complex mask, and as the name describes, it automatically will mask complex edges (such as hair, cloth, bristles, etc). Goodbye Pen tool, hello Complex Mask!
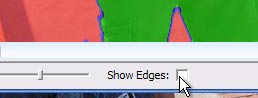
To make things easier to work with, it might be a good idea to hide the edges of the objects Fluid Mask created.
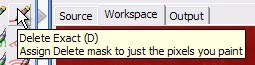
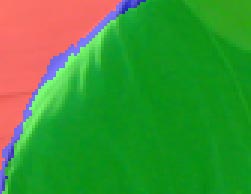
Now, despite Fluid Mask's incredible power, it is not quite perfect, but then again, who is? This way is still a lot faster than any other way you have ever cut out in Photoshop! We need to probably make a few minor adjustments in those complex areas that are difficult for Fluid Mask to catch by itself. We tend to do this with the "Delete Exact" and "Keep Exact" tools.
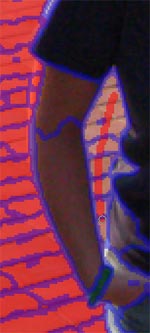
Start by deleting areas that Fluid Mask might have kept that should not be kept. Use the "Delete Exact" tool, and brush over areas that should not be there.
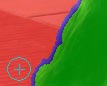
Fluid Mask 2 will automatically readjust its complex mask according to your changes to help make the perfect cut.
We also might need to Keep areas that might have been deleted. Use the "Keep Exact" tool:
![]()
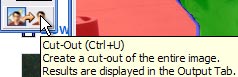
Step 9: Cutting Out the Cut Out
Once we have made all the necessary adjustments, it is time to cutout the image. Click on the Cut-Out icon at the bottom of the toolbar to make a cut out in your "Output" tab of Fluid Mask 2.
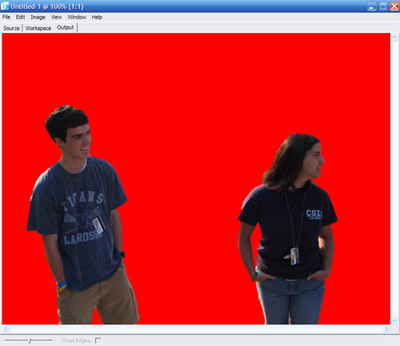
As you can see, this is an excellent cut (and it only took all of a minute or two to make!). The Output tab is where you can see what the cutout will look like back in Photoshop, but if you need to make corrections, those can easily be made back in the "Workspace Tab".
Try playing around with the output. Change the foreground colors and notice how the edges have automatically been anti-aliased. Pretty amazing, huh?
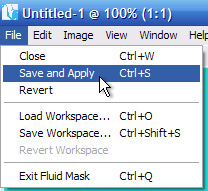
Once you are happy with your work, go to File > Save and Apply. This will transfer the output back into Adobe Photoshop for you to work with once more.
And that concludes the basics of Fluid Mask! You have now made a great cut in simply a few minutes. The next tutorials will cover the more advanced features to help make the most difficult cutouts (such as cloth, tree branches, and hair) as simple as any other kind of cut out!