Here you will learn to create realistic looking bullet holes that you can apply to pretty much any picture.
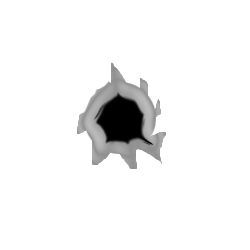
1. Start off with a blank canvas, about 250px by 250px. You will need to draw a shape similar to the one on the left.
To do this start out by drawing a circle with the Elliptical Marquee Tool (M). Now to get the rough edges you will need to use the Lasso Tool (L) just draw something similar to the shape I drew. It's ok if it's off a bit you won't be able to tell the difference in the end.
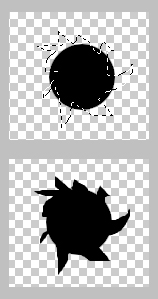
2. Now we need to add the indent on the black part of the hole. To do this go to
Filter --> Filter Gallery --> Sketch --> Chrome
Use the value of 4 for Detail and 7 for Smoothness. Press OK. You should now have something similar to what's shown on the left.

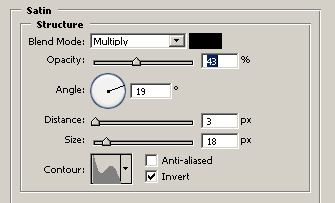
3. It's time to finish off our bullet. To do this we'll need to add a little bevel to the outer edges. Start by going to
Layer --> Layer Style --> Satin
Apply the settings shown to the left.
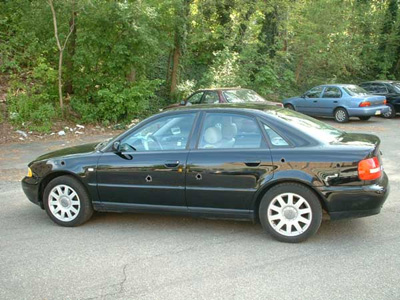
4. You now should have decent looking bullet hole. You'll now need to scale it down and apply it to the image of your choice. To make it seem more realistic try using a slight transparency.