


In this tutorial we will learning how to create this sig.
Step 1: background
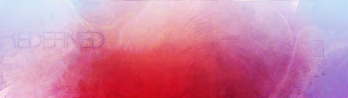
First of all open a new canvas in Photoshop (Ctrl+N) and make a sig size, about 350x90 (these are the dimension for this signature) once that's done, pick two light colors. I used light blue as my foreground, and a light purple for my background. Choose your gradient tool, and make a gradient from top to bottom on your canvas, this is what I got:

Step 2: render/background
Choose a render, if you're using a really girl render, then use a render that will NOT be your final stock. I used Paris Hilton. Now select your smudge tool and make it a butterfly brush. In your brush settings use the following:
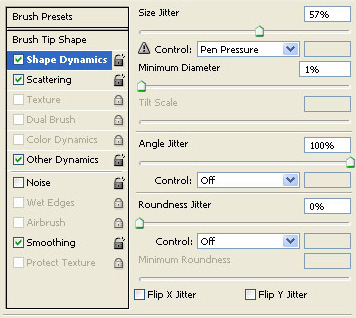
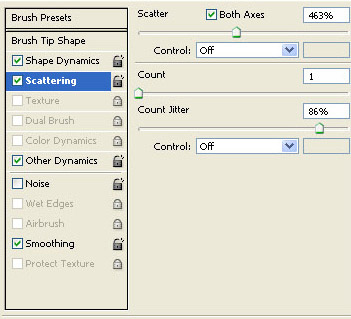
Now smudge your whole render until there is nothing but smudgy mess on your canvas, now set that layer to color burn, this is what you should get:

Duplicate that layer and you should get this:

Duplicate it again, except set it to overlay, should get something like this:

Now use the same smudge settings, but use a square brush with a size of about 10 do the same and brush your entire render, and set it to overlay, this is my result:

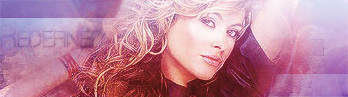
Now choose a new render, the render you want to use as your final block. Now go to Filter>>Artistic>>Paint daubs use the default settings, now set that layer to soft light with fill of 50. This is what I got:

Now duplicate what should be labeled layer 3, then place it as the top most layer. You should get this:

Step 3: text
Now make a text layer, and set it to overlay, work with the settings, since text can be done many different ways. Place it on the left said of your sig, then go Ctrl+G. This is what I got:
Step 4: render
Now paste your render and place it in the middle, and go Ctrl+G. Should get something like this:

Step 5: lighting
Now for lighting take the (layer 3) smudge layer and place it on the top most layer, and move it to the right, after set the layer to screen. This is what I got:

Now make a new layer, and copy and paste your render into the canvas, go Filter>>Sharpen>Sharpen two times, and then set it to overlay with an opacity of 59. This is what I got:

Step 6: touch ups
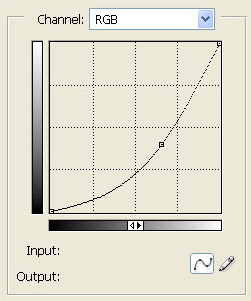
Now first touch up would be curves, go Layer>>New layer adjustment>>Curves, and use these settings
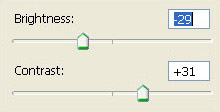
Now we will use a brightness and contrast, go Layer>>New adjustment layer>>Brightness/Contrast and use these settings:
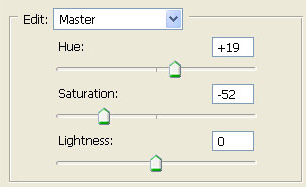
Now the last step is to go Layer>>New adjustment layer>>Hue/Saturation, use these settings:
That's it! You're done! This is my result with minor tweeks. I hope you liked this tutorial! BTW here is the final result!