Hello, this tutorial will help you to learn how to brush in a signature/wallpaper, and understand some basics of Adobe Photoshop 7.0 and higher. Firstly, please make sure that the brushes you will be using are in your brush folder. Check the following location to see if any brushes are there:
![]()
If they are, then continue on to the tutorial, if not, you can easily use the default brushes that Adobe has with the program. If you want other brushes, maybe abstract, grunge, etc, then search around Deviant Art or several GFX (Graphic) communities and with permission download the brushes and save them in the above mentioned folder. Remember to make sure that the artist said it was ok to use, etc. Now on to the tutorial!
Step 1: Create a New Document.
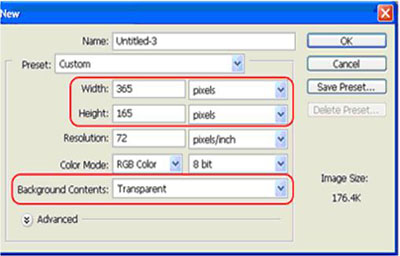
Go to the start menu and click 'New' or the shortcut of 'CTRL + N'. Here a screen will load asking you to pick your dimensions size. I chose 365x165 pixels. Make sure to click for a transparent background.
Now you'll see a little window pop looking something like this:
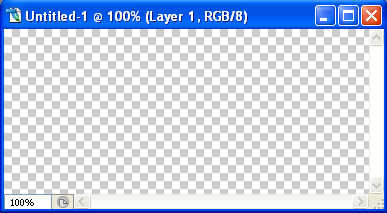
This is known as the canvas, where all the brushing magic happens (lol).
Step 2 Basic Background:
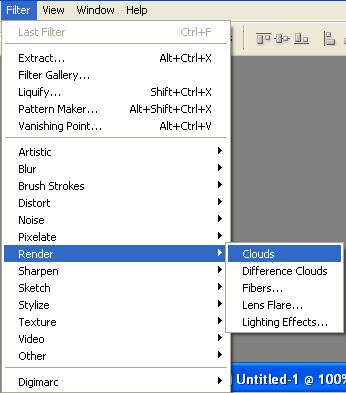
Ok, know we're going to fill the canvas with a simple background just to get us started, but first, press 'Ctrl+D' on your keyboard to reset your colors. At the top, go to the Filter option, then down to Render, and then finally clouds. Here's a picture of the menu:
Now you'll notice that the canvas sort of looks grayish and cloudy, we will be using this as our background for the brushing. Here's a picture of what the canvas looks like with the Clouds render should look like:
Its pretty plain, right? Now to get started
Step 3 Brushes!:
Click on the brush tool in the tools palette
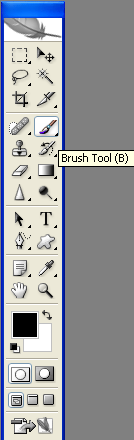
And then go to the top, and click the arrow next to the brush, It should look like this.
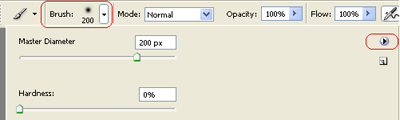
The red-highlighted material in the top-left-handed corner is what you should click once you have the brush tool. Depending on if you have other brushes or not, you should click the other red-highlighted material.
If you do not have other brushes, other then what Adobe Photoshop has provided, then skip down to Step 4. If you do have other brushes, then continue on this step. Click the little triangle-in-circle button, and another menu you should load looking similar to the following:
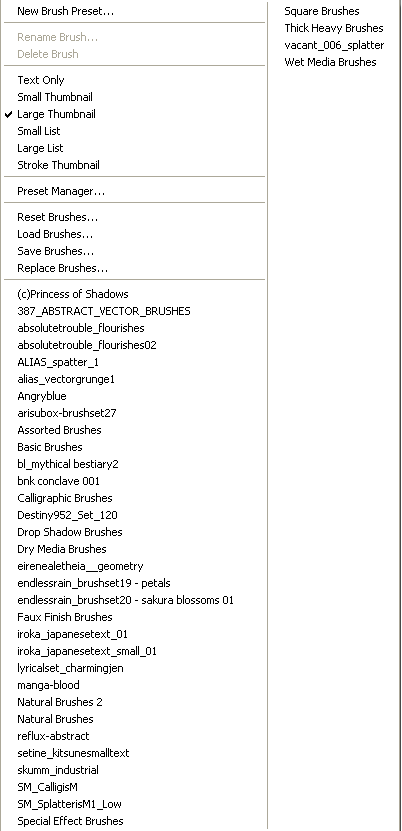
As you can see, I have quite a selection (lol), but know that some of the brush sets are also Adobe's other brushes. Anyway, pick a brush set you would like to choose, and then a window should pop up looking something like this:
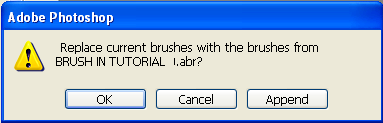
Just click ok.
Step 4: Brushing
Now, pick out a brush you want to use, but before we brush we want to make a new layer so that we don't brush directly on the background because it won't help when we do later steps. So make a new layer from the palette, here's a picture of what I clicked and how it'll look:

Ok, now start brushing on the new layer. A tip for when brushing; only brush the new layer three times, and the make a new layer. When you make the new layer, either change colors, or change layer style. You don't want to become repetitive with the same brushes for several layers or using the same colors.
Also, when brushing with custom designed brushes, its always good to sometimes brush in only black or white, sometimes in color. Colors can sometimes create nasty outcomes, sometimes it doesn't. In this tutorial, I would advise you to brush in only black and white. So, after a couple of brushing, new layer, etc this is what I got:
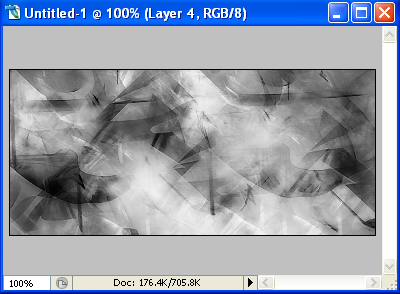
As you can see, we brought some life to the clouded background. Now to play around with the layer blending!
Step 5: Layer Blending
To make a brushed signature look nicer, blend some of the layers into another so they sort of can mix and stuff. To change the blending of the layer, click the layer(Any layer, but the bottom/first layer) and choose a mode. Here's the modes:
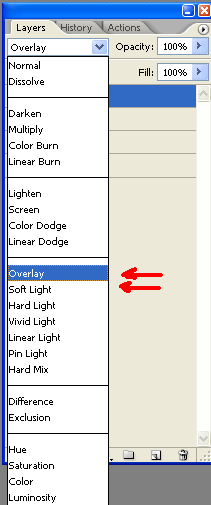
I chose several of my brushed layers and set them to either Overlay or Soft Light. You could set some to Hard Light, but they will pretty much make little difference with the layer. So, after that, you're pretty much done!
Final Step: Customization!
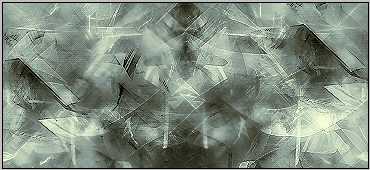
In this step, I want you to add color, maybe a little more brushing where you see fit. I personally added some Gradient Maps, a Photo filler, and Sharpened my product. Here is my finishing product: