


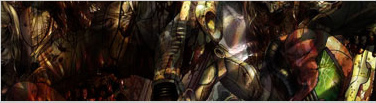
Lets get started,1st of all open a new canvas I will use 375x100 after that fill it with black

Now get a nice render,which has nice colors I will be using the new PoP render don't resize the render but paste it into your canvas and lower the opacity.
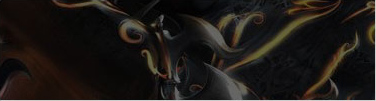
Again add that render but pick another part of the render now desaturate the render layer and set the blending mode the linear dodge.
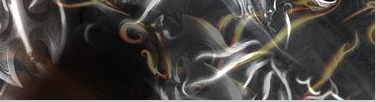
Again I will add another render (metroid) don't resize it but paste it into your canvas and change the blending mode to linear dodge.
Alright,paste the metroid render again and resize it. Now duplicate the render layer and place it somewhere else so it will look good
Now merge the metroid layers together and set the blending mode to multiply
Ok find another render with the same colors as your other renders, I will use this one:
Place it into your canvas but don't resize it and set the blending mode to linear dodge
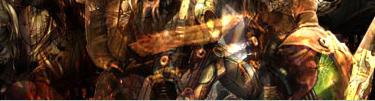
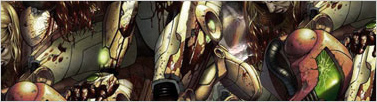
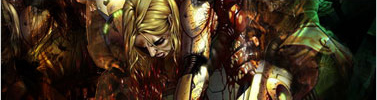
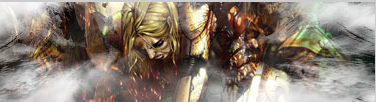
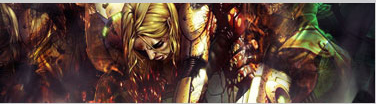
Add another render I will be using a metroid prime one ok don't resize the render but erase some parts you don't want to show like this:

As you can see I erased some parts so you can see the "real" bg again now set the layer to multiply.
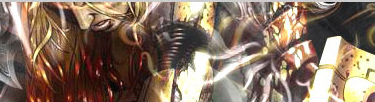
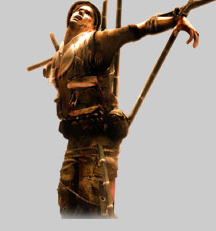
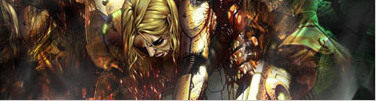
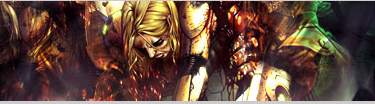
Now its time to add the real render which we are going to use in our signature.
Ok now brush a bit with a soft round brush with a white color, until you get something like this:
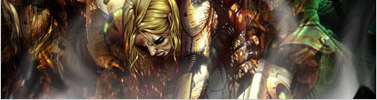
Change the opacity of the brush layer to 55%
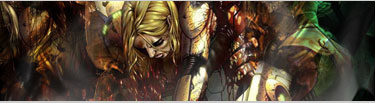
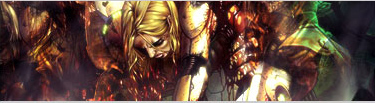
Now we are going to add a brightness and contrast layer (layer >new adjustment layer>brightness and contrast).Play with the settings then press ok and set the blending mode to overlay.
Add some brushing again on a new layer with some grunge/soft brushes.
Change the opacity of that layer down to around 10%
Go to layer>new adjustments layer>color balance play with the settings now press ok and go to filter>render>clouds after you did that change the blending mode to color with 17% opacity.

Add another color balance layer and then add some clouds again. Change the blending mode to color with opacity of 39%
Again add a color balance layer with clouds and change the blending mode to color with opacity of 29%.
Alright add one more color balance layer with clouds this time don't change the blending mode to color but change it to overlay with opacity of 30%.
Add a brightness/contrast layer play with the setting until you are satisfied.
Make a new layer and go to image>apply image after that go to filter>blur>gaussian blur and use one between 1 and 2px after that change the blending mode to lighten at 49% opacity
Again make a new layer and go to image>apply image press Ok now press ctrl+shift+u this will desaturate your image now change the blending mode to overlay with opacity of 16%
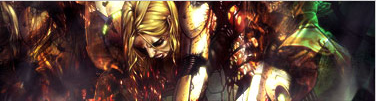
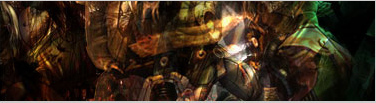
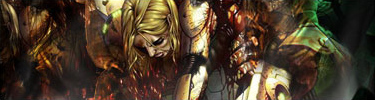
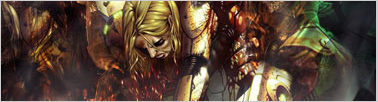
Alright go to layer>new adjustments>hue/saturation and use settings:
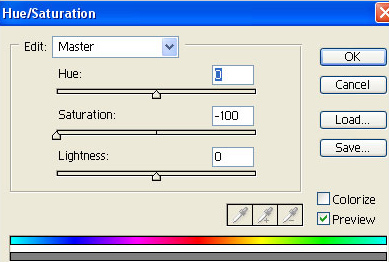
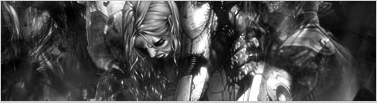
This is how it should look like:
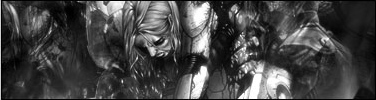
Time for the border make a new layer and press ctrl+a now go to edit>stroke and use 1px black
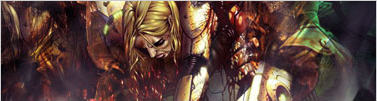
Now you can add text or whatever you wish:
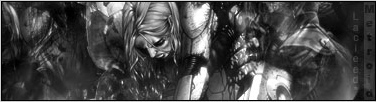
And now you have finished your signature, I hope you found out by now that a good signature doesn't have like 10 layers, its all about adding details and giving the signature a nice flow.
Remember don't exactly do everything like in this tutorial, but try things out for yourself, you will learn the most from it!