

Brushes used: click here
Render used: click here
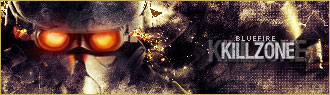
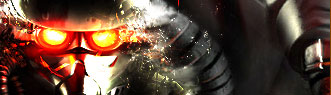
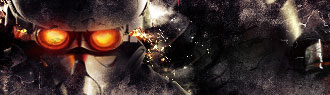
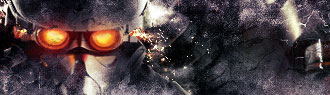
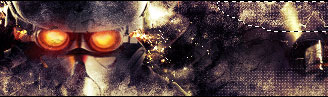
Hey everyone! What's up? This is Blufire and I'm going to teach you how to make a full grungy sig tut. Its all defaults except for 1 minor brushing layer which make the sig look cool. Trust me, I'm a big fan of details. A little smudging is involved as well. This is what your final outcome will look like:
First off, make a new document. I like to use 330x95. Fill it with black.

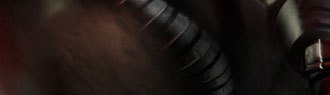
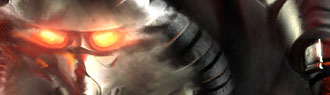
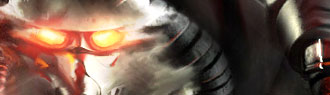
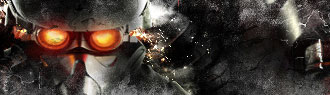
Next, get out your render and slap it on your sig. Do not resize it! Just simply place it on the sig. I attached the render I used.
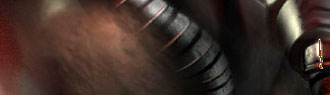
Now, move your render around until you see you like with some detail. Duplicate it, and move it some more. Erase parts you don't like. Merge it all down to get a nice BG.
Now the sig is kind of dark. What we are going to do is duplicate the BG, and set the new one to linear dodge at 100% opacity.
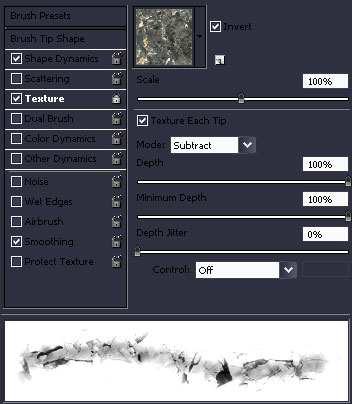
Time for the smudging guys. take out an X brush and use these settings.
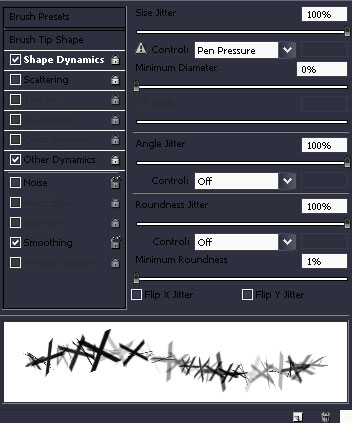
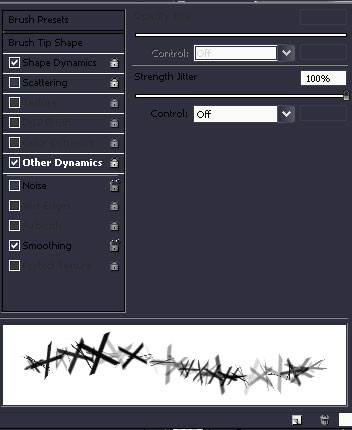
To make an X brush, make a new document, 50x50 and transparent BG. Use the font arial and make a big X in the middle. Then go to Edit>>Define brush as. It will be in your settings now.
Now, get your original render and put it on the sig. Resize it, and duplicate it 5 times. Make all but the bottom one invisible by clicking the little eye. Next used smudge strength at 100, smudge the render outwards and set it to linear dodge.
Duplicate that smudge layer and put it at 60% opacity.
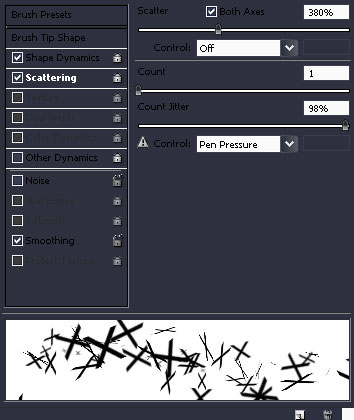
Now, unhide another render layer and uncheck other dynamics in the settings. PS& users, use the leaf blade tool to smudge with the same shape dynamics. Smudge outwards. CS2 users like me, use these scatter settings:
Smudge just a tiny bit outwards. Set this layer to hard light.

Unhide yet another render layer, and smudge outwards again. Set this layer to color dodge.
Unhide the last render layer. delete all the others. Now we have out smudging done.

Now onto some brushing. Take out the brushes I gave to you (Koolkidstract) and brush lightly on the top and bottom of the sig to give it grungy feeling.
Set the opacity of that to 70% if its too bright.
Next is the default layer. Take out a 100px soft round brush and use these settings. Same dynamics as above but use the rocky pattern. This can be found under the little arrow, then rocky patterns.
Make a new layer and start brushing in black and white around the sig. Brush parts that don't have a lot of detail. After that go to Filter>>Sharpen>>Sharpen.
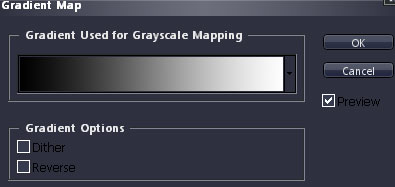
To add some color to the sig, we are going to add some gradient maps. On the bottom of your layer pallet, you will see a half white and half black circle. Click than and go to gradient map.
We are going to add a couple of these, so follow carefully.
Set this on multiply at 100%
This on soft light at 60% opacity.
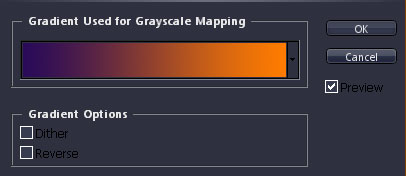
Next is a custom gradient. Choose this foreground and background colors, and then do a gradient like normal.
This on soft light, 50% opacity.
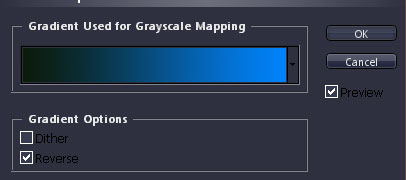
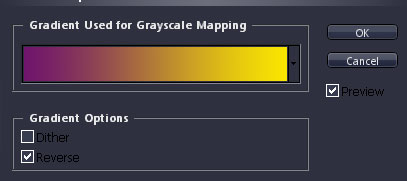
Erase parts of the gradient you want to show, like the bright orange eyes on my sig. take a 100 px soft brush, without the textures, and erase it on all the maps. This is the last gradient and it can be found under the little arrow again. Then going to color harmonies 1.
Soft light, 60% opacity.
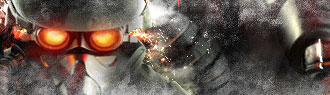
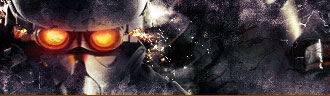
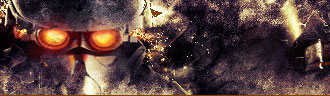
This is what out sig looks like now:
Now, take your brushing layer, duplicate it, and move it to the tap above the gradients. This will bring out a more grungy effect.
Soft light again. Fiddle with the opacity.
Duplicate that layer again. I had mine on soft light, 67% opacity both times.
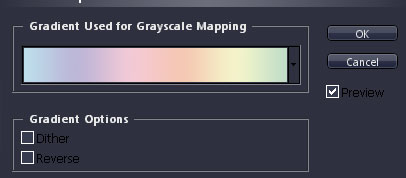
Another gradient map. Found in color harmonies again.
Set this to overlay at 50% opacity.
Now for some patterns. Make a 3x3 document, transparent BG and make a white dot in the middle, AKA the white dot pattern. Then Edit>>Define pattern as. Then take out the lasso tool, and make a selection like this.
Go to Edit>>Fill and fill it with the dot pattern. Set it to soft light at 100%. Do the same to the bottom.
Now slap on some text, a border, and you are done! Congtatulations! You made a nice, grungy sig.