


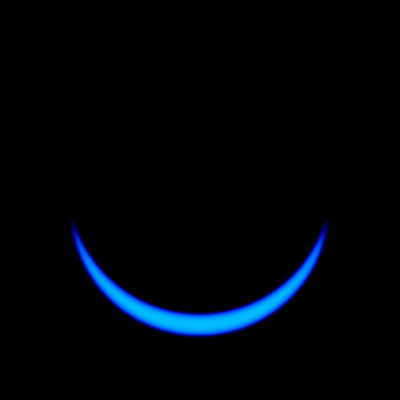
Final Result:
Start off by creating a 400 by 400 pixel image. Fill the background with Black.

Now, make a new layer, and fill it with your desired color. I will be using a shade of blue with the hex code #3F88CD. Now switch the layers, putting the black layer on top of the colored layer. Your layer palette should look like this:
Now, pull out the Elliptical Marquee Tool and make a Perfect Circle.
Now, pull out the Move Tool, and move the circle selection in any direction, keeping it aligned with the original placing.
Here is how I moved mine:
Once you have done this, deselect your circle.
Next, go to Filter > Blur > Gaussian Blur and use a Radius of 4.0. Then, create a new Brightness/Contrast Adjustment Layer. Change the settings as you please, it all depends on your preference and the color you are using. I Chose +9 Brightness and +71 Contrast.
Here is my final result: