

This tutorial will teach you how to create an abstract warp that sucks in your text.
Final Result:

Part 1: Set-up
1. Open a new document. I will be using my preferred signature size of 320 by 132 pixels.
2. Select the Gradient Tool.

Select the Metals gradient package.
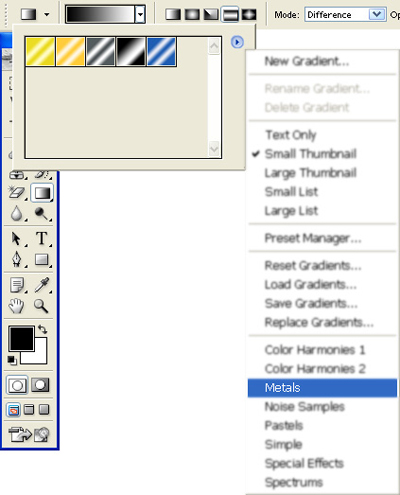
Select the Steel Bar gradient.
![]()
Make sure your Gradient Tool is set to these settings.
Part 2: Making the warp
3. Make random gradients everywhere on the canvas. Try not to over-do it though.
4. Goto Filter > Pixelate > Mezzotint. Choose Long Strokes.
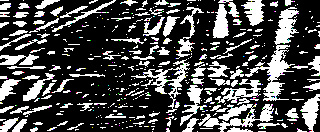
5. Goto Filter > Blur > Radial Blur. Choose an amount of 100 with the Zoom method, and Best quality.
Repeat this filter twice by pressing Ctrl + F twice.

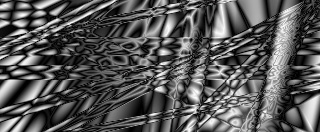
6. Goto Filter > Distort > Polar Coordinates. Use Rectangular to Polar.
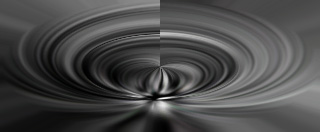
7. Copy the layer by pressing Ctrl + J. Rotate it horizontal by going to Edit > Transform > Flip Horizontal.
Set this layer to either Lighten or Darken.
Lighten will make the shape show the lighter areas, making a nice light figure. Darken will show the darker areas, making a dark figure.
For this tutorial, we will use Lighten.

Part 3: Color
You may or may not decide to add color, but here is a simple way to add an effective multi-color effect.
8. Goto Layer > New Fill Layer > Solid Color. Add any color you wish. Set this layer to Soft Light.
9. Goto Layer > New Adjustment Layer > Color Balance. Choose any settings you wish.
10. While still on your new color balance layer, goto Filter > Render > Clouds.
11. Repeat Step 9 and Step 10 as many times as desired.
Part 4: Text
You may or may not decide to add text, but here is a simple and very effective way of adding text that will fit the warp.
12. Select the Horizontal Type Tool. Add any text you want, in White. Place your text in the Middle of the warp. It is recommended you use a fairly small size font size.

13. Goto Edit > Transform > Flip Vertical.
14. Goto Layer > Rasterize > Type.
Goto Filter > Distort > Polar Coordinates. Use Rectangular to Polar.

15. Goto Edit > Transform > Flip Vertical. Now move your text to the upper interval of the warp.

16. Set the layer to Soft Light. Goto Layer > Layer Style > Drop Shadow. Use 75% Opacity, 0 Distance, 8 Spread, 5 Size.
17. Double the text layer by pressing Ctrl + J. With the new layer selected, goto Select > Load Selection. Leave the settings and it will load the selection of the current layer. Now press Ctrl + Backspace. This will fill the text with black.
Final Results