

In this tutorial we will make a very basic background with an icy feel.
Final Result

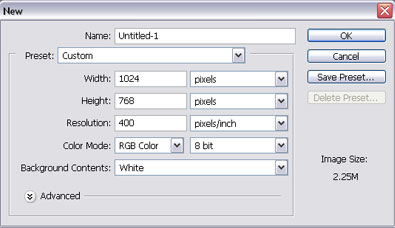
Step 1.
Open a new document, any size, but make sure the resolution is 400 pixels/inch.
Like so:
Step 2.
Click on the Gradient Tool and set its mode to 'Difference'; the mode can be changed from a small drop menu towards the top of the screen.
Step 3.
Go crazy with the tool, just make random gradients, or concentrate them towards one place.
Step 4.
When you're satisfied, click Filter > Stylize > Find Edges.
Step 5.
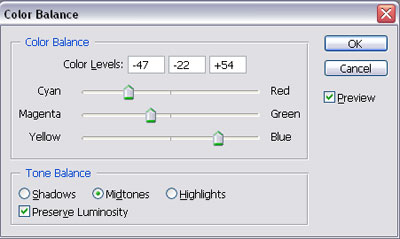
Now for some color! Press Ctrl+B for your Color Balance and apply these settings:
Step 6.
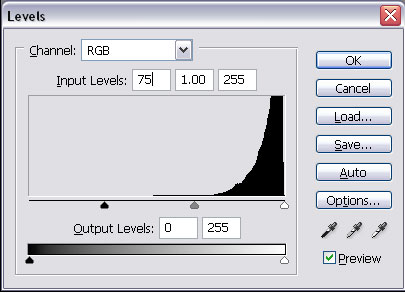
Press ok. Now press Ctrl+L for your level adjustment.
Apply these settings:
Step 7.
Duplicate the layer and change its Mode to Multiply.
Step 8.
Now, duplicate the new layer and change its mode to Luminosity.
The layer order should be this:
The top layer should be set to Normal
The middle layer should be set to Multiply
The bottom layer should be set to Luminosity.
Step 9.
Now merge your layers together by pressing Ctrl+E.
Step 10.
Now go to Filter > Blur > Smart Blur and apply these settings:
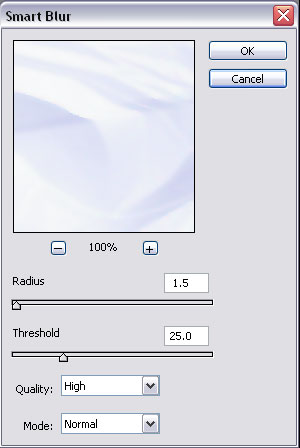
And that should be it! You can use this to make cool backgrounds or to make cool looking sigs!
Final Result: