


This is a really simple tutorial on how to make auroras. This is great for darker sigs or images with lots of color.
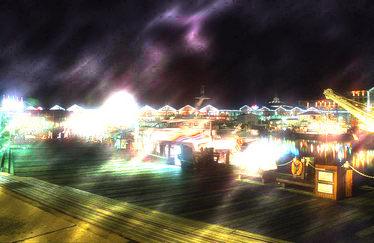
Final Result
First Step:
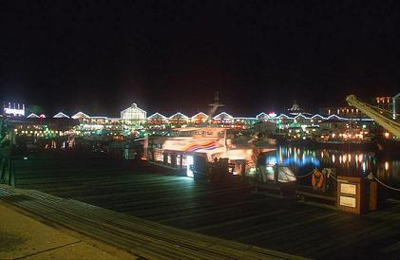
Make the sig or background you want (or you can get a picture of the night sky or some kind of picture of a dark theme).
This is the image I used for this tutorial :
Second Step:
Make a New Layer.
Third Step:
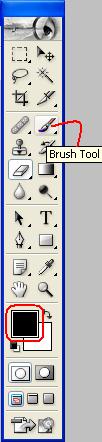
Make a all Black layer with a brush.
Fourth Step:
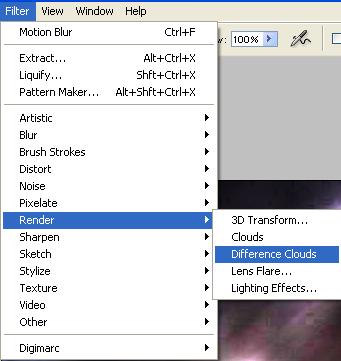
Click on Filter > Render > Difference Clouds
Fifth Step:
Hit the CTRL+F about 6 times.
Sixth Step:
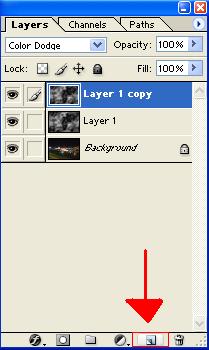
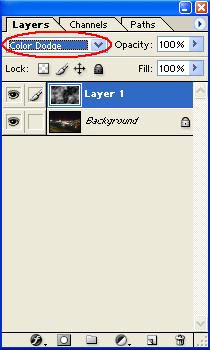
Change the Blending Mode to Color Dodge.
Seventh Step:
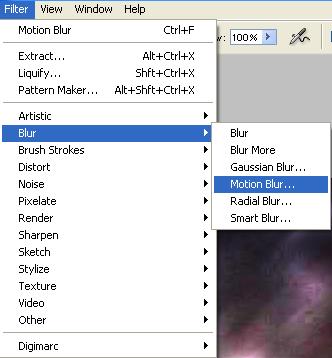
Click on Filter > Blur > Motion Blur
Eighth Step:
Use these Settings after you have Clicked on Motion Blur.

Ninth Step:
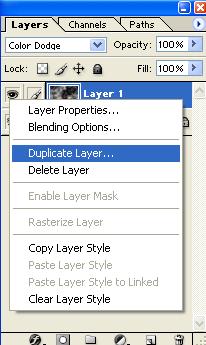
Duplicate that layer. Do this by Right Clicking the Layer.
Tenth Step:
You can hit CTRL+U to mess around with the settings and colorize it. To colorize it Check Colorize.
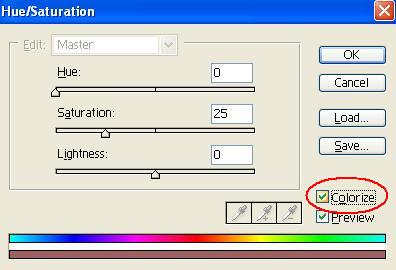
This is my final result (I did not colorize it because personally I like the way it looks right now).
Final Result: