Learn How To Create A Simple Glowing Animation
Photoshop is a powerful tool, not only does it have the ability to edit and manipulate photos it also has the ability to animations. In this tutorial I'll be walking you through the process of creating a simple animated glow effect.
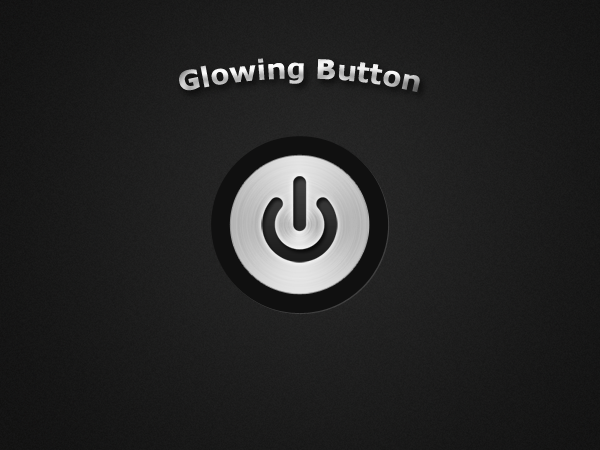
What We'll Be Creating
Resources Used In This Tutorial
Getting Started
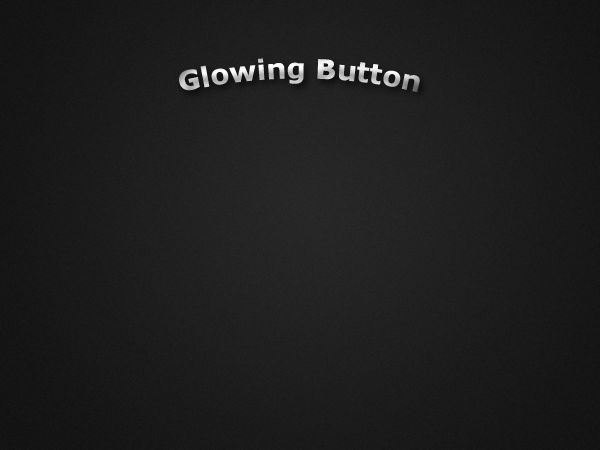
I've started off with a canvas size of 800x600 pixels purely for example in this tutorial, if your using this effect for a website you might want to use something slightly smaller due to the file size. I've mocked up a simple background which compliments the button.
Creating The Button
Select the "Ellipse Tool" (U) then drag out the ellipse onto the canvas.
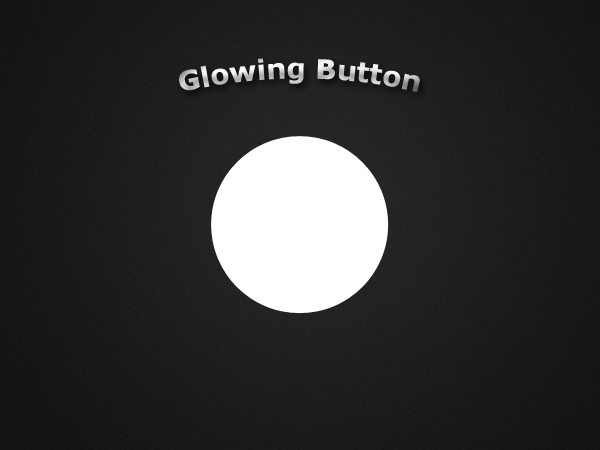
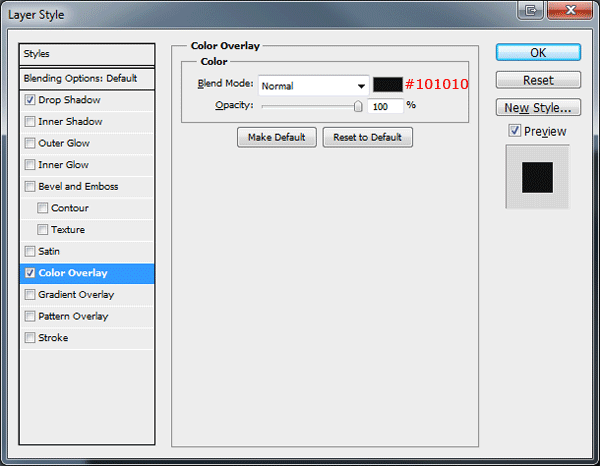
Add the following layer styles to ellipse.
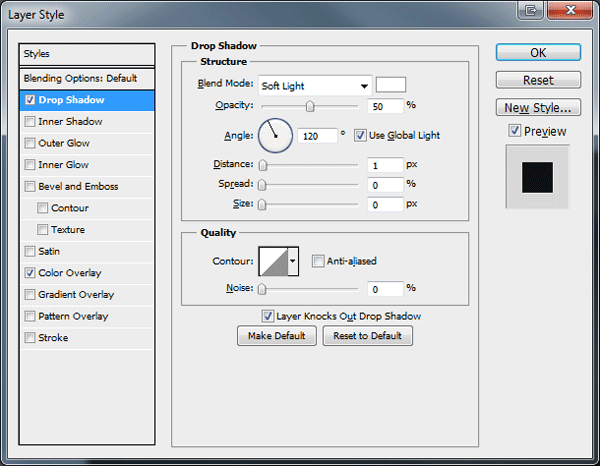
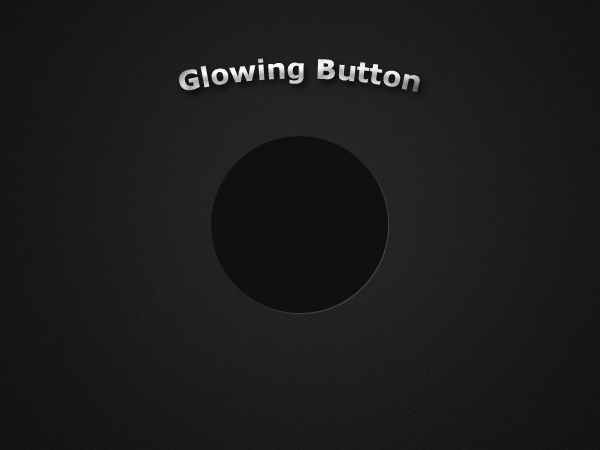
You should have something like this.
Duplicate the ellipse you just made then press (Ctrl + T) for the "Free Transform Tool", select one of the corner anchor points then hold down (Shift + Alt). Drag downwards resizing the ellipse. Once the ellipse has resized right-click the layer and go to "Clear Layer Styles".
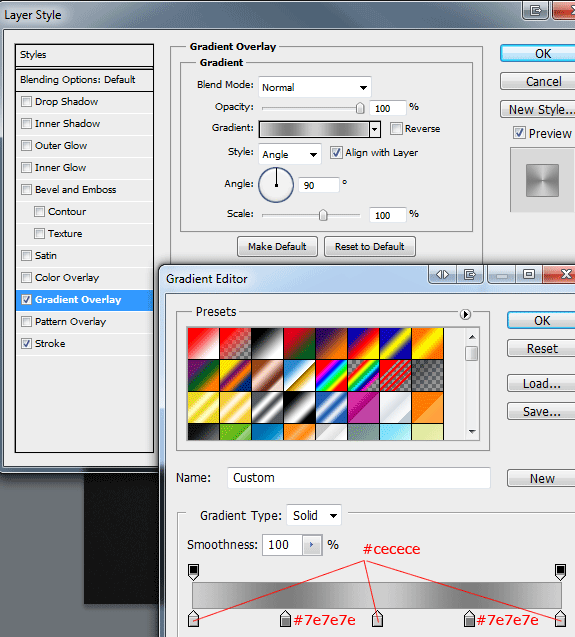
Now add the following layer styles to the duplicated layer.
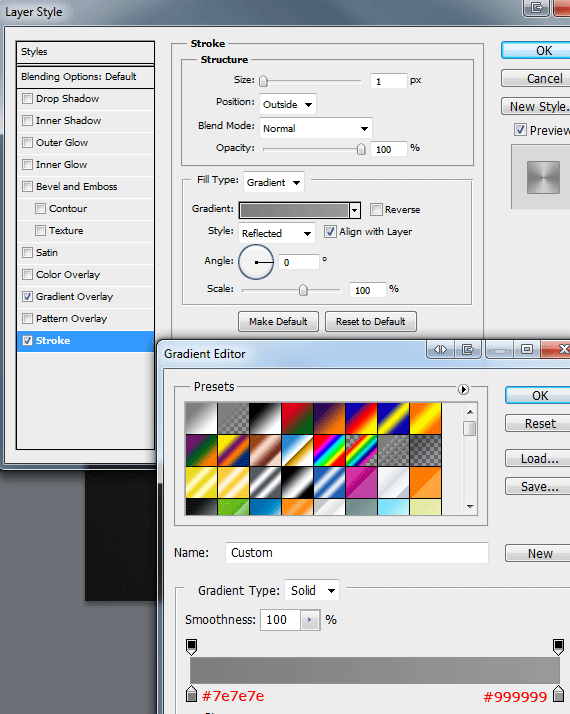
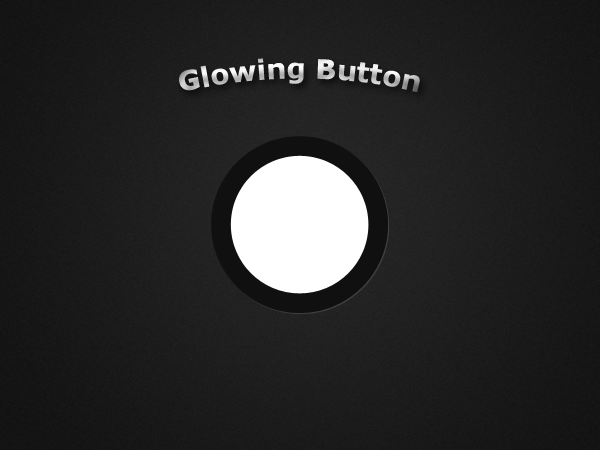
You should have something like this.
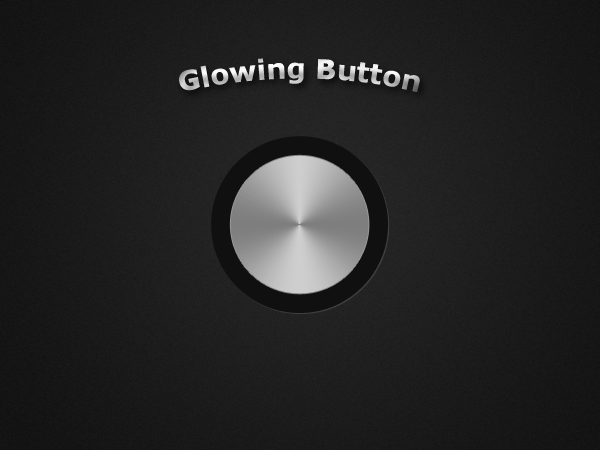
Creating The Aluminium Effect
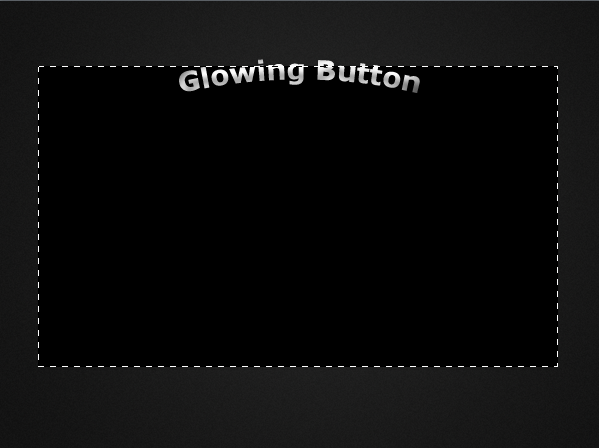
Select the "Rectangular Marquee Tool" (M) then make a selection around the canvas and fill the selection with the color black #000000.
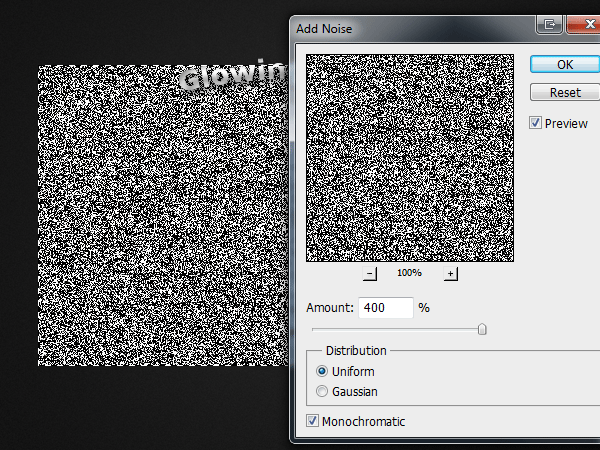
Add a noise filter the black rectangle by going to "Filter > Noise > Add Noise".
Now go to "Filter > Blur > Radial Blur" and use the settings below.
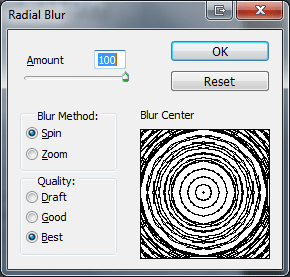
Deselect the selection (Ctrl + D) then set the layer blend mode to "Screen". We now need to remove some of the rectangle, place the aluminium layer so it is center of the button ellipse.
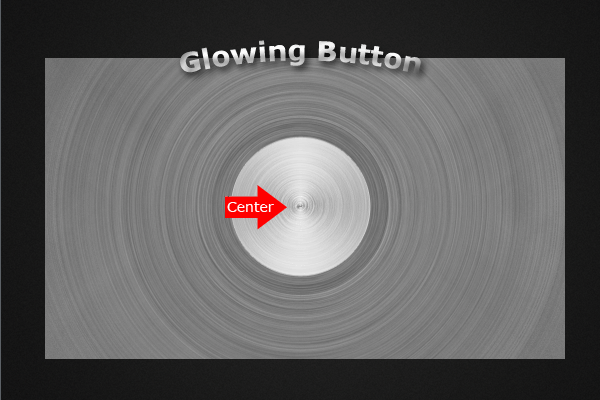
Select the ellipse layer whilst holding down the "Ctrl" key on the keyboard to load a selection around the button ellipse layer, alternatively go to "Layer > Load Selection". Once the selection has been loaded go to "Select > Inverse" and hit the delete key on the keyboard.
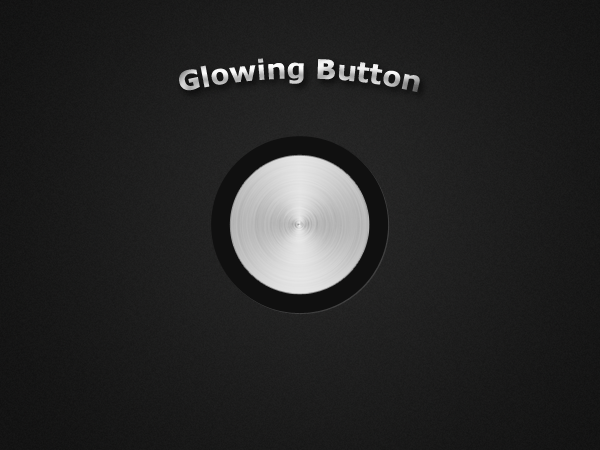
Adding The Power Symbol
Download the power symbol from the resources list.
Once you've downloaded the power symbol add it to the button in the center.
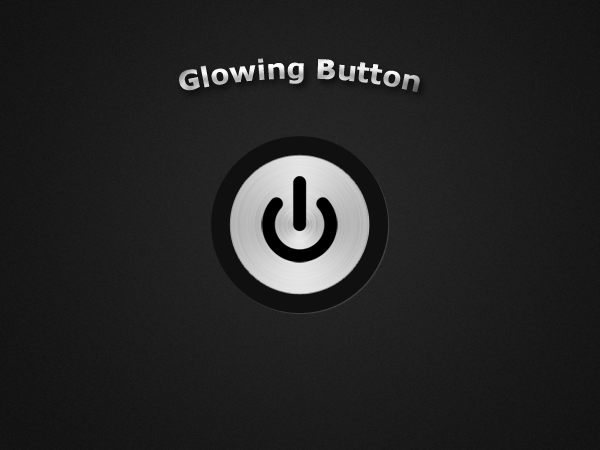
Add the following layer styles to the power symbol.
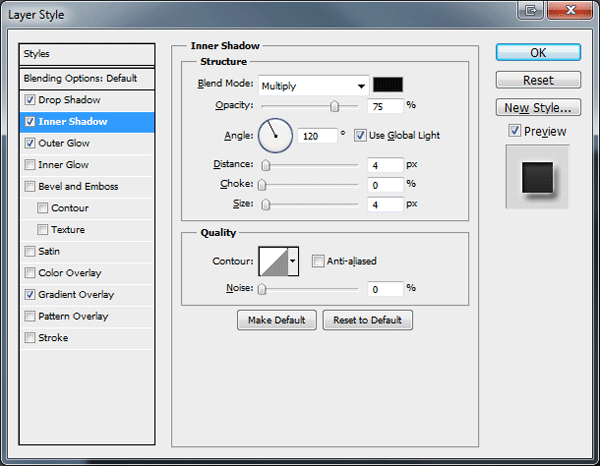
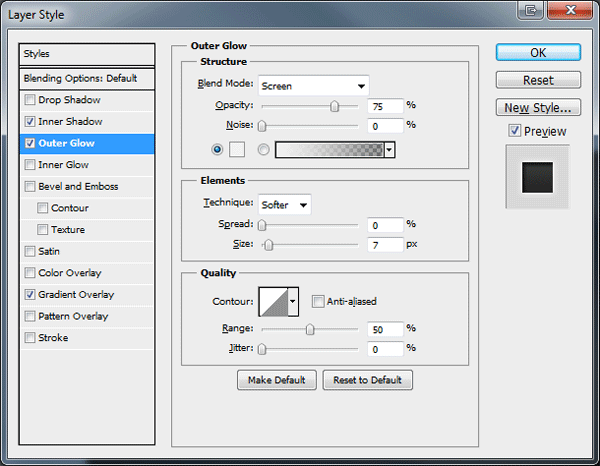
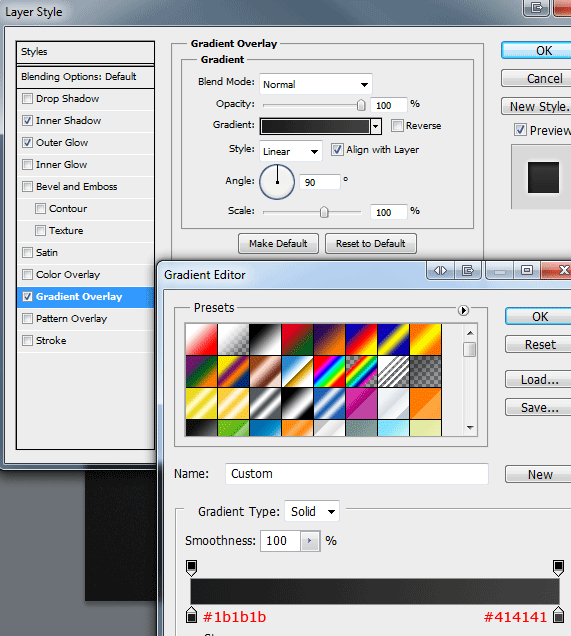
You should have something like this.

Our button is now complete, create a new group then drag all the layers into the group, label the group button. Duplicate the group then rename the new group glow, inside of the glow group change the layer styles of the power symbol to the ones below.
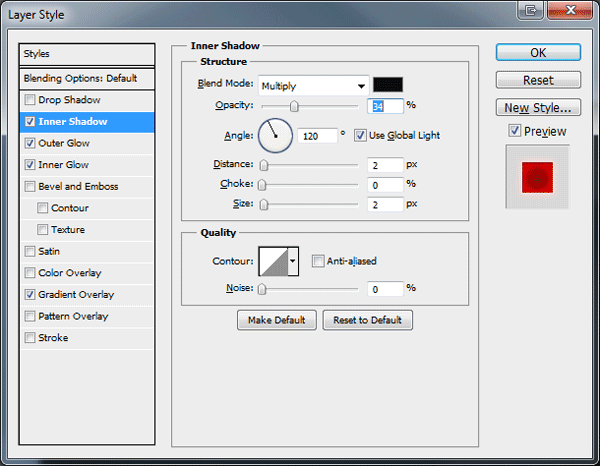
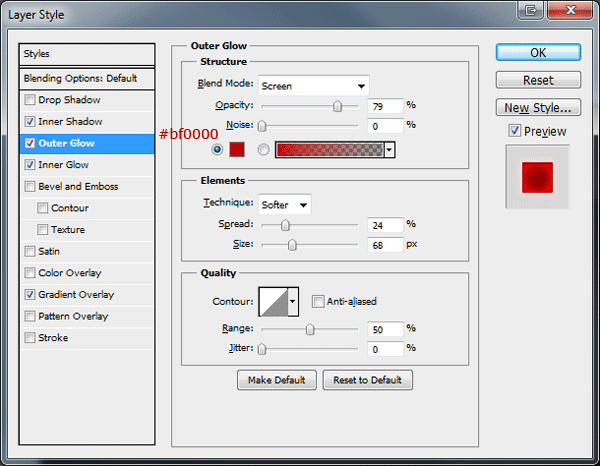
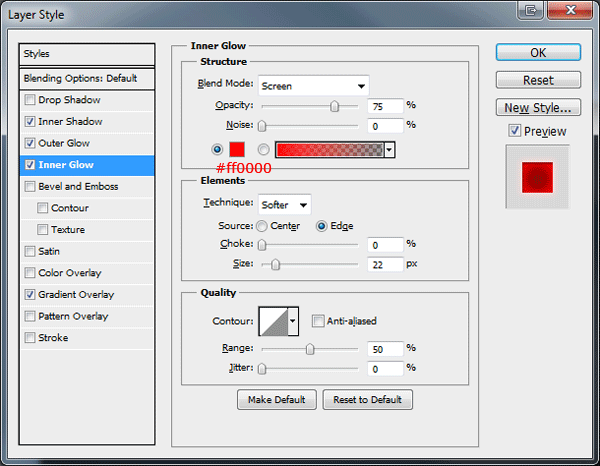
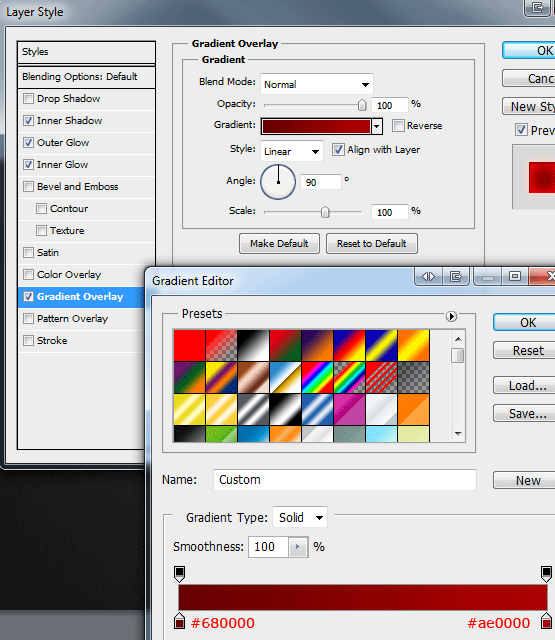
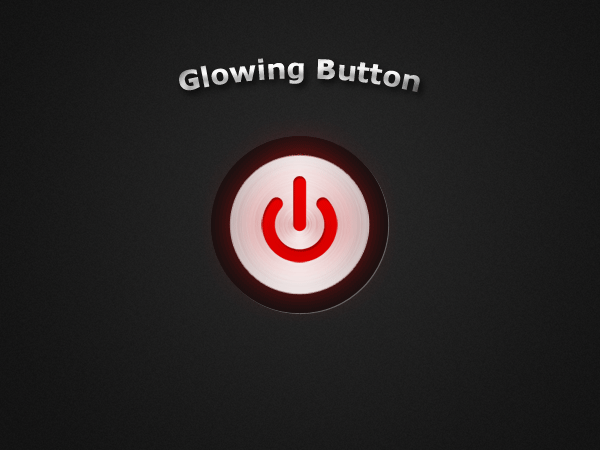
You should have something like this.
Making The Animation
Hide the "Glow Group" leaving the other group visible then go to the animation panel "Window > Animation", the animation panel should appear at the bottom of the canvas, select the little grey arrow on the right hand side then select "Convert To Frame Animation".
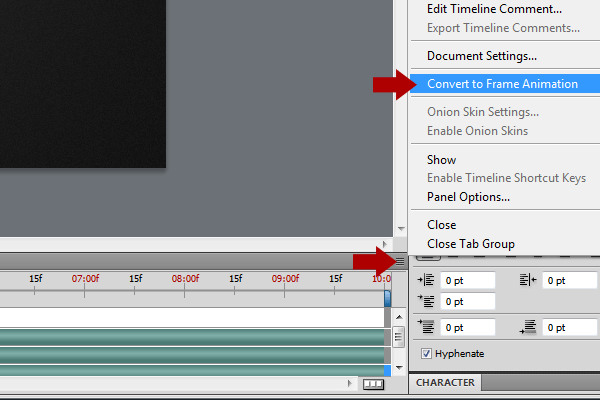
In the animation window select "Duplicate Frame", the first frame should have the normal state of the button with the glowing group hidden. On frame two you should have the normal state of the button group hidden and the glowing group visible. Simply use the normal way of hiding and unhiding the layers with the little eye button on the layer.
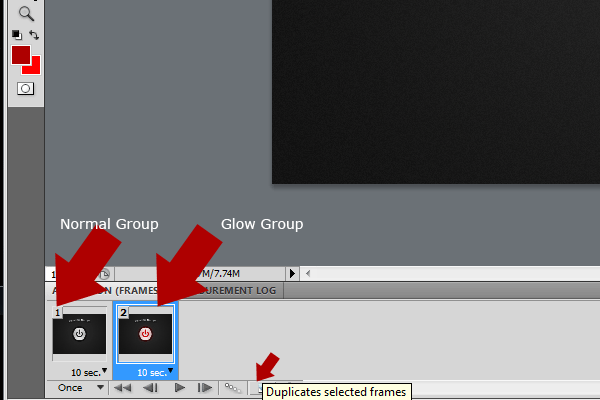
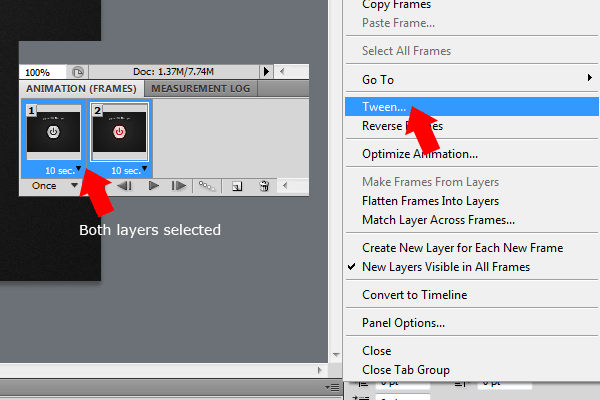
If you select frame one the glow won't be visible, if you select frame two the glowing layer should be visible if this is the case then you've done in right. Now select both frames by clicking whilst holding down the "Ctrl Key" on the keyboard, once both frames are selected select the little grey arrow again and select "Tween".
When the tween box appears enter the following settings.
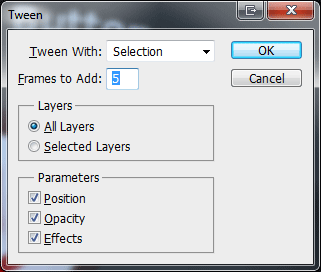
When you press OK you will have 5 new layers containing the animation, if you press play you can see the animation in action. At the end of the animation you will notice how it jumps back to the beginning. To make the animation seamless select all 7 layers.
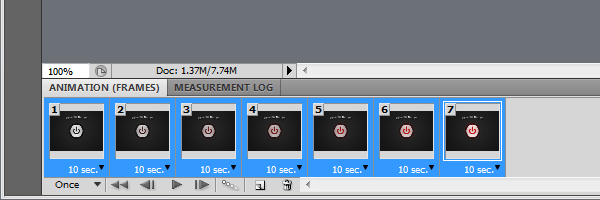
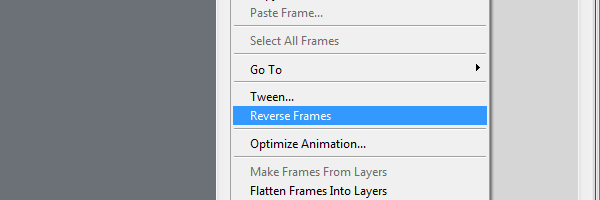
Once all the 7 layers are selected click the duplicate button, you should now have 14 frames. Click the little grey arrow again and select "Reverse Frames".
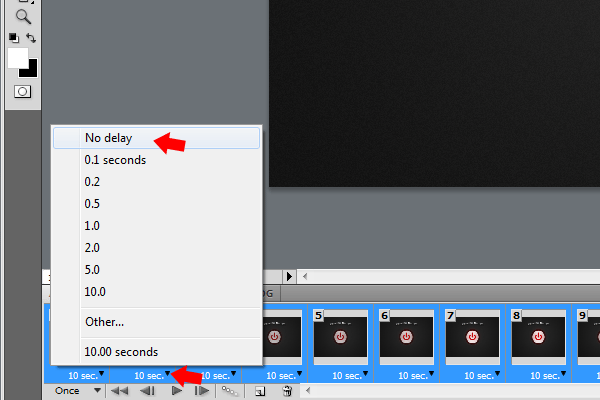
Before we test the animation select all 14 frames then click the little black arrow on one of the layers and set the time to "No Delay".
Test and save your animation and your all done.
Conclusion
Thanks for taking part in this tutorial, if you managed to finish this tutorial I'd love to see some of your results. Feel free to post them up on our Facebook Fan Page.

About the author
Copyright © . All Rights Reserved
