Iphone Exclusive Tutorial
- The Best Photoshop Actions Ever
- Photoshop tutorials
- Freebies: Round-up of 100 Free Textures
- 100 Free Patterns to Boost Your Creativity
- Adobe Photoshop CS6 Classroom in a Book
Tools Used:
Adobe Photoshop
Wacom Tablet (not required)
Various Stock Photos
Total Creation time: Around and hour and a half.
Step 1: Scene Setup and Scene placement
Ok, we can start by creating a new document in Photoshop; when the new document dialog appears set your size to be 2000*3000. Once that is done we can head over to SXC to grab our background. The stock for our background can be found at: http://www.sxc.hu/browse.phtml?f=download&id=130280
once you drop the background stock into your document you will notice it is too small!
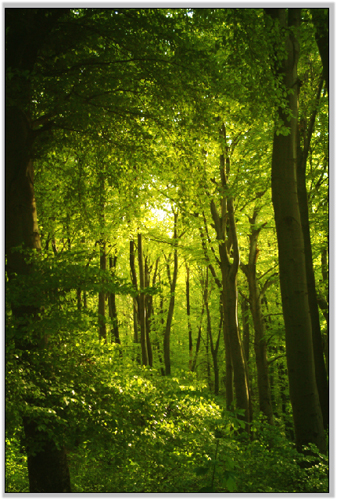
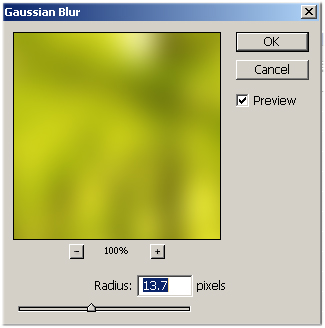
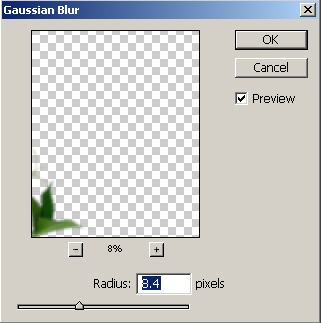
Just free transform the background image until the top and bottom both fit in the document. Once that's done we will apply a Gaussian blur. The Gaussian blur will help to create a since of depth (which will play out later in the tutorial); so once you have your Gaussian blur dialog up set it up as mine is in the below screenshot.
Now we need to add in our focal point. Our phone will be a 3Gig Iphone. The stock of our Iphone can be found at : http://media.obsessable.com/media/2008/09/18/iphone-3g.jpg
Just copy and paste the above stock into your Photoshop document as you would any other piece and we can continue.
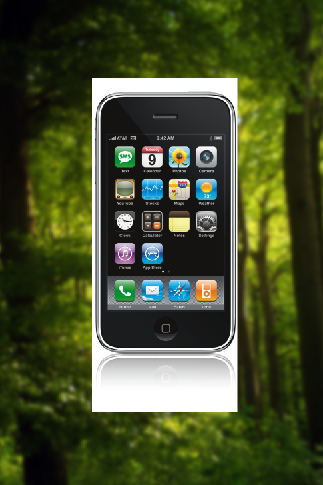
Now we need to isolate the Iphone out. There are various techniques you could use during isolation but its important your are comfortable with your own isolation technique. So for this I would suggest you isolate the phone out the way you would isolate any other stock out. Having said that, I will be using the magic wand tool (W on your keyboard) with a tolerance setting of about 20. Once you have successfully isolated the phone we can move on.
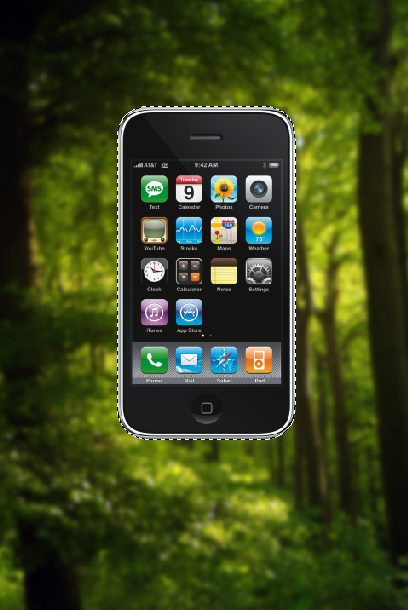
Now we need to free transform the phone down to a more adequate size. So enable your free transform tool (Ctrl T) and grab a corner point and size it down about 35% of the original size. Once that is done place it in the center of the document. As of now your document should look similar to the below screen shot.
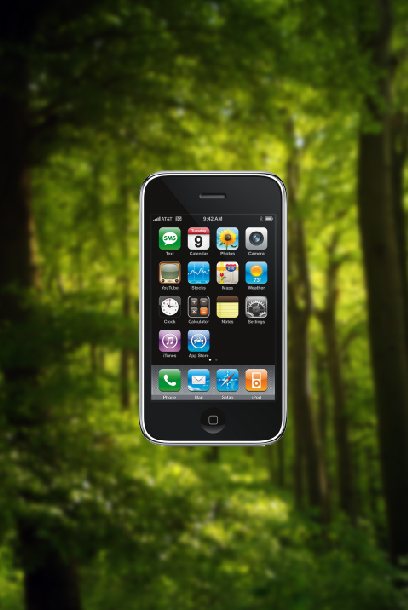
Step 2: Vines!
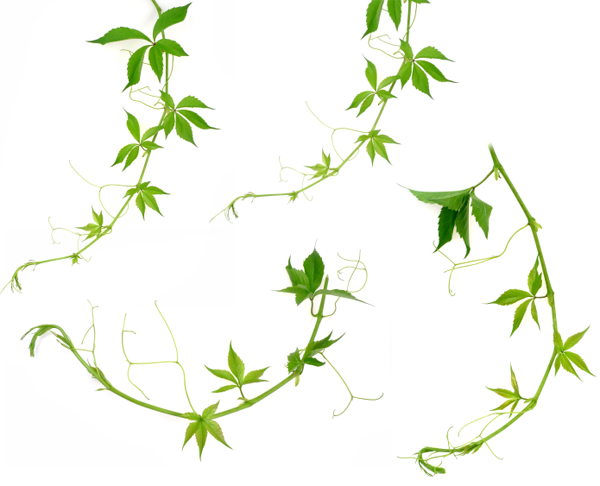
Now we need to begin our manipulation to the phone. We will do this by isolating out some vines and dropping them directly on top of the phone.
The vines I will be using are from Stockexpert.com however you can find plenty of nice vine stocks on sites such as Deviant art and Sxc. Below is a list of vine stocks that would be great for the creation of this piece.
http://nekrosys.deviantart.com/art/Vines-Stock-1-3091595
http://nekrosys.deviantart.com/art/Vines-Stock-2-3091693
http://nekrosys.deviantart.com/art/Vines-Stock-3-3091996
http://nekrosys.deviantart.com/art/Vines-Stock-4-3092015
My vines look like:
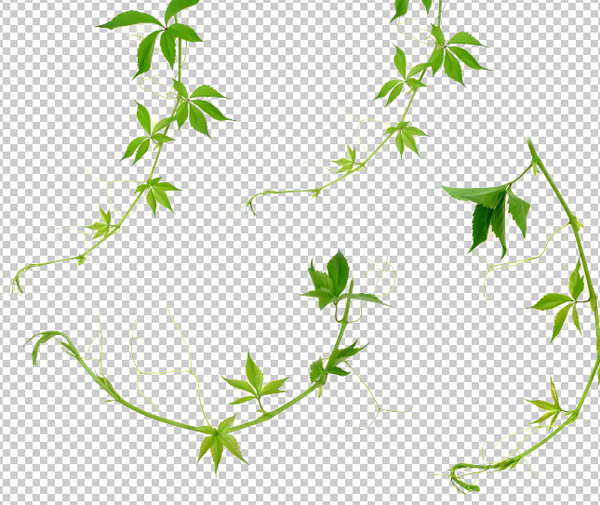
Now we need to isolate our stocks out. Again I would suggest using your own preferred method to do this, be it the pen tool, polygon lasso, magic wand tool or a layer mask and your brush. Just isolate it out you would any other stock. I again used my magic wand tool and a layer mask.
Now free transform some of your vines down and place them directly on top of the bottom half of your phone. Once you have done that, erase all the vines that go outside of the phone. Now place some vines going up the side of the phone that will cover any ugly spots where your erased prior.
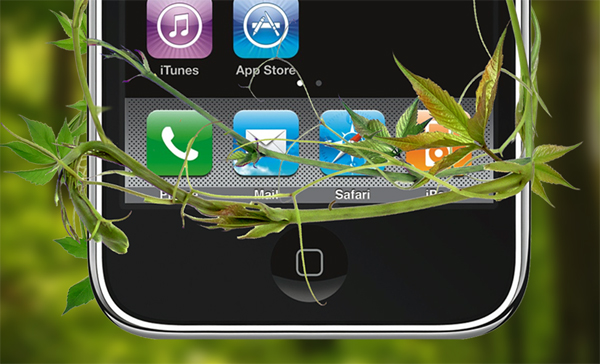
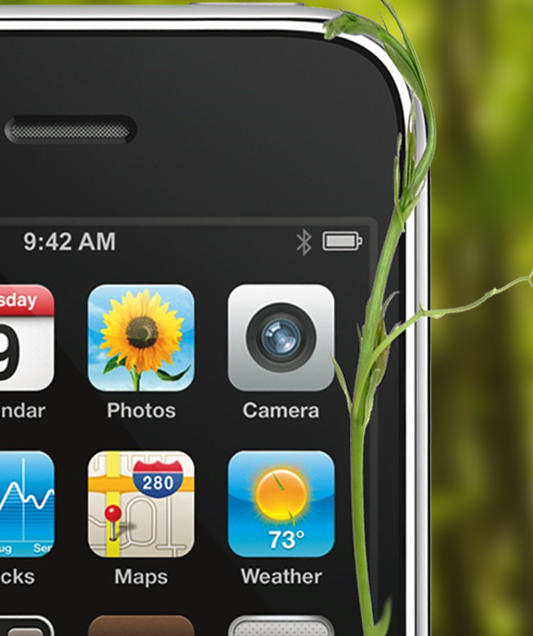
Continue placing vines at the bottom of the phone. Be sure to vary your size! If you vines start looking to replicated try these ideas out:
Slightly adjust the hue: press CTRL U on your keyboard and bump the hue up or down by about 6
Adjust the levels: Press CTRL L on your keyboard and slide the triangles at the bottom around
Auto Level them: CTRL SHIFT L will automatically correct your levels, sometimes this means a big change!
Auto Color your vines: Press CTRL SHIFT B to auto color your vines, again this can make a big difference at times.
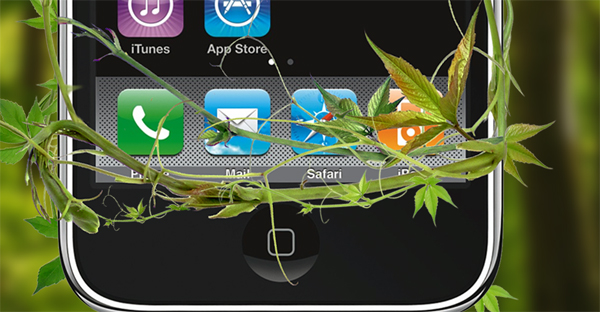
Start dropping some vines in beneath the phone; have just small bits poking out.
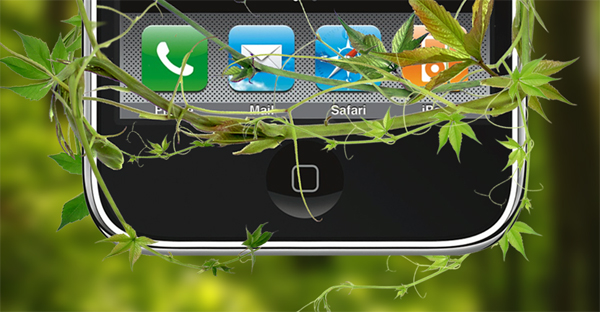
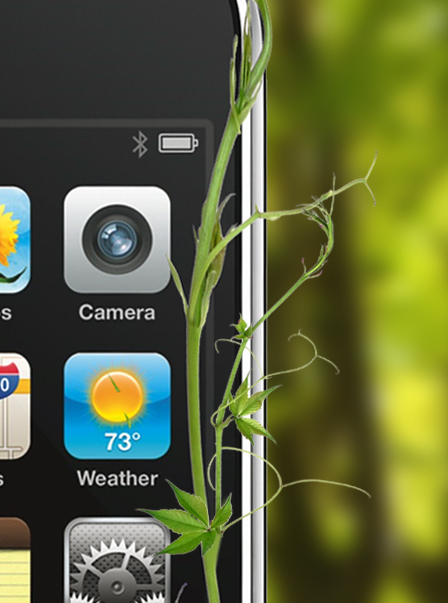
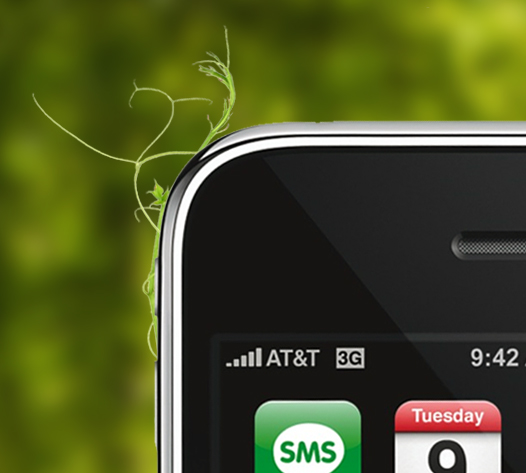
Now grab one of your vines and free transform it to about 300% its normal size, making it huge. Once this is done apply the Gaussian blur as it appears in the below screen shot.
Once the blur has been applied move your new blurry vine over to the edge of the screen so it appears as if its barely reaching into your piece.
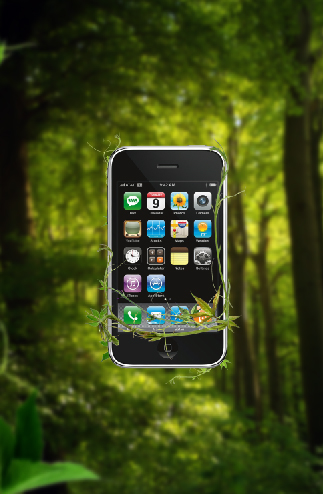
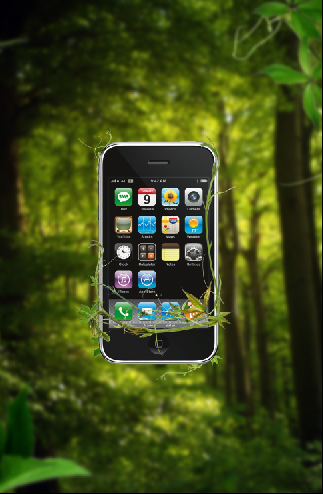
Repeat this step as many times as you like. I did it one more time to the opposite corner. My document now looks like the below screen shot.
Step 3: Ladybugs!
We can go ahead and grab a lady bug at: http://www.sxc.hu/browse.phtml?f=download&id=513002 Once you have it crop out the out of focus lady bug using your marquee tool (M on the keyboard) and isolate it the same way you isolated the previous stocks.
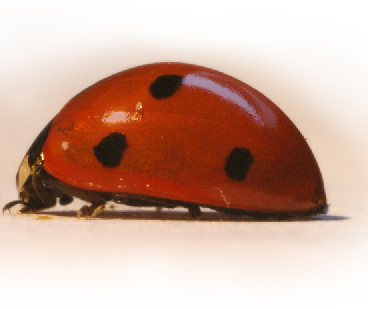
Once you have it isolated go to "Filter" > "Stylize" > "Diffuse" and set it to "Anisotropic".Ã? Due to the terrible quality of the image we will apply this filter twice and then press CTRL+SHIFT+L to auto level the lady bug.Ã? Now just size it down and place it atop your phone as if it were crawling around on it.
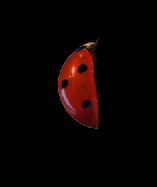
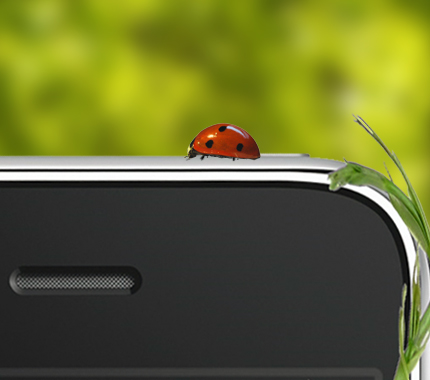
Once you have done the above steps go ahead and duplicate your layer by clicking the layer and then clicking "Duplicate layer". Once that is done we will turn this lady bug into a new lady bug!
Once you have created your new duplicate layer, press "S" on your keyboard to grab the stamp tool and then right click to open the brush settings. Once your brush settings are open set yours up as mine is in the below screen shot.
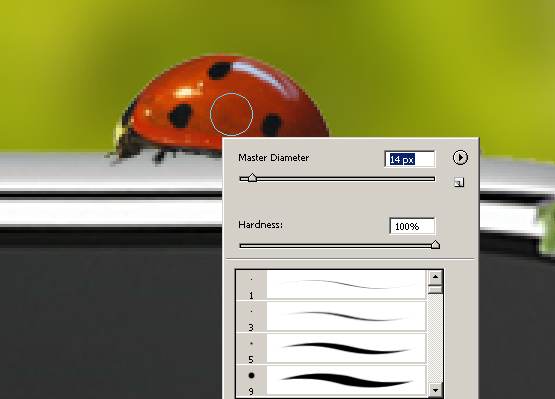
Now you want to hold the "ALT" key down and click right beside the black spot. Once you have done this release the alt key and click on top of the black spot. This should make a stamp of our first click and then pasted it on our second. Repeat this step on all of your spots to get an effect like the below screen shot.
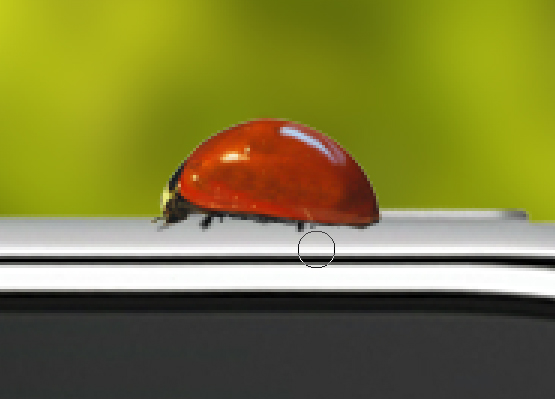
Now we need to add in our new black spots. So press "B" on your keyboard and set your brush up as mine is.
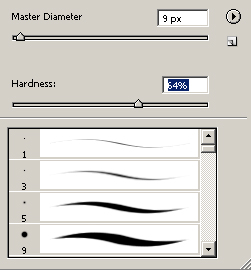
Now just draw some circles on your lady bug! Don't worry about them looking like ovals or weird shapes just so long as it looks good to you. My new lady bug looks like the below screen shot (Note: I did move mine to another location though!).
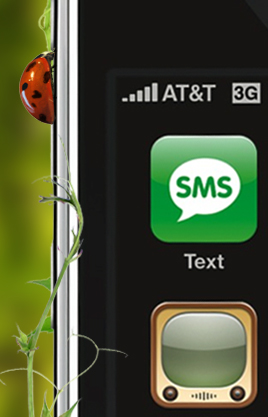
Once you have created your lady bug repeat the above process and create an army of lady bugs. Decrease their size and spot orientation to increase the verity. And start placing them all over the phone.
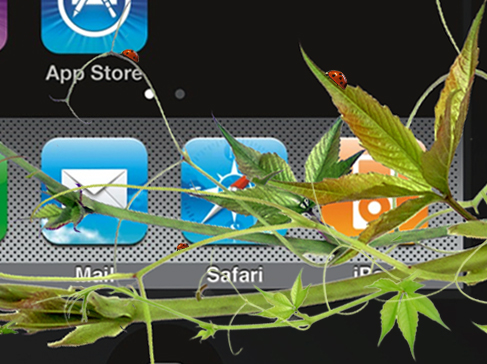
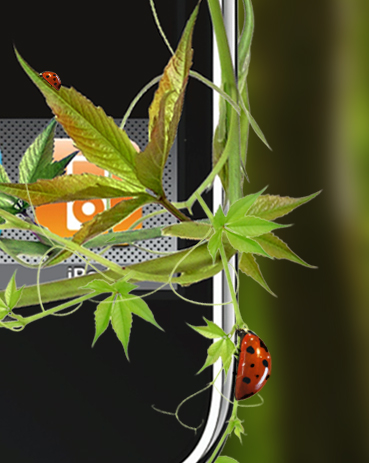
Size some down using your free transform tool and place them on the vines to create a more natural looking piece!
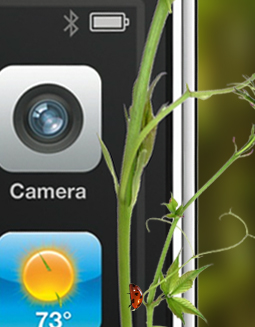
Once you have created your sea of lady bugs it's time to create one or two more and size them up! How big? Well that really depends, how big are the vines coming from the outside of your document we created earlier? Mine got increased by about 200%. Once you size your new ladybugs up go ahead and apply the same Gaussian blur that we applied to the vines and drop them on.
Your document should look similar to mine in the below screen shot now.
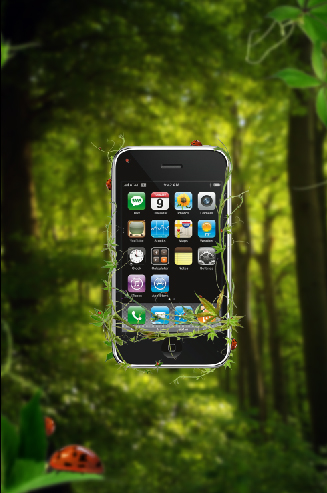
Step 4: Splashes
For the splashes we will head over to Sxc and grab this stock http://www.sxc.hu/photo/884261
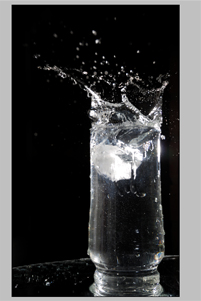
Once you have dropped it into your document erase everything out but the top splash. Now use your free transform tool to size it down and place it at the bottom of your phone as I have done in the below screen shot.
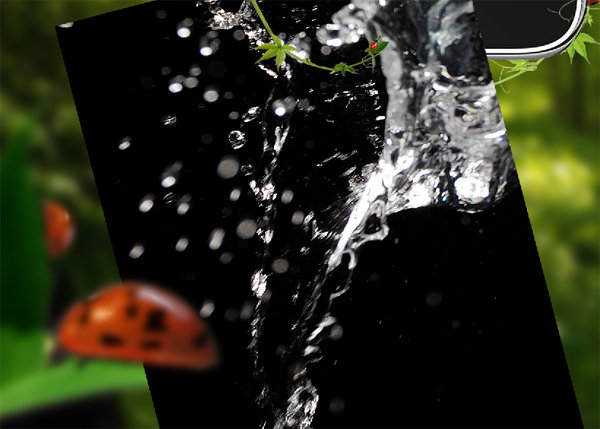
Now we can set our layers blending mode to "Screen". This will cause all of the black in the stock image to become invisible. Once you have done this use a medium sized eraser with a medium hardness to clean it up as I have done in the below screen shot (A medium eraser is about 45px with a hardness of about 45%)
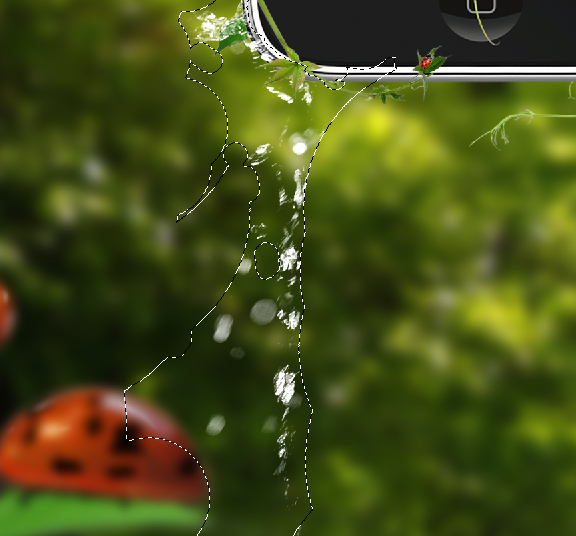
Now repeat this process as many times as you like. I choose to do it once more with a new stock located at http://www.sxc.hu/browse.phtml?f=download&id=884260
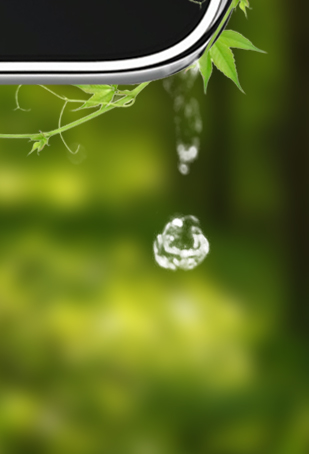
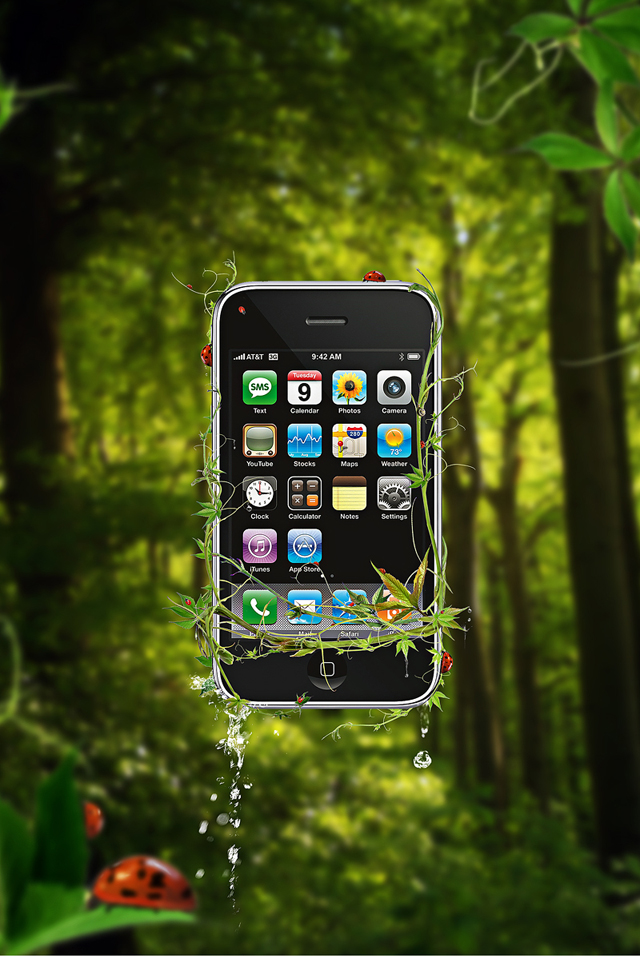
And now we are done! But it doesn't have to be done; you could drop in more stocks or do all kinds of things. I used a hard 3PX brush to paint some water to finish mine but I would not suggest it unless you're very familiar with Photoshop.
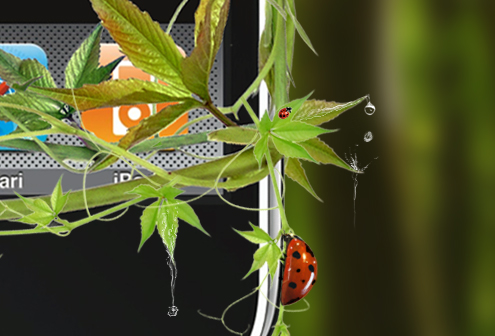
I hope you enjoyed reading this tutorial and have come out with a nice piece. If you have any questions feel free to ask and I will do my best to answer them!
Related Posts:
- How to Create a Porcelain Skin Effect in Adobe Photshop CS6
- Pure an Energetic Photomanipulation
- Vintage Yourself! The Easiest Way to Create Vintage Photo Effect
- St Valentine's Day Photo Manipulation (Exclusive Tutorial)
- Night of Spells(Exclusive Tutorial)
- When the Dreams Come True(Exclusive Tutorial)
- Na vi avatar photo manipulation exclusive tutorial
About the author
Copyright © . All Rights Reserved
