Create 3D Vector Retro Badge
Creating
a vector badge in Photoshop or Illustrator for beginners are popular on
design community. But giving a 3D depth to the vector badge is new and
can be achieved in few steps. Author can makes the tutorial as basic as
simple or complicated depends on the designer who is writing. We always
try to make it short and detail, so that new designers or other readers
can achieve it.
I am using Adobe Illustrator CS6 version(demo), Created this vector
retro badge in less than 3 minutes. I hope you do it more quickly than I
did, You can play with the settings for more designs. All are depend on
your imagination and adding creative to your work.
I would like you to ask, try this in your older version and tell me if
it works - mainly the 3D look alike depth part, it's a illusion while we
look at the badge.
How-To: 3D Retro Vector Badge
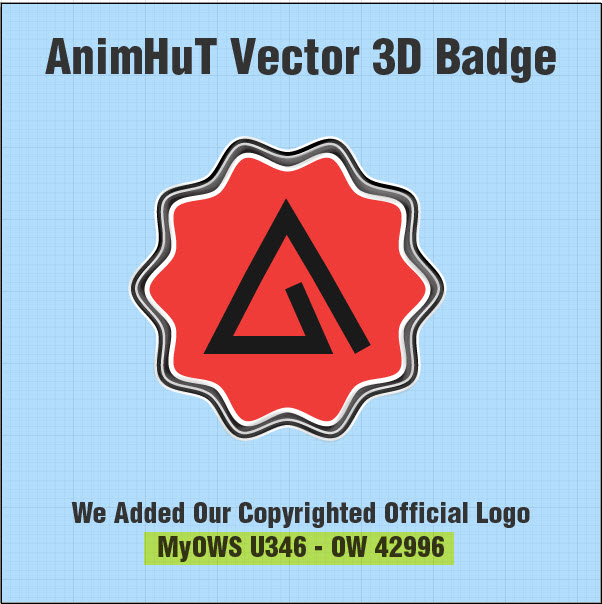
Final Output:
Step:1
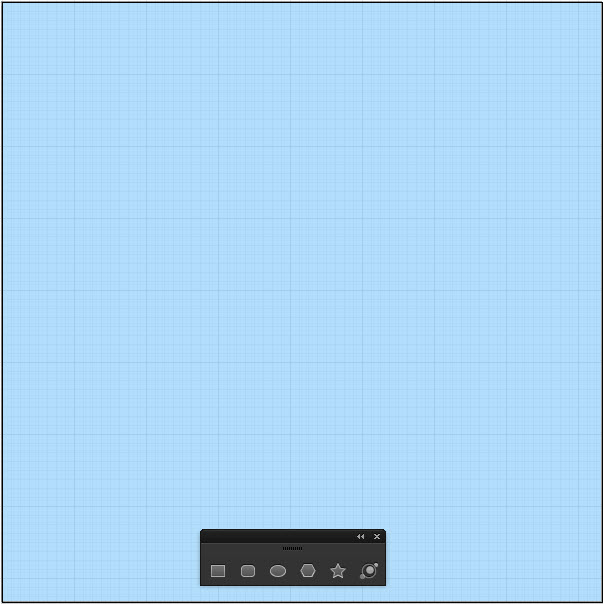
The Basic steps are as usual, open a new file by selecting a file
menu and select new document and choose your own document dimension.
This is an illustrator tutorial and resizing cannot affect your desired
output. We created 600px square for web optimization.
Step:2
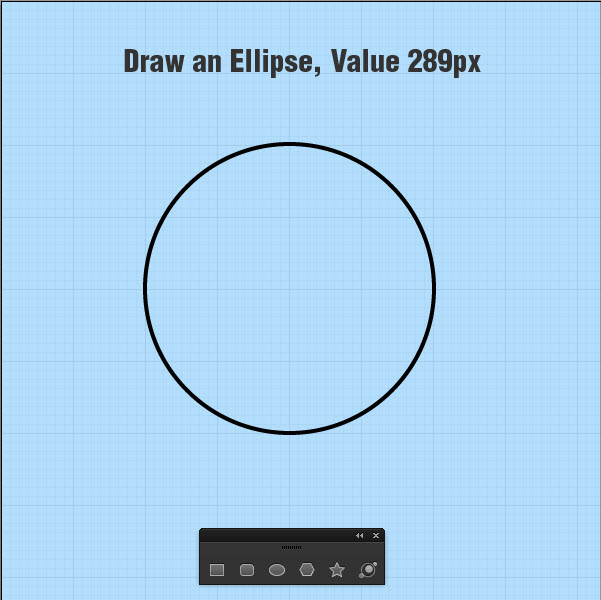
Now draw a Ellipse to the center of the artboard by manually or click on the art-board and select the value 290px and enter.
Step:3
Convert your ellipse object into retro style first, To get that go to
Effect menu -> Distrot & Transform -> ZigZag tool and apply
the Following values.
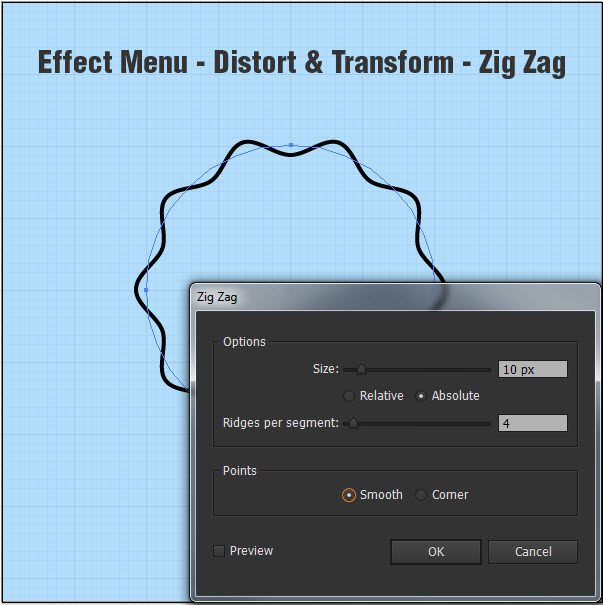
- ZigZag Option = 10px
- Ridges per segment = 4px
- Points option = Smooth
Step:4
In Photoshop when you copy and paste or duplicate has different
actions, we are going to duplicate and paste in-front of the object.
Remember to have duplicates of a shapes, in case you made a mistake with
your current share and saved it. Why we are duplicating or Copy and
Paste in front (Ctrl+C & Ctrl+F) so that we don't want to misplace
even single pixel, in some designs it will affect after all your work
have been done.
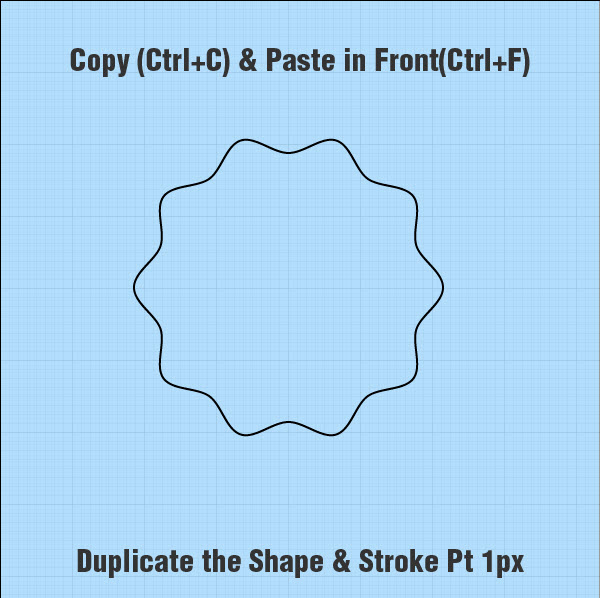
Note: You can Lock an object or shape while working over an same object, Ctrl+2 is the keyboard shortcut.
Step:5
Adding 3D effect to the retro badge is simple, Press F5 on your
Keyboard or from Windows menu select brush palette. From the Brush
option choose Other library and select "Bristel Brush".
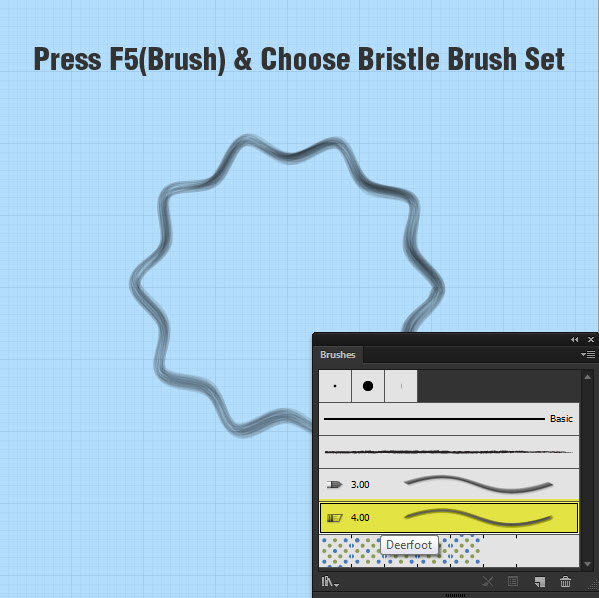
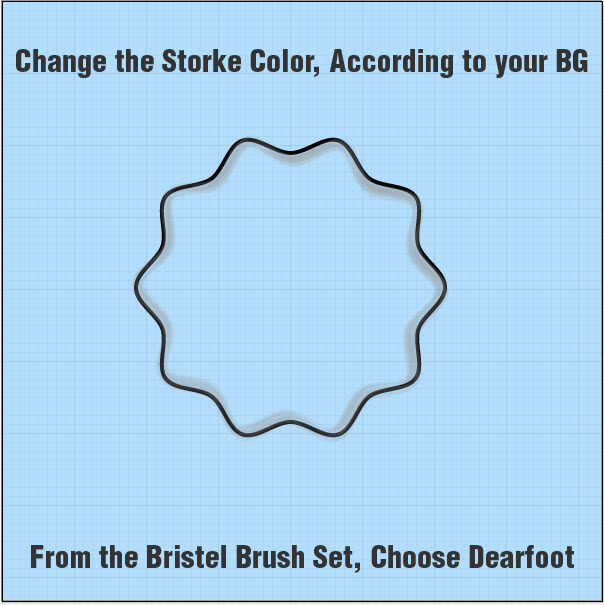
Now Change the stroke accordingly to your value you have selected and
change the stroke color which will be appropriate to your background
design or color you selected. Now choose "Dearfoot" brush from Bristel
brush set.
Step:6
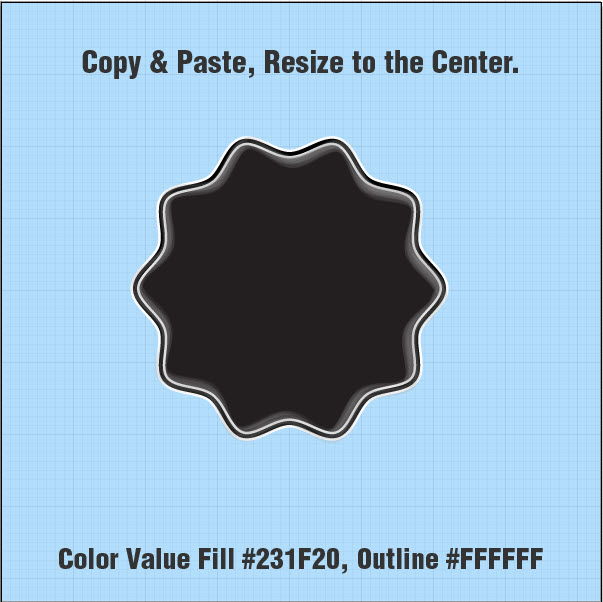
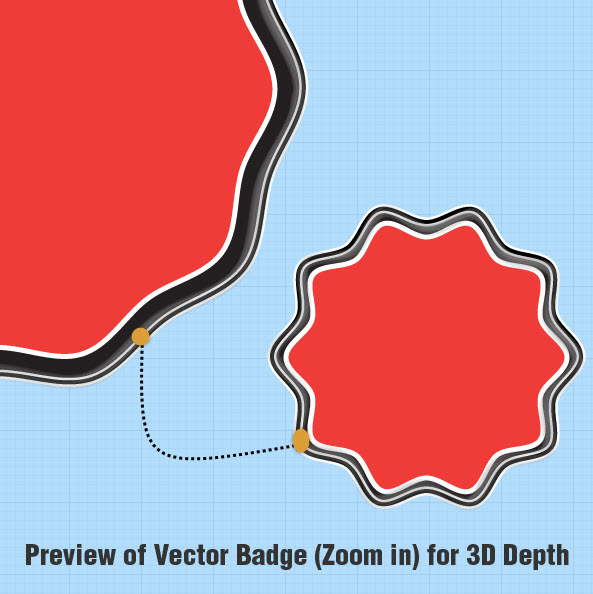
The 3D look will be appear after we add out base shape and background
share to the design we made earlier. Time to unlock the Basic retro
shape we made at the beginning of this tutorial - Alt+Ctrl+2 and
Duplicate them(Ctrl+F). Now apart from stroke fill the shape with Color
value #231F20 and Outline color value #FFFFFF. Re-size the shape to the
center of the badge outline.
Step:7
The Design is almost finished, just duplicate the shape with fill and
outline once again, Re-size this time around 15-20% and change the Fill
color #EF3C39.
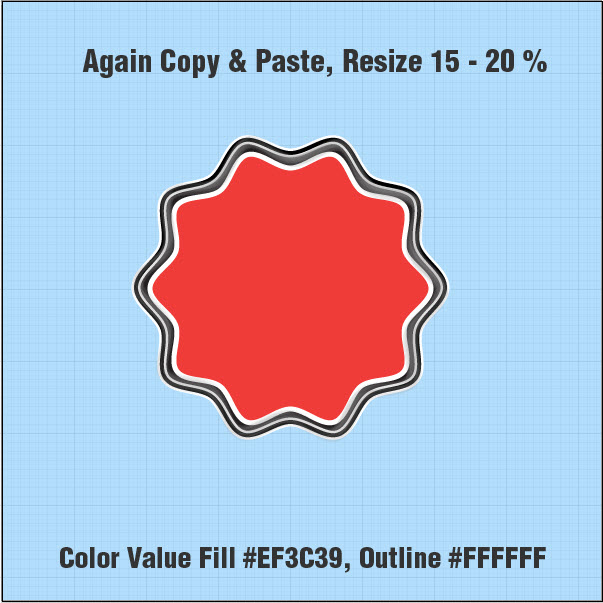
Preview of Vector Badge Edge - Zoom in
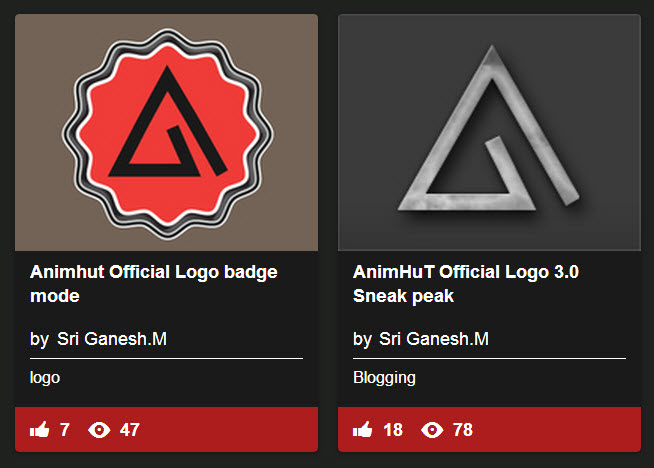
Final Output of Retro Badge

Hope you learned a few techniques from this Basic Illustrator Tutorial
and we like to show some other design concept we got while working on
this design project.
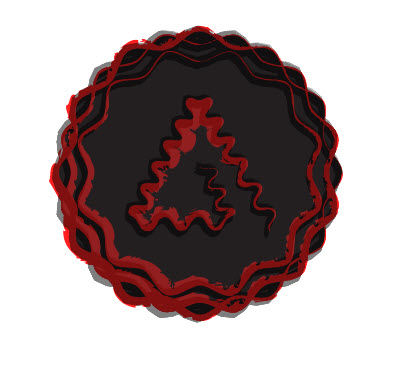
Halloween 2012 Special Retro Logo
If you liked this tutorial, kindly share with your friends on social
media and Google plus. Let us know which tutorial you like to achieve,
we try our best to write as you described.
Copyright © . All Rights Reserved