Vortex Texture Effect
Vortex Texture Effect
Photoshop contains a variety of combinations, for instance, using Difference Clouds for your texture effect. The tutorial below is another example for beginners trying to experiment the vortex texture effect without using any images. Please feel free to apply the difference filter or setting during the process and I am sure that you also can find unlimited possiblilities for texture effects.
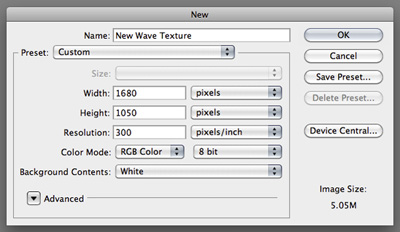
Press Ctrl/Cmd + N to create a document with these settings – Resolution: 300pixels/inch, Width: 1680pixels, Height: 1050pixels.
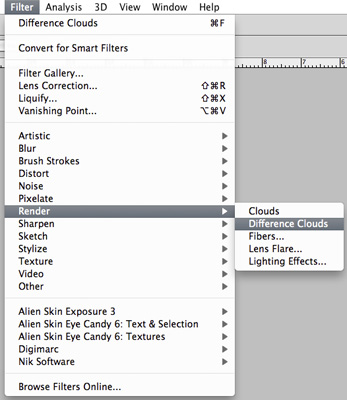
Press D to set the default foreground color to black. Hold Alt + Backspace/Delete to fill in black. Then, go to Filter - Render - Difference Clouds.
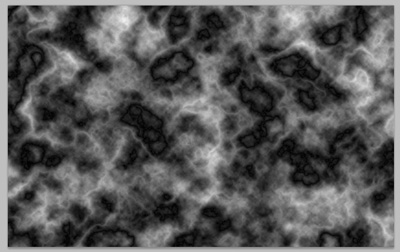
Press Ctrl/Cmd + F a few times and you will achieve a similar result like this.
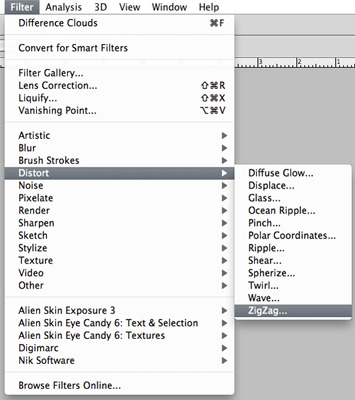
Go to Filter - Distort - Zigzag.
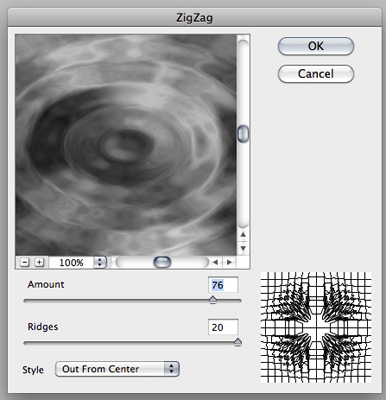
Choice the Style to Out From Center and set the Zigzag Amount: 76, Ridges: 20.
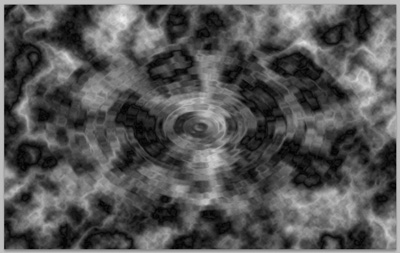
This is the result after applying the ZigZag effect.
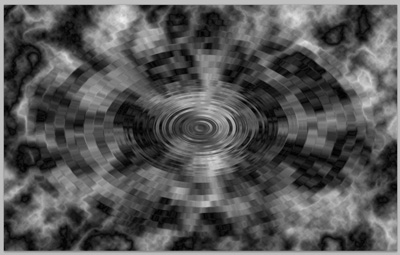
Press Ctrl/Cmd + F a few times to enhance the Zigzag effect.
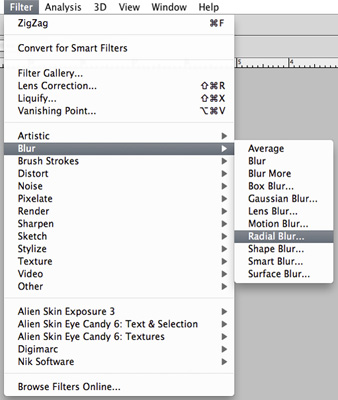
Go to Filter - Blur - Radial Blur.
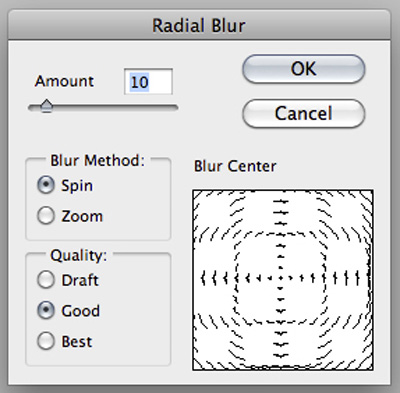
Set the Amount to 10.
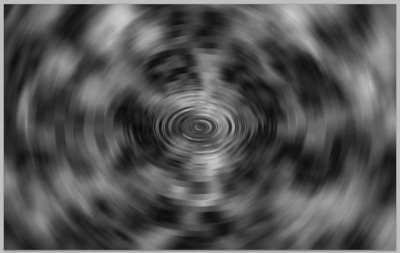
You will achieve radial blur effect like this.
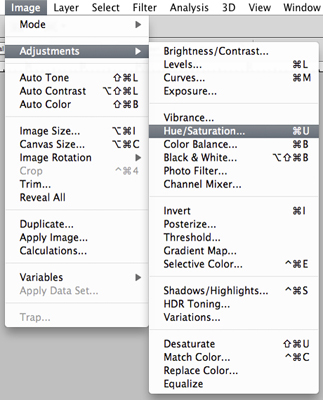
Go to Image - Adjustments - Hue/Saturation to change some color.
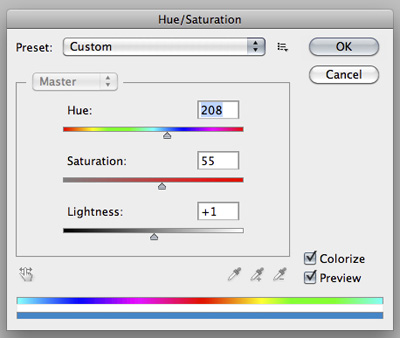
Or press Ctrl/Cmd + U to adjust the texture's color. Check Colorize and set it to Hue: 208, Saturation: 55, Lightness: 1. Over here, you can tweak the settings to suit your own personal preference.
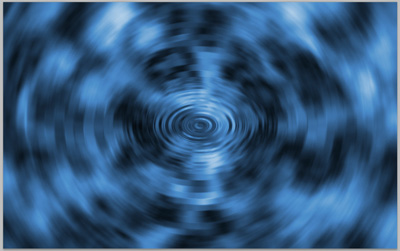
This is the color after applying the setting.
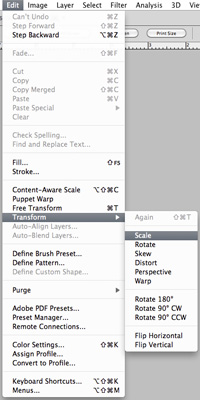
Go to Edit - Transform - Scale or press Ctrl/Cmd + T manually to adjust the texture size.
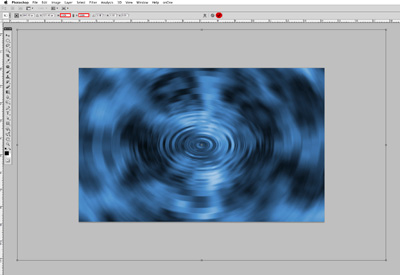
Set the Width: 150% and Heigh: 150% and check the icon on top to confirm the amount.
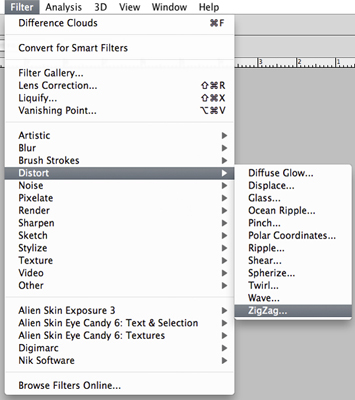
Go to Filter - Distort - Zigzag again.
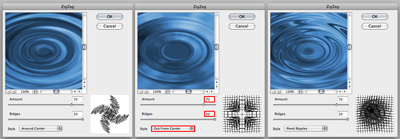
During this stage, please feel free to experimnet the effect by using difference Style like Around Center and Pond Ripples. However, I will set Out From Center to Amount: 70 and Ridges: 20 for my final outcome.
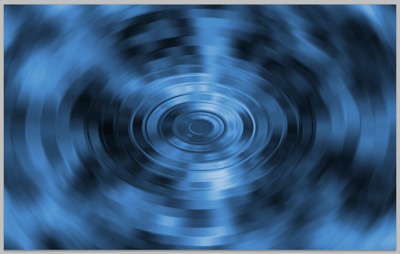
After applying it, we are getting close to the effect we are looking for.
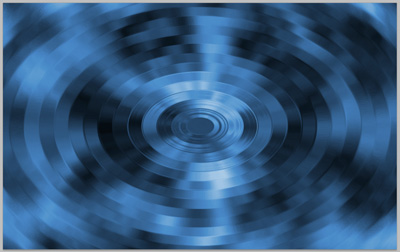
Press Ctrl/Cmd + F a few times to the texture to add more contrast and solidify the looks.
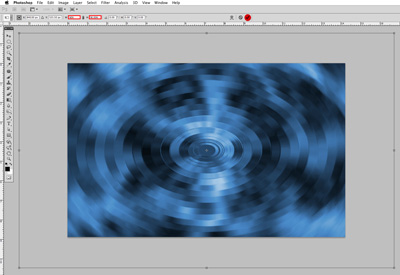
Go to Edit - Transform - Scale or press Ctrl/Cmd + T to adjust the texture size. This time, I set it to 90% for both Width and Heigh.
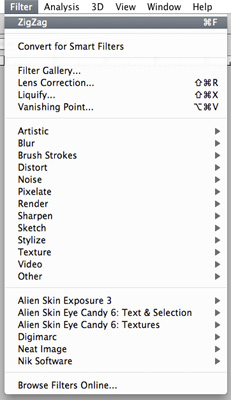
Go to Filter and check previous effect again. If you have selected Zigzag then please click Ctrl/Cmd + F two times to enhance the effect.
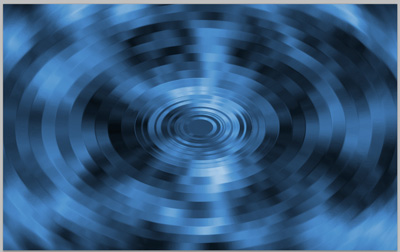
This is the effect we desire but we can still add some minor adjustment.
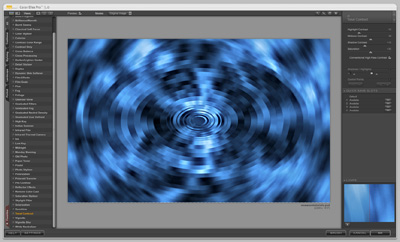
If you have Photoshop plug-in filters like Nik Software Color Efex Pro 3.0, you can go to Tonal Contrast for easier color adjustments.
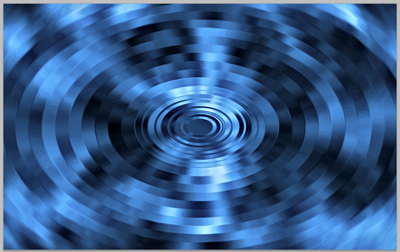
The color looks more interesting after applying the plug-in filter.
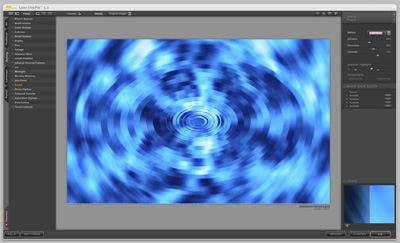
However, we still can use filter to enhancing the effect. Go to Filter - Nik Software Color Efex Pro 3.0 - Pastel to make it more contrast and saturation. Again, you can always change the settings to suit your favorite color.
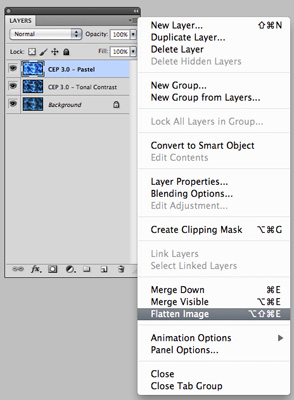
Go to Layer palette and click the icon on top right and choose Flatten Image.
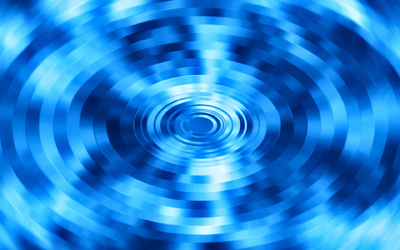
That's it! I have created my own texture effect. How about yours? Hope you have enjoyed this simple vortex texture effect tutorial.
Copyright © . All Rights Reserved