1. Make a new Layer. Try picking some wide font, I used Impact with 120 size, use gray color.

2. Control+Click (Mac: Command+Click) on your text layer to make a selection.
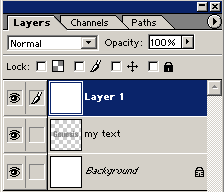
Now to to Select>Save Selection...For the name type: "my text", click OK.
Press Ctrl+D (Mac: Command+D) to deselect the text. Open your Channels window (if the Channels window is not visible go to Window>Show Channels).
3. In the Channels window scroll down until you see your text channel named "my text"..Duplicate "my text" channel by dragging it in the "New channel icon
![]() " or right clicking on the channel and selecting"Duplicate channel". Your new channel will be active by default, it should be named my text copy".
" or right clicking on the channel and selecting"Duplicate channel". Your new channel will be active by default, it should be named my text copy".

4. Make sure "my text copy" layer channel is active and go to Filter>Blur>Guassian Blur and enter about 4.0 for the Radius, click OK.
With your "my text copy" layer still active Ctrl+Click (Mac: Command+Click) on your original "my text" layer to make a selection of your original text and then press Ctrl+Shift+I (Mac: Command+Shift+I) to invert the selection.
Now press Alt+Delete (Mac: Option+Del) to clear the selection and then press Ctrl+D (Mac: Command+D) to finally deselect your selection.

5. Go back to your Layers window and create a new layer
![]() on top. Press Ctrl+A (Mac: Command+A) and fill it with white color. Deselect the layer.
on top. Press Ctrl+A (Mac: Command+A) and fill it with white color. Deselect the layer.