Create a new 400x400 image. Hit ctrl+d to reset your color palette
Now fill the background with black.
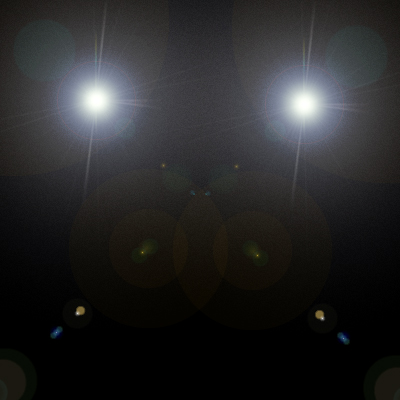
Go to Filter, Render, Lens Flare. Use the 105mm setting on 100%. Make a lens flare in the right and left top. They should make an X like the picture below
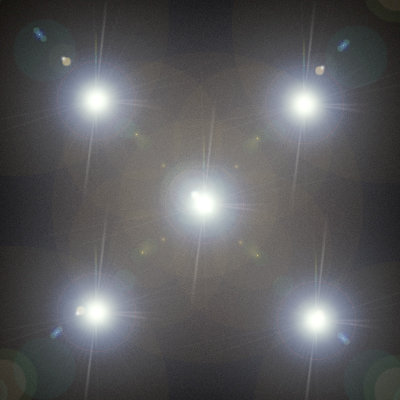
The X will be your guide as to where you will place the other lens flares. Put one on the bottom left and right so they are directly below your other 2 but on the lines of the X. Now place one more directly in the center. You should now have this
Now go to filter, distort, polar coordinates. Use the rectangular to polar setting. You will now have an orb that looks like this
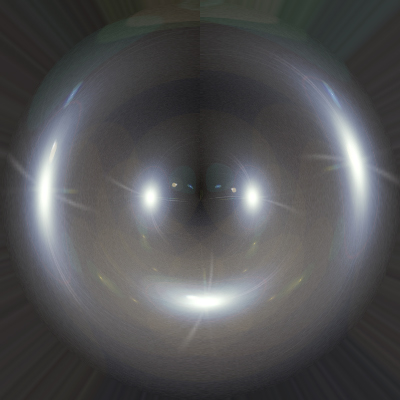
I have seen a lot of tutorials that stop here, but honestly it just doesnВ’t cut it because of the line in the middle. The way to correct this is to duplicate your orb layer. Now flip it vertically and set the layer blending option to lighten. You will now have an orb that looks like this
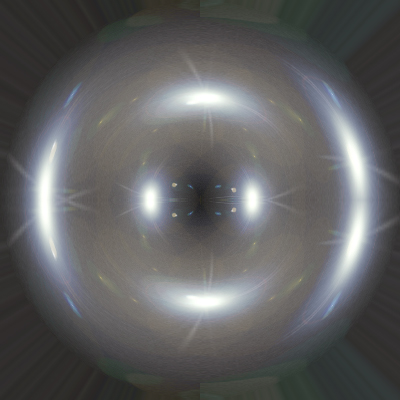
Again, a lot of tutorials stop here but we will go further. Bring out your elliptical marquee tool. Start at one corner of your image, and drag it diagonally across your image to the opposite corner. You should now have a circular selection that is surrounding your orb. Now to go filter, distort, spherizeВ… and use the default settings. You will now have this orb
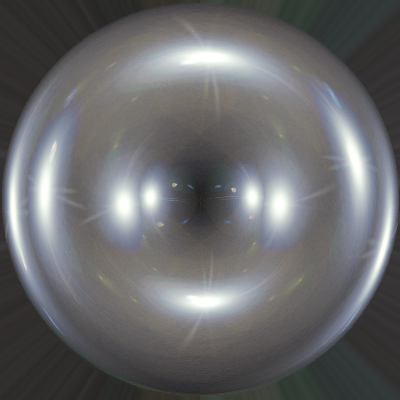
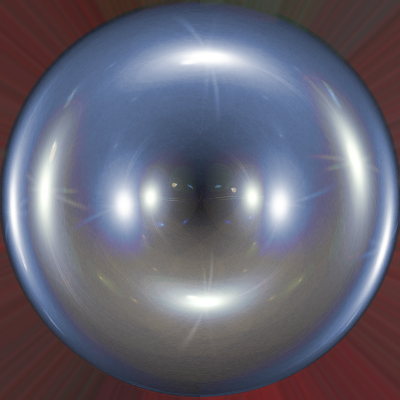
Now simply leave the selection up. We will colorize the orb now while leaving the background the original color. Go to Image, Adjustment, Hue/Saturation. Check the colorize box, and adjust to your liking. Hit ctrl+alt+I when youВ’re done to select the inverse, and make your background a contrasting color. Your final image should look something like this