

In this tutorial you will learn how to create a Zombie Text effect that works great for Halloween flyer's, pamphlets and forum signatures. The steps to create this effect are relatively easy to accomplish with a little time and effort.
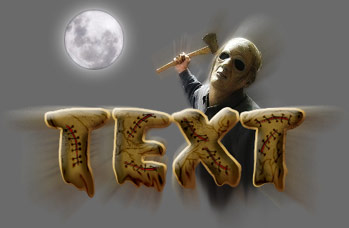
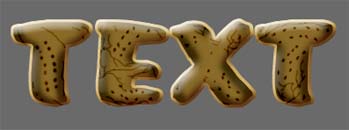
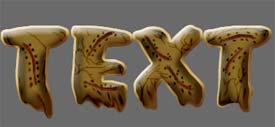
Here is an example of the text effect that we will be creating with this tutorial:
Step 1.
Open an existing document in photoshop, or create a new one. I will be working with a 400x400 canvas.
Fill the background with your desired color, I'll be using #6A6A6A for this tutorial.
Step 2.
Press Ctrl + Alt + Shift + N on your keyboard to create a new layer.
Set your foreground color to: #392700
Go ahead and get out the Text Tool (
 ) and select a nice looking font. Here I'm using a font called Accent SF, which you can download freely by clicking here.
Note: Free registration required
Here are the exact Text settings I've used:

Type out your text near the center of the canvas as I have done here:

Step 3.
Double click this layer, and apply the following blending options:
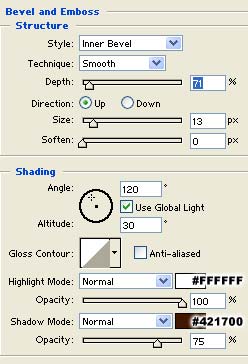
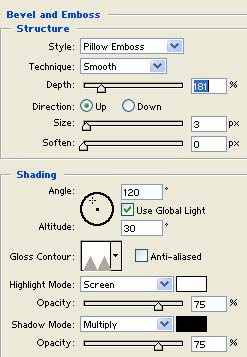
Bevel & Emboss:
Colors Used: Highlight Mode: #FFFFFF Shadow Mode: #421700
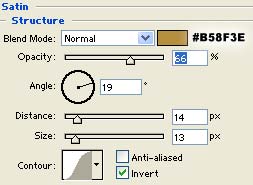
Satin:
Color used: #B58F3E
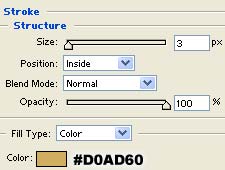
Stroke:
Color Used: #D0AD60
Result:

Step 4.
Press Ctrl + J on your keyboard to duplicate this layer.
Select the Burn Tool (
![]() ) and apply the following settings:
) and apply the following settings:
![]()
Randomly brush around the text to create various little dots and squiggly lines as shown:
Step 5.
Get out the Smudge Tool (
![]() ) and apply the following settings:
) and apply the following settings:
![]()
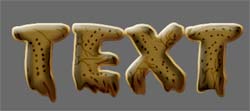
Now Distort the bottom part of each letter using the smudge tool until you have something similar to what I have here:
Step 6.
Press Ctrl + Alt + Shift + N on your keyboard to create a new layer.
Get out the Lasso Tool (
![]() ) and make a selection as I have done here:
) and make a selection as I have done here:
Fill this selection with #896A28 using the Paint Bucket Tool (
![]() ).
).
Double click this layer, and apply the following blending options:
Bevel & Emboss:
Color Overlay:
Color used: #BD0000
Result:

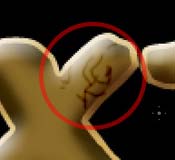
Step 7.
Repeat step #6 several times to create many different "cuts" in each letter of your text:
Step 8.
Press Ctrl + Alt + Shift + N on your keyboard to create a new layer.
Set your foreground color to black (#000000).
Get out the Brush Tool (
![]() ) and set it up with a round soft 2 pixel brush as I have done here:
) and set it up with a round soft 2 pixel brush as I have done here:
![]()
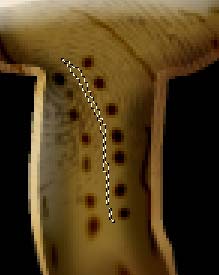
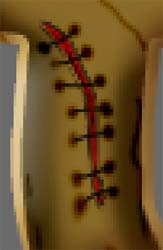
Now draw lines across each of the "cuts" that we made in steps #6 and #7 to add the effect of stitches to each letter of our text:
Here is how my text ended up, as you can see this is a very easy and fun effect to create a very scary looking text effect that works great on all sorts of Halloween related applications:
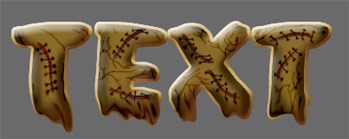
Here's what I came up with after messing around with the text a little more, and adding some graphics to the background with a few effects:
Thanks so much for reading this tutorial, I hope you've enjoyed it!