


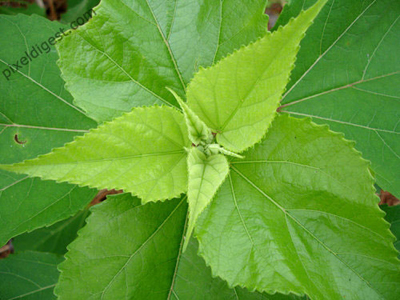
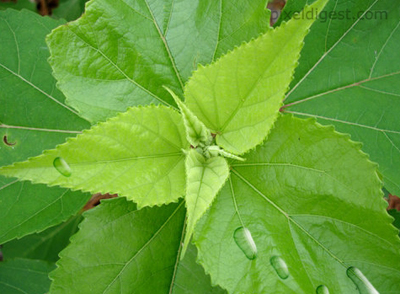
Original Image
Step1:
Create a new image File > New or (Ctrl+N). Add the setting I have Width: 500 and Height: 375. Click on the image above to download my copy. Copy and paste the image into Photoshop.
Step2:
Now with your image imported into Photoshop, create a new layer, Layer> New>Layer or (Shift+Ctrl+N) you can name it water. Set the foreground color to black. Click on the Brush Tool (B)
![]() and add the setting I have below to the brush.
and add the setting I have below to the brush.
![]()
Step3:
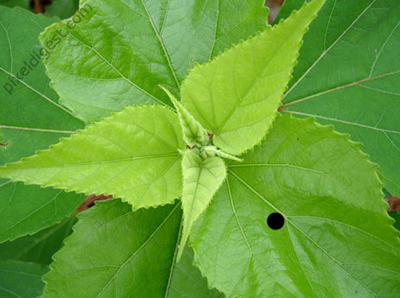
We need to create the water effect now. Use the brush and draw a black dot on one of the leafs like what I have below.
Still on the water layer click Filter> Liquify (Shift+Ctrl+X).
My Liquify setting.
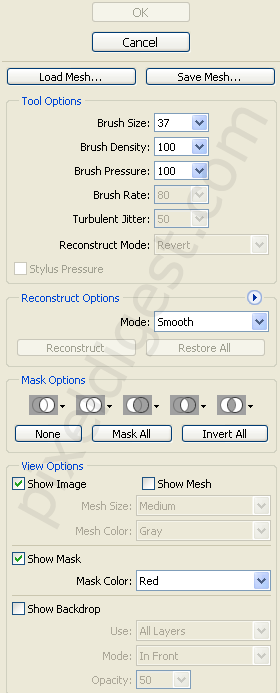
Add these setting, click, and drag the black dot down a little so it looks like the water is running down. Something like what I have below.

Step4:
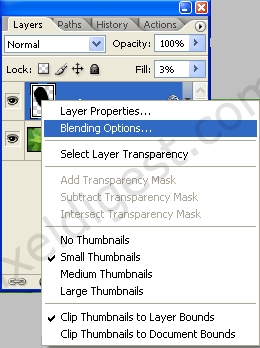
We need to add the Blending Options. Right click on your water layer and click on Blending Options as seen below.
Step5:
In the Blending Options window click on the selection below and add my settings.
Inner Shadow:
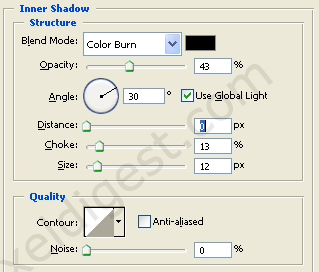
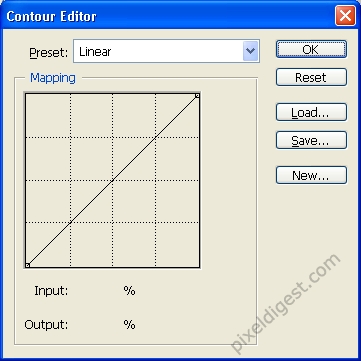
Contour Settings: Linear
Inner Glow:
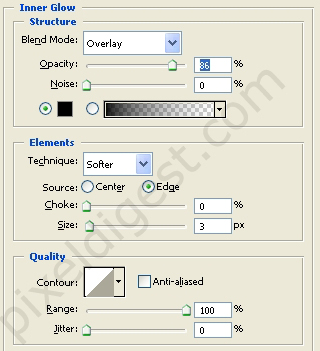
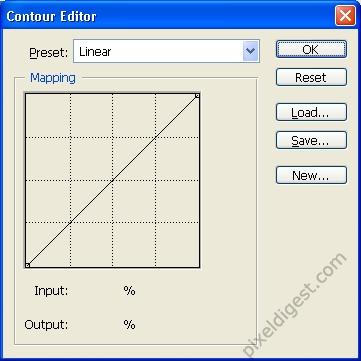
Contour Setting: Linear
Bevel and Emboss:
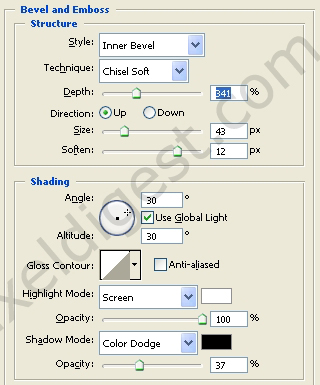
Gloss Contour: Linear

When you added the settings click ok. You can click on New Style and save it for future use.
That's it if you followed my instruction you should have something like what I have above.