

Step1: Setting up your work area and creating the Elliptical shape.
Ok, lets get started. Create a new image with the dimension 800 x 600. Set the background color to white, make sure the Color Mode is set to RBG Color and click ok when you are finished. Click View > Actual Pixels so you can view the full size of your work area. Create a new layer, Layer > New > Layer... (Shift+Ctrl+N) and name it Ellipse. Click on the Elliptical Marquee Tool
![]() and create a ellipse using the dimension below.
and create a ellipse using the dimension below.
![]()
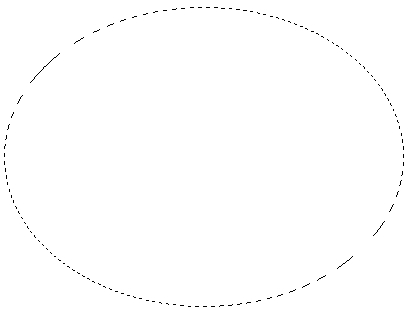
Using the setting I mentioned you should have the ellipse below.
Step2: Create the boarder around the ellipse.
Still on the Ellipse layer, click on the Paint Bucket Tool
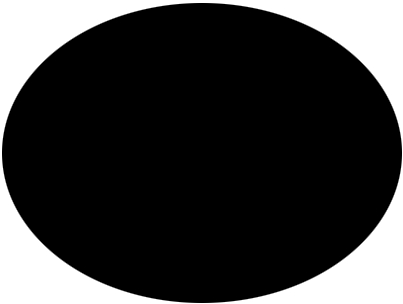
![]() and fill the selection with this black color (#000000). Now with the color added to the Ellipse layer your image should look like what I have below.
and fill the selection with this black color (#000000). Now with the color added to the Ellipse layer your image should look like what I have below.
Now right click on the Ellipse layer as shown below and click Blending Options.

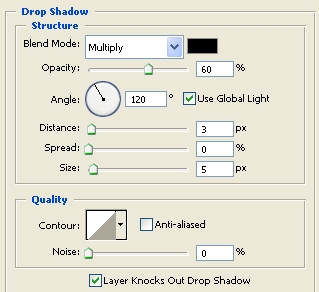
Add the Blending Options setting below to the Ellipse layer.
Drop Shadow
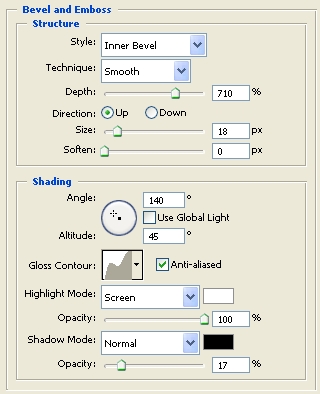
Bevel and Emboss
Contour
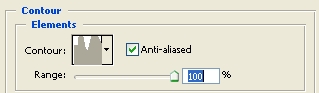
Contour Setting
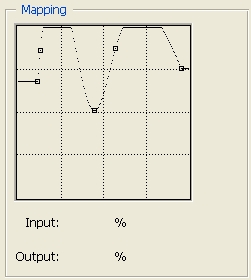
Click Ok when you are finished
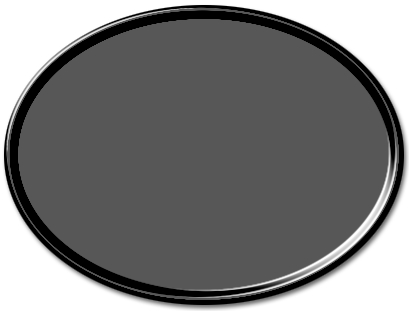
With that setting added your image should look like the screenshot below.
Step3: Creating the glass effect.
Hold Ctrl and click on the Ellipse layer which will select the ellipse. When your image is selected it should have a selection around it as shown below.

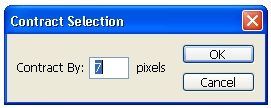
With the selection, Click Select > Modify > Contract and change the contract to 7 pixel.
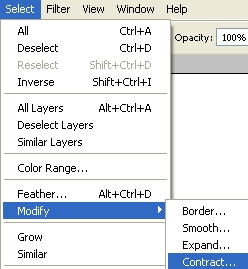
Contract Pixel Size
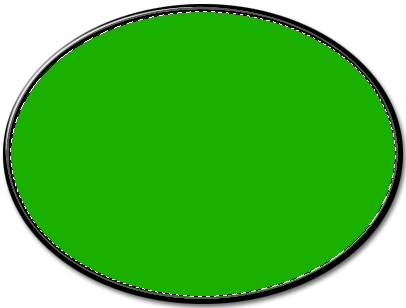
Create a new layer, Layer > New > Layer... (Shift+Ctrl+N) and name it Glass. Fill the selection with this green color (#19b000). With that your image should look like the screenshot below.
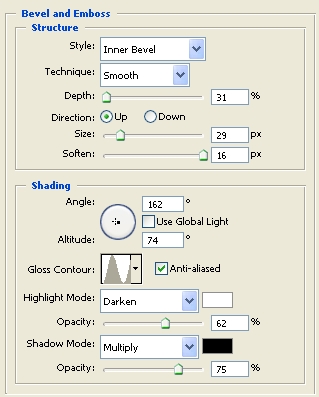
Now right click on the Glass layer as shown below and click Blending Options and add the setting below.
Bevel and Emboss
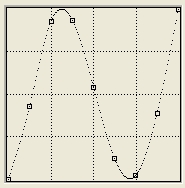
Bevel and Emboss (Gloss Contour)
Gradient Overlay
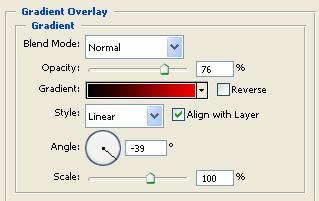
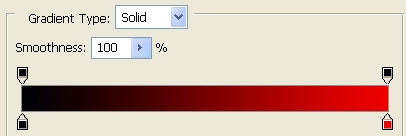
Gradient Overlay ( Gradient)
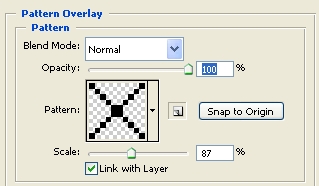
Pattern Overlay
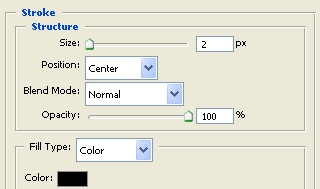
Stroke
Click Ok when you are finished.
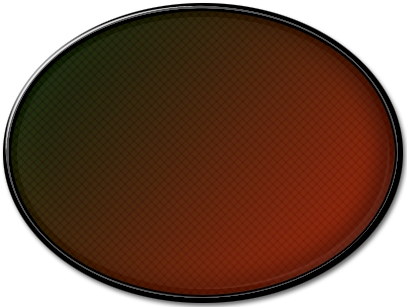
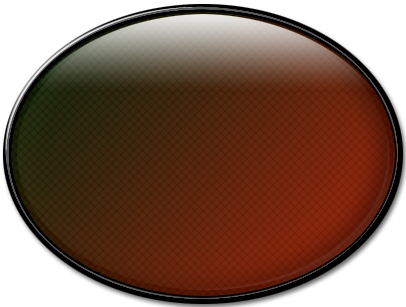
With that setting added your image should look like the picture below.
Step4: Creating the glass effect, (adding reflection)
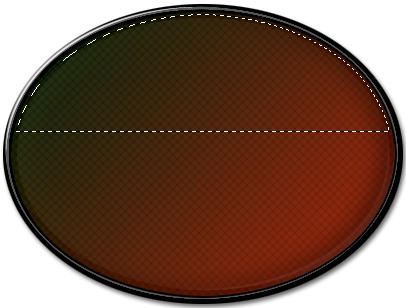
Hold CTRL and click on the Glass Layer to select it. Create a new layer, Layer > New > Layer... (Shift+Ctrl+N) and name it reflect1. With the selection, Click Select > Modify > Contract and change the contract to 3 pixel. With that your image should look like the screenshot below.

Using the Rectangular Marquee Tool
![]() make sure that subtract from selection is selected
make sure that subtract from selection is selected
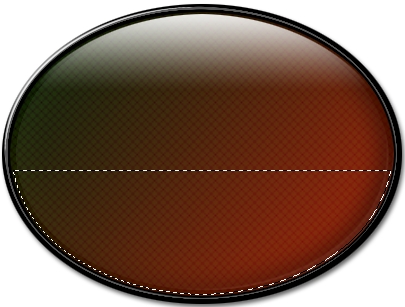
![]() and subtract from your selection to look like the image below.
and subtract from your selection to look like the image below.
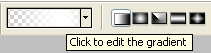
Click on the Gradient Tool
![]() , double click on the image of the gradient to edit it as shown in the image below.
, double click on the image of the gradient to edit it as shown in the image below.
When the Gradient Editor window comes up create the gradient below. Save the gradient you will need it in the next step.

Create a gradient on the selection going to the bottom to the top as shown in the image below.
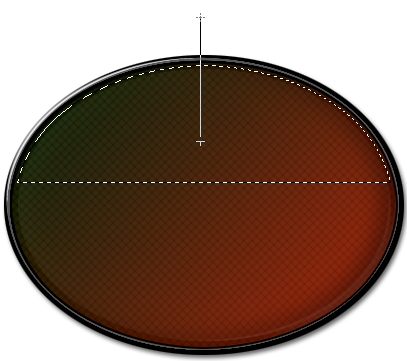
with that added you should have the effect shown below.
Now we need to repeat step 4 and place a reflection at the bottom of the image. Hold CTRL and click on the Glass layer, Click Select > Modify > Contract and change the contract to 3 pixel. Using the Rectangular Marquee Tool
![]() make sure that subtract from selection is selected
make sure that subtract from selection is selected
![]() and subtract from your selection to look like the image below.
and subtract from your selection to look like the image below.
Create a new layer, Layer > New > Layer... (Shift+Ctrl+N) and name it reflect2. Create a gradient going from the top to the bottom to get the effect below.
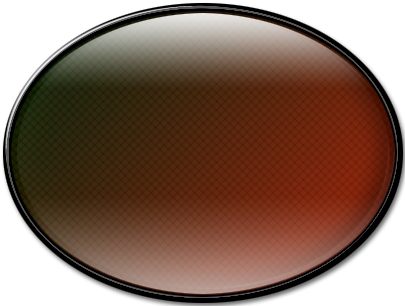
Finished:
Well that is it, hope it came out to what you expected.
