1. Create a new image 400x300 with white background.
2. Fill the background with black color #000000
3. Select Layer > New > Background from Layer to convert the background to a normal layer. Rename that layer to "Effect"
4. Make sure you have white color as foreground color and black color as background color. To get this just press key "D" and then key "X" to inverse colors. This is because some effects like Neon Glow depend of these settings.
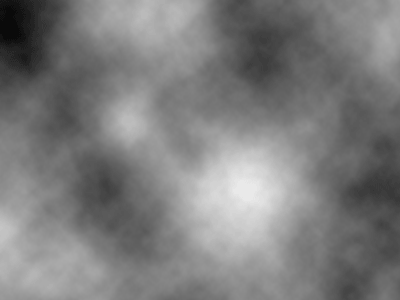
5. While you have selected "Effect" layer go to Filter > Render > Clouds
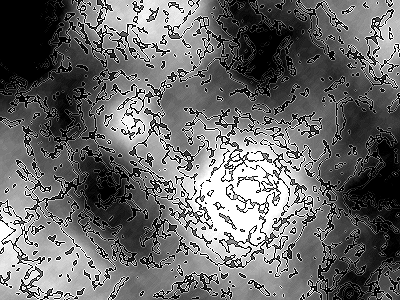
6. Then go to Filter > Brush Strokes > Ink outlines. I have used these settings:
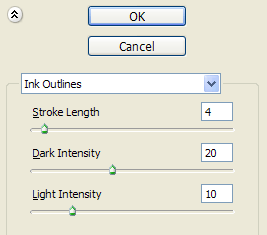
You can try different setting to achieve an effect similar to this:
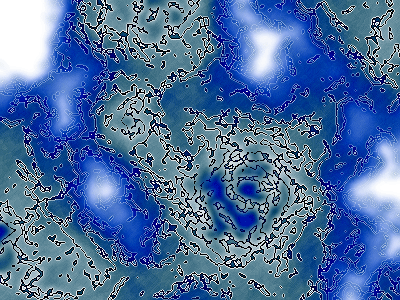
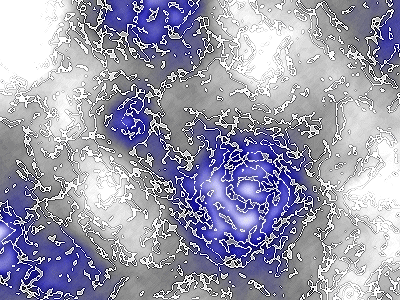
7. Go to Filter > Artistic > Neon Glow. I have used a blue color # 0500ff and these settings:
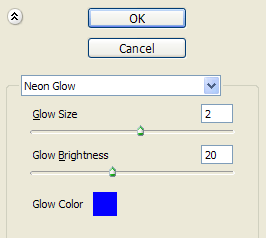
The result is:
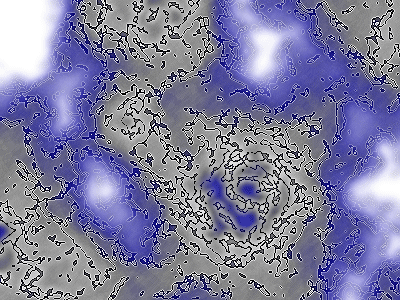
8. Repeat again the step 7) :
9. Now go to Image > Adjustments > Color Balance and change the Shadows settings to:
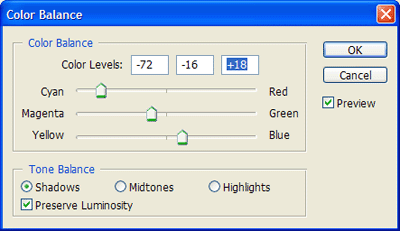
The final result is: