
Open a new file, that would have 450x470 px and 300dpi.
Take the next instrument
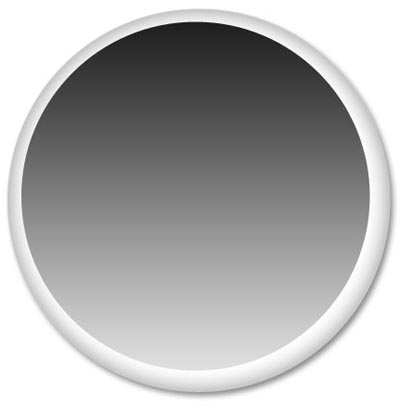
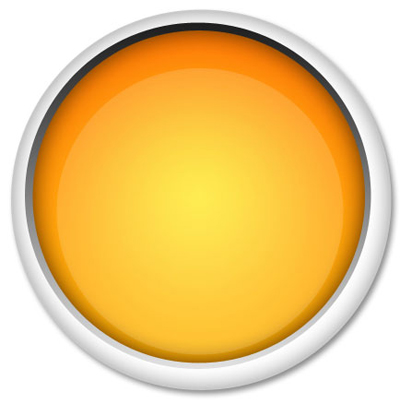
![]() and try to represent a circle like that one indicated next picture.
and try to represent a circle like that one indicated next picture.
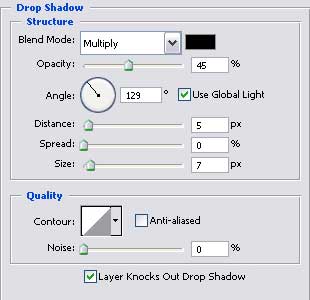
Blending Options-Drop Shadow
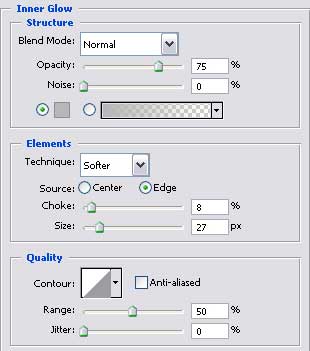
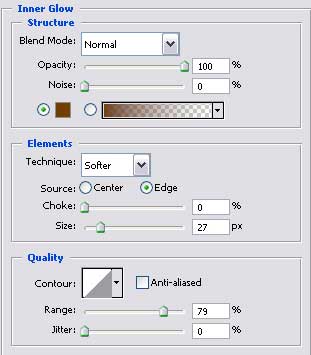
Blending Options-Inner Glow
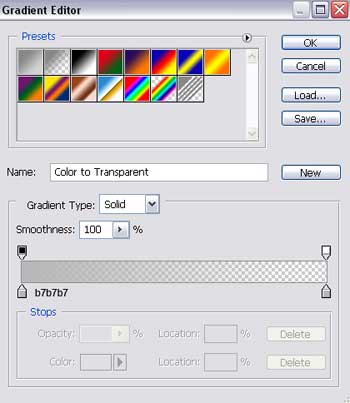
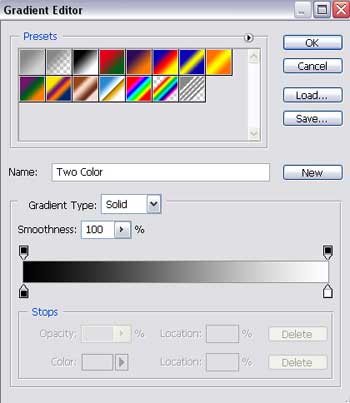
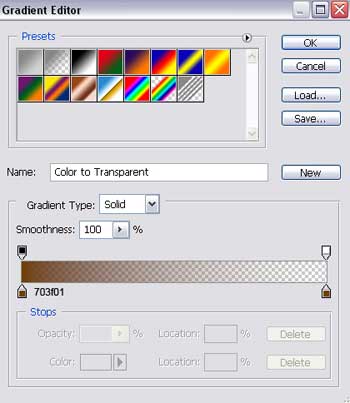
Gradient's parameters.
Copy this new made layer and apply Free Transform option to minimize it. Fill 0% on the layers and make everything look like it is demonstrated below. Keep the same parameters also.
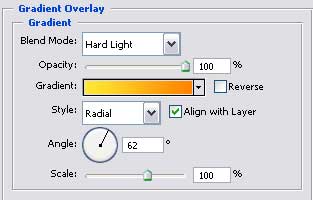
Blending Options-Gradient Overlay
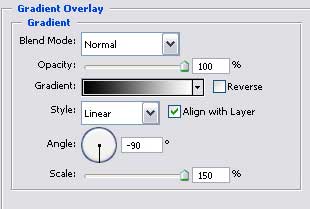
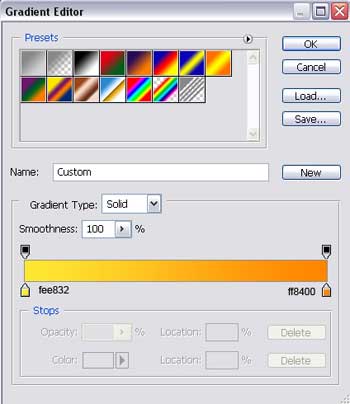
Gradient's parameters.
Apply then the next instrument
![]() and insert another circle that must have the sizes from next picture.
and insert another circle that must have the sizes from next picture.
Fill 60% on the layers.
Blending Options-Inner Glow
Gradient's parameters.
Blending Options-Gradient Overlay
Gradient's parameters.
Using the previous instrument, it's possible to picture another circle of white color. Fill 15% on the layers.
Take the last instrument to represent an ellipse of white color. Fill 8% on the layers.

Apply now a different instrument
![]() to draw an element colored in AC3E03 with the parameters from the next picture.
to draw an element colored in AC3E03 with the parameters from the next picture.
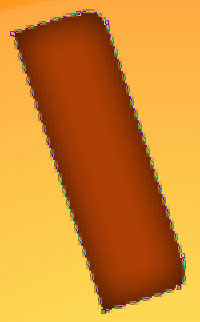

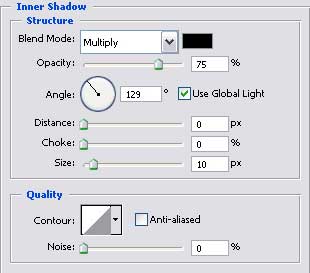
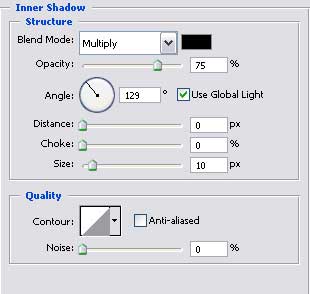
Blending Options-Inner Shadow
Copy this new represented layer and place it out the same way it is indicated below.

Apply the previous instrument
 and represent an element colored in AC3E03 with the sizes shown next step.
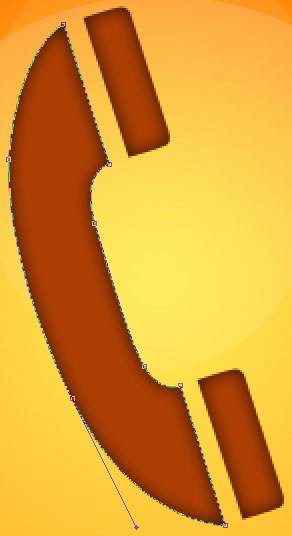
Blending Options-Inner Shadow

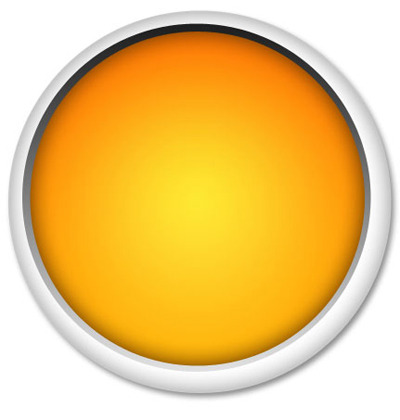
The final result is this one!