


Step 1.
So start a new document that is: 4 x 4 with a transparent background:
Step 2.
Hold down the Ctrl + and press the + (plus) key repeatedly to zoom very close:

Get out your pencil tool (
![]() ), and set it up like so:
), and set it up like so:

Step 3.
Set your foreground color to black (#000000) and draw two dots in the top righthand corner of the canvas like so:

Step 4.
Next set your foreground color to #B7B7B7 and draw two dots in the top lefthand corner of the canvas like so:

Step 5.
Set your foreground color to: #2E2E2E and draw these dots:

Now continue to do this until you've matched this:
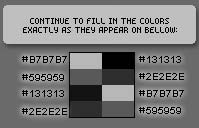
Colors used are (from the top to bottom): #B7B7B7, #131313, #595959, #2E2E2E, #131313, #B7B7B7, #2E2E2E, #595959
Step 6.
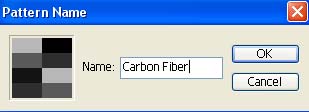
Now go to "Edit->Define Pattern"

Name this pattern "Carbon Fiber"
You are done with this document, you may close it. (there is no need to save it either)
Step 7.
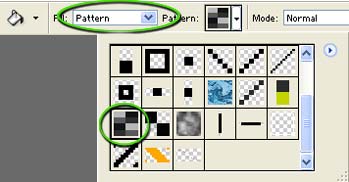
Now you're set. Whenever you'd like to use your carbon fiber pattern simply set your paint bucket (flood fill bucket) to pattern, and choose the carbon fiber patter we've just made:
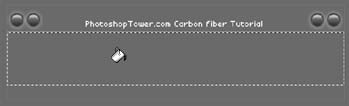
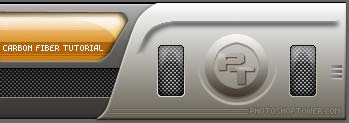
The carbon fiber texture works great with tech layouts and interfaces:
Thanks for reading, and I hope you enjoyed learning this technique!