

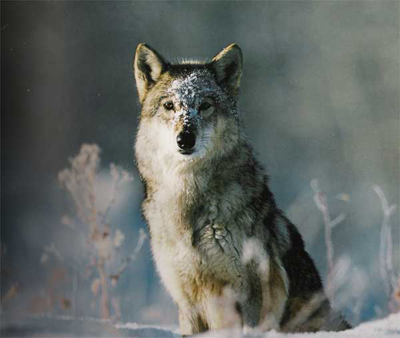
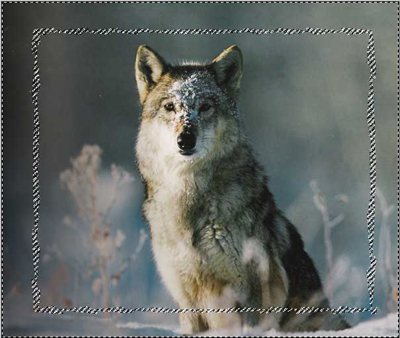
I'm going to show you how to use quick masks to make funky borders. here's the picture I'm using to start off with -
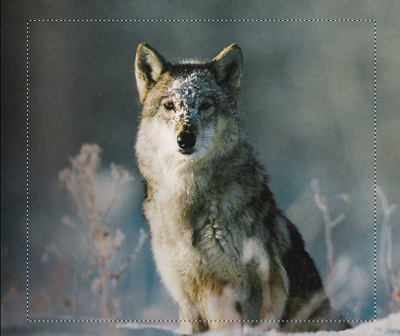
Then Select a bit to crop away. The bit outside will be where the border effect will happen.
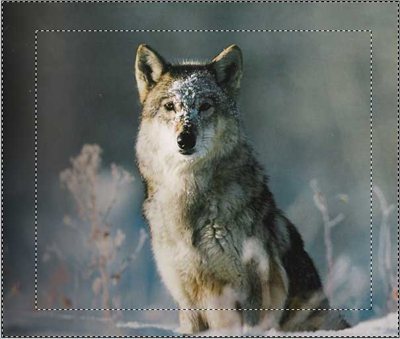
Press ctrl+shift+I to inverse the selection.
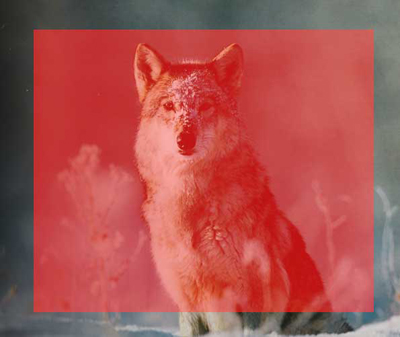
Then press Q. The area of the image you want to keep should turn red.
From this point.. you really just need to experiment with different filters. I did a radial blur for the following example. After you apply the effect press "Q" to turn the quick mask into a selection.
Delete the selection. This is what I got -

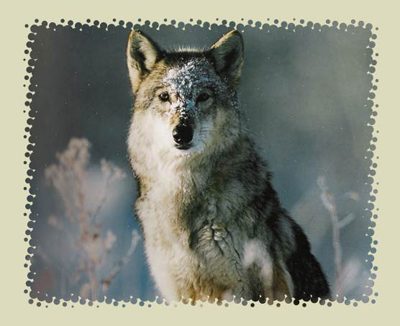
And well... you've got a nicer border than the usual 1 px one. Experiment with the different filters you can apply to the quick mask. Here's another result I got after using the halftone filter -
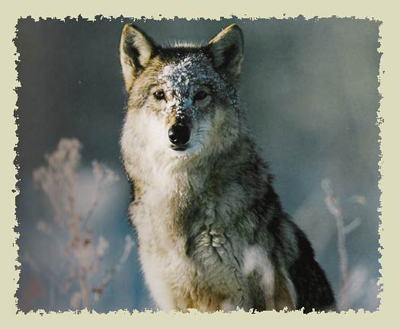
Here's one after using a different filter (I forgot which one)
Hope you learnt a bit more about using quick masks. Register and leave a comment if you have any questions or improvements.