1. New Document (500x500 Pixels)
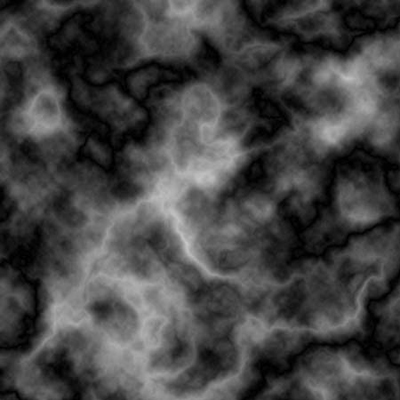
2. Now go "Filter > Render > Clouds"
3. "Filter > Render > Difference Clouds" press "Ctrl+F" to repeat the effect, until you get something that resembles the picture below.
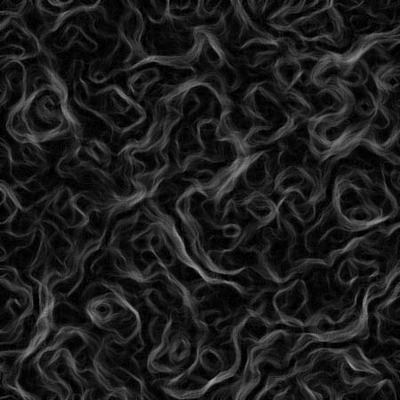
4. Now go "Filter > Stylize > Glowing Edges" and use the settings below:
Edge Width: 1
Edge Brightness: 20
Smoothness: 15
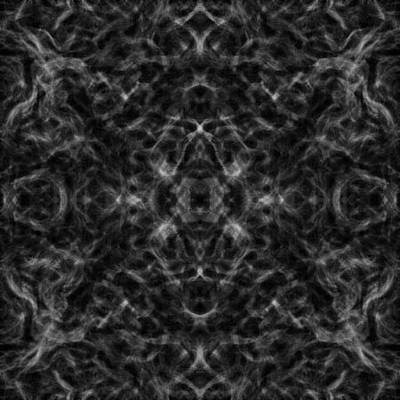
5. Now Duplicate the layer. (Layer > Duplicate Layer)
6. Now on the top layer, go "Edit > Transform > Flip Horizontal" and set the layers blending mode to "Screen"

7. Now press "Ctrl+E" to merge the two layers together.
8. Now Duplicate the layer again. (Layer > Duplicate Layer)
9. Now select the top layer and, go "Edit > transform > Flip Vertical" and set the blending mode to "Hard Light"
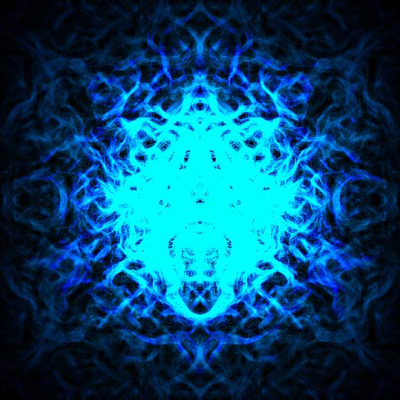
10. Now go, "Filter > Render > Lighting Effects" and use these settings:
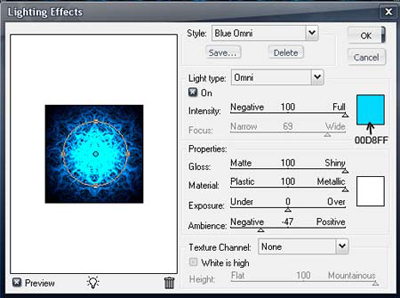
Should look something like this:
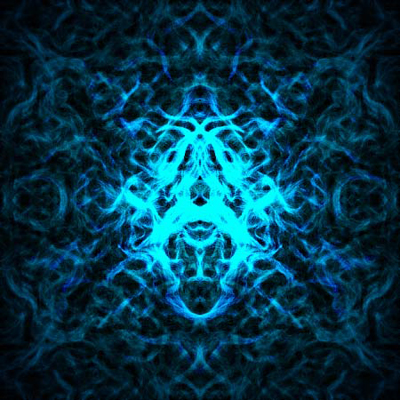
That's just about finished, however if you want it to be a little more deeper, simple press "Ctrl + F" to repeat the effect again. It would then look something like this: