1. New file, goto the scroll menu and select flash, or make it 550x400
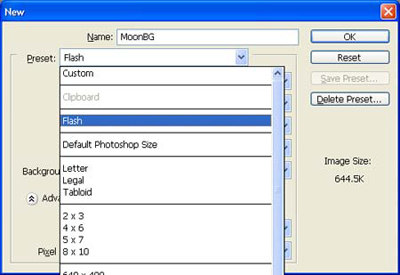
2. Press "D" to go back to default colors, fill layer with white (ctrl+Backspace)
3. Time to add a moon, goto Filter, Render, Lighting effects, and use something around these settings.

4. You need to get darker colors for you clouds, I used #898988 and #4b4b4b
5. Make a new layer, then goto Filters, Render, Clouds. (Ctrl+F if you don't like the outcome)
6. Now just goto the Hue/Saturation.
Use something around these settings:
Hue:216
Saturation:19
Lightness:+20
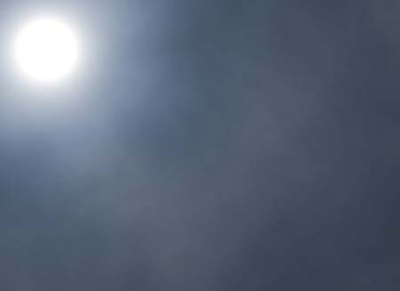
7. Now set the Blending Mode to Overlay
Now it should look something like this:
8. Now make a new layer, set your colors back to default (press "D"), and fill the layer with black, Alt+Backspace.
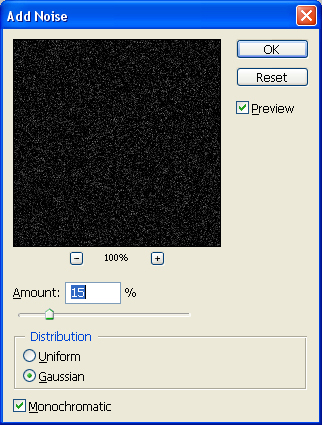
9. Stars now, goto Filters, Noise, Add Noise. Check Gaussian, and Monochromatic and use about 14-16.
10. Set the blending mode on the Noise layer to Soft Light and then your done.
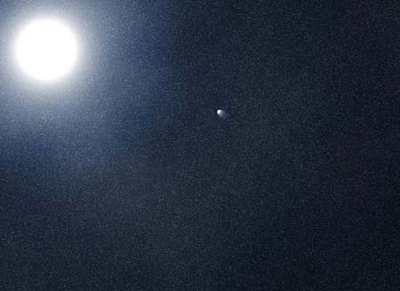
Myne turned out:

And for added effect add another layer with a "Spotlight" Light effect, and play around with the blending mode and order of layers for a shooting star.
And with the shooting star: