


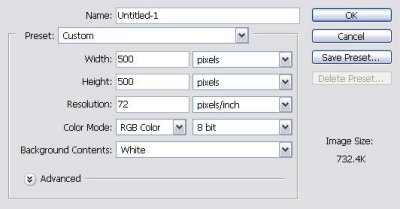
1. Open a new document (any size you like) and fill it with a black background.
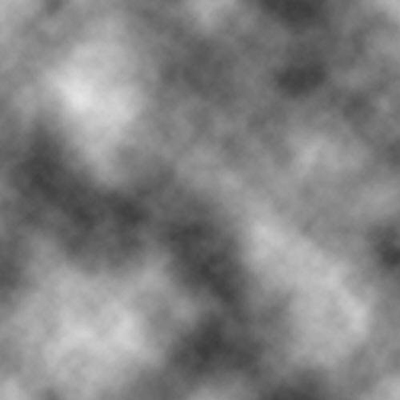
2. Go to Filter -> Clouds.
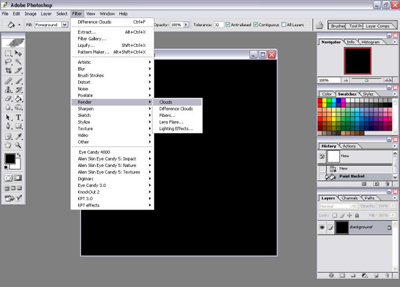
3. Press <Control+F> twice to apply the Clouds filter two more times.
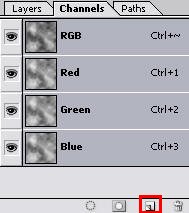
4. Go to Channels Tab.
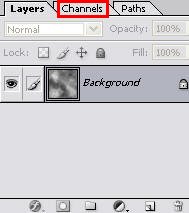
5. Click Create New Channel.
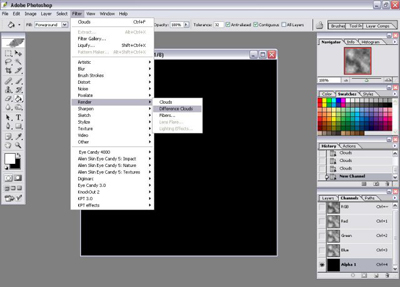
6. Go to Filter -> Different Clouds.
7. Press <Control+F> twice to apply the Different Clouds filter two more times.
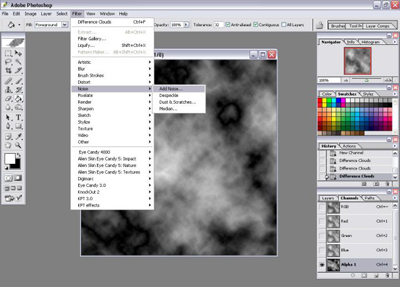
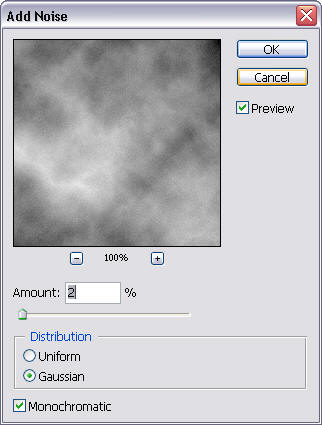
8. Go to Filter -> Noise -> Add Noise (Set it to 2, Gaussian, Monochromatic).
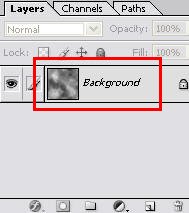
9. Go to Layers Tab, click the Background.
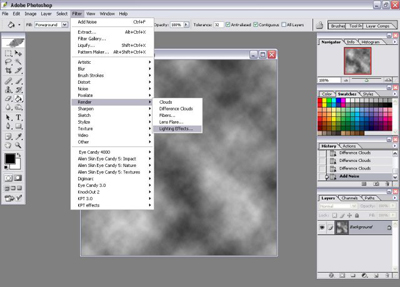
10. Go to Filter -> Render -> Lighting Effects.
11. Choose 'Alpha 1' as Texture Channel.
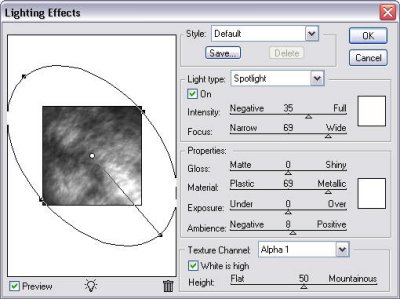
12. Make your setting similar to mine.
13. Click OK to continue.
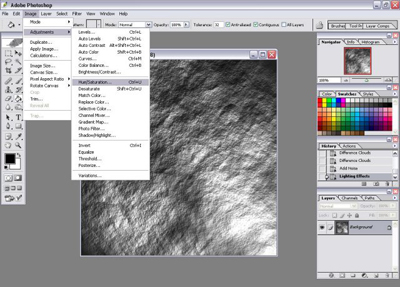
14. Go to Images -> Adjustment -> Hue/Saturation.
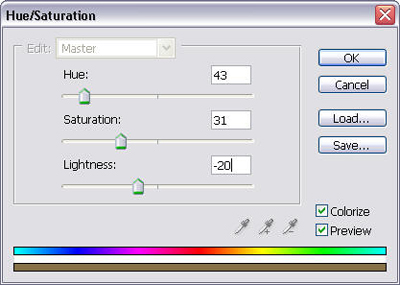
15. Click 'Colorize' and Set Hue 43, Saturation 31, Lightness -20.
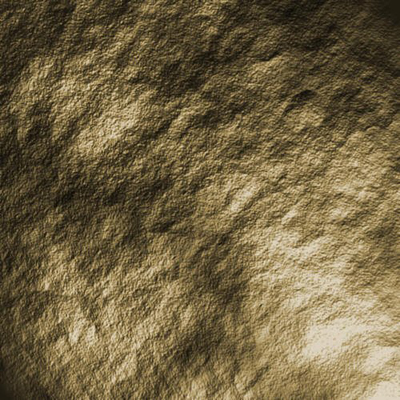
The Texture is done. Experiment with different colors and brightness settings.