Here you are going to learn to make an image which can be used as a navigation item on a website Page. You can put different text in the image like home, products, contact us etc. I have designed the image by first creating a wood texture so this image can really find use by some woodworking enthusiast who wants to design a woodworking site. so you may asked what is new in this tutorial. well I have used texturizer and Brush Stroke type Angled Stroke to make sort of wood grains or a wood plank.
1. First of all open a new document. Use size 300 pixel by 300 pixel at 72 pixels/inch.
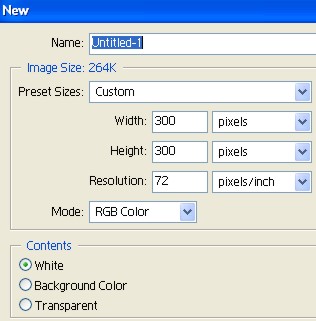
2. Fill it with the color code #6BB970. This should be the color of the rest of the website ground.

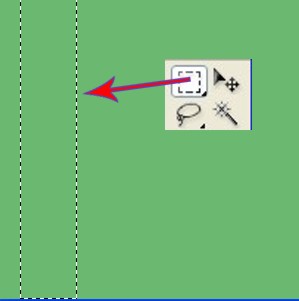
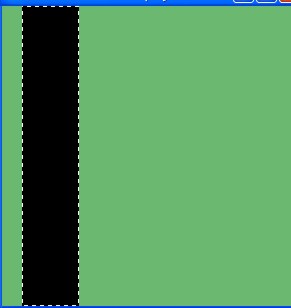
3. Draw a shape with the Rectangular Marquee Tool, as shown below.
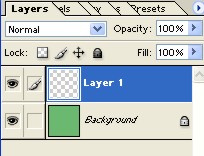
4. Select New Layer1.
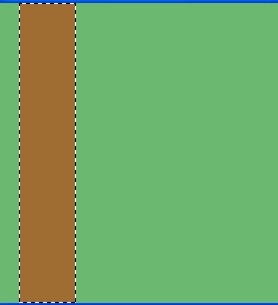
5. Fill it with the color code #9F6D32, and Deselect Ctrl +D. Now what we have is a post or a bar. you will see what I mean very soon.
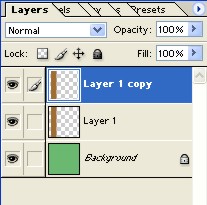
6. Now to make a copy of the Layer1 Press Ctrl+J.
7. Fill it with Black color, and then Deselect Ctrl+ D.
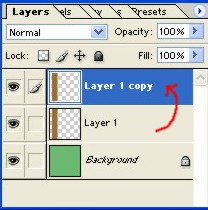
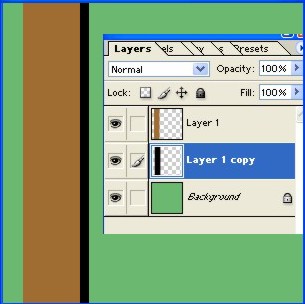
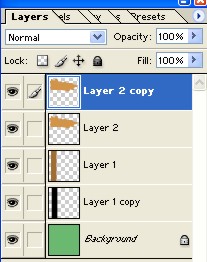
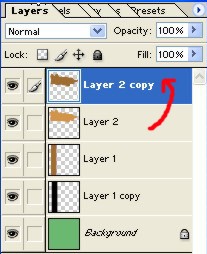
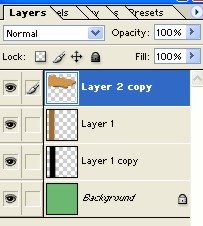
8. Now Drag the Layer1 and put it on the copy of Layer1.
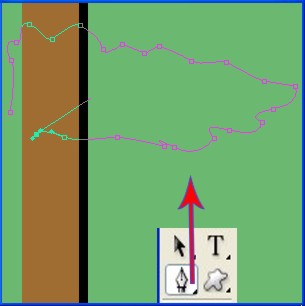
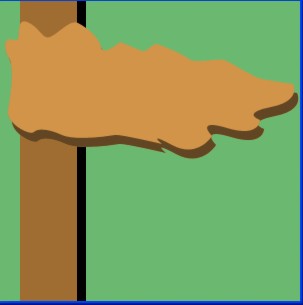
9. Here with the Pen Tool draw a New shape, as you can see in the Image below. The shape is like a flag.
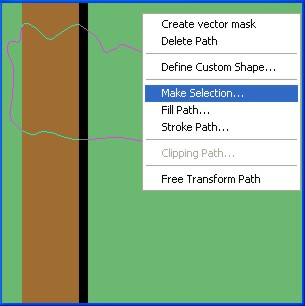
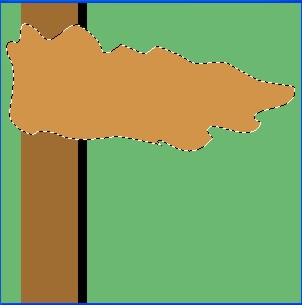
10. Now Right click > select Make Selection > select Feather 0.2 in make selection> click ok.
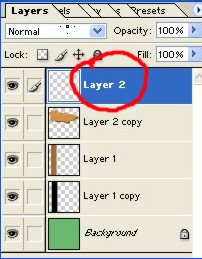
11. Now select the Layer2.
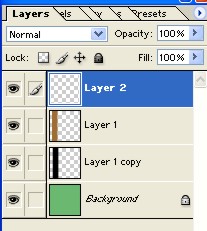
12. Fill the Layer with the color code # DFA458, and then Deselect.
Now press Ctrl+J to make a copy of the Layer2.
14. Click on the copy of Layer2 while pressing Ctrl and fill the color code #845520 and Deselect. So this way we just created a thick flag sort of shape and you see more in next steps.

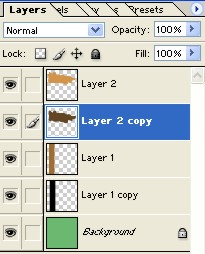
15. Now here drag the Layer2 and put it on the Layer2 copy.
16. Now select Filter > select Texture > select Texturizer.
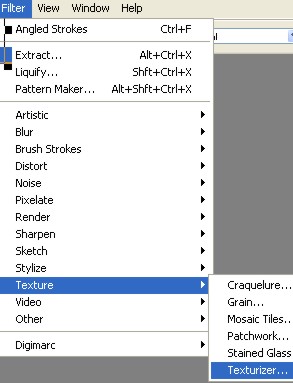
17. In the Texturizer adjust Texture, Scaling, Relief, Light Direction according to the Image below.
Use Texture = canvas
Scaling = 85%, Tip try scaling at 10-20% and see the difference.
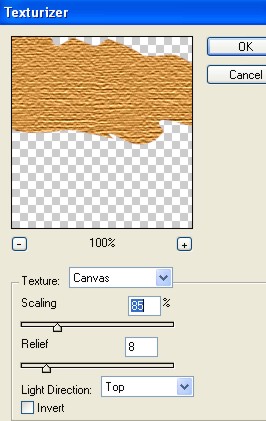
18. Now here our Image will look like this.
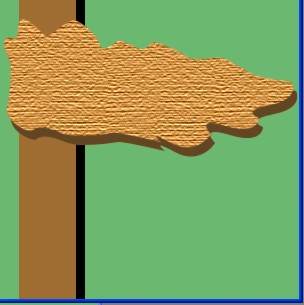
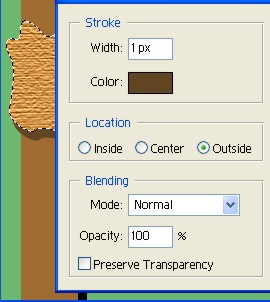
19. Now select Layer2 and then select Rectangular Marquee Tool. Right click select Stroke.
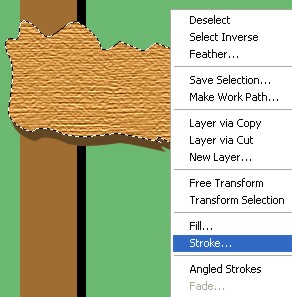
20. Select Stroke, Location and blending as shown in the dialog box below. click ok when done.
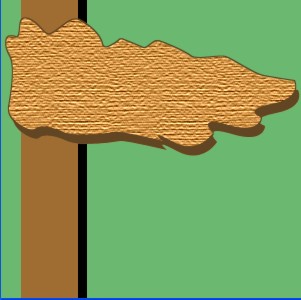
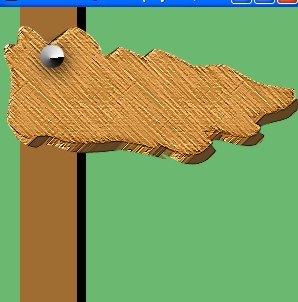
21. Now the Image will look like this.
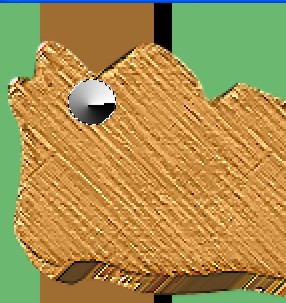
22. Select Layer2 and then Press Ctrl+E.
23. Now here Select Filter and select Brush Stroke. Use Angled Stroke as shown below.
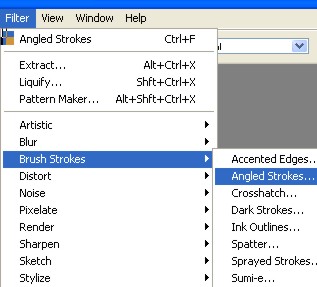
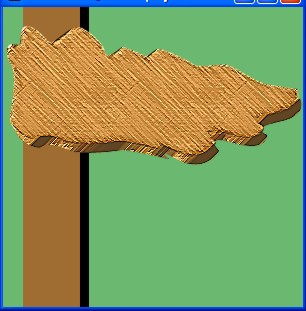
24. Now the Image will look like this.
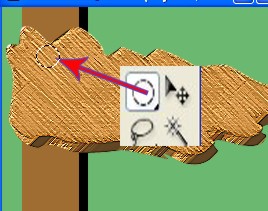
25. With the Elliptical Marquee Tool Draw a Ellipse as shown below. I am actually drawing a nail head in this step of photoshop tutorials.
26. Now select New Layer as you can see in the red circle below.
27. Now select Gradient Tool and in the Gradient Tool click on the Place as you can see in the red circle below.
![]()
28. From here select the color and press ok.

29. Fill the color with the Gradient Tool and then Deselect.
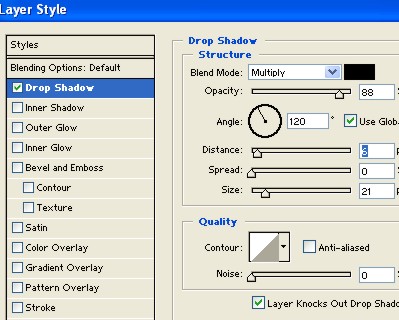
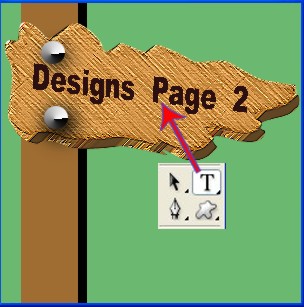
30. Now Double click on the Layer2 and select Drop Shadow. Here adjust structure and Quality according to the Image below, click ok.
31. Now the Image will look like this.
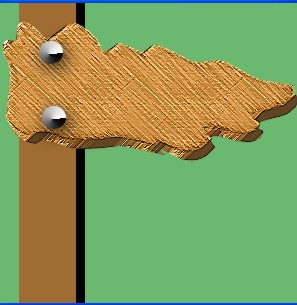
32. Press Ctrl+J and with the Move Tool slide the created circle and put it on the other end. That way we just put 2 nails in the wood plank.
33. With the Text Tool Type some text as per your project need.
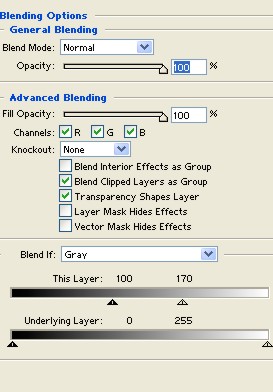
34. Now Double click on the Text Layer and then in the Blending Option adjust ans select General Blending and Advance Blending according to the Image below.
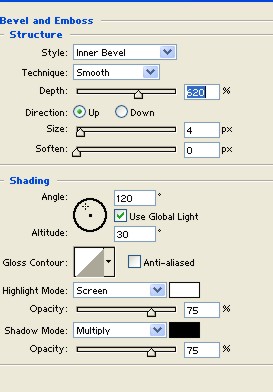
35. Now select Bevel and Emboss and adjust and select Structure and Shading according to the Image below.
36. Now here select Outer Glow and then adjust and select Structure and Elements according to the Image below.

37. Final Image.