


We create a new background with the dimensions of 500x400, 72 dpi and paint it with the color having a code shown with white color.
Then on the new background, using the Ellipse Tool
![]() , create a nice circle:
, create a nice circle:
Keep using the same Ellipse Tool
![]() on the new backgrounds, create more circles of the same colour
on the new backgrounds, create more circles of the same colour
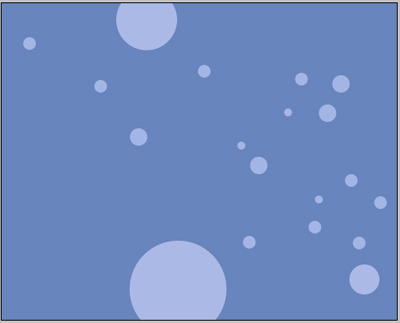
…and several other circles:
Using the well-known instrument
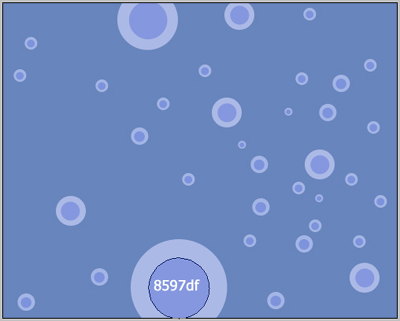
![]() inside the circles we have already, create circles of smaller dimensions but with a different colour (the code is shown with the white colour):
inside the circles we have already, create circles of smaller dimensions but with a different colour (the code is shown with the white colour):
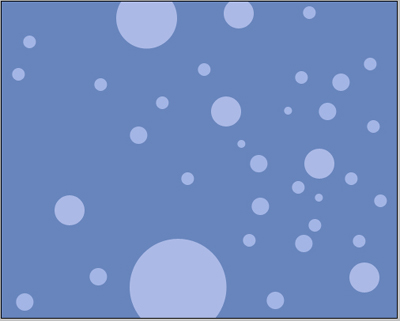
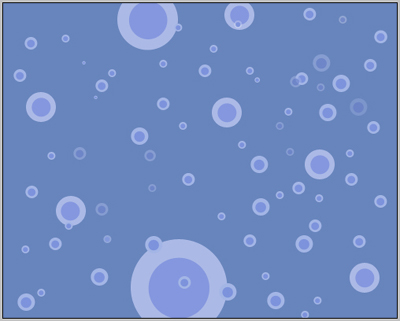
We keep create new circles using the same methods:
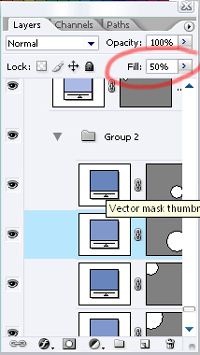
Each circle must be created in it's own background, some of them of different shades. We'll use for this the option (fill):
Add more:
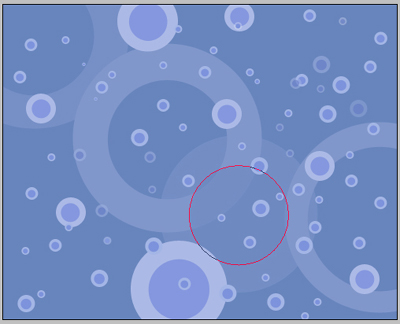
…and finally we got a space picture (the instrument
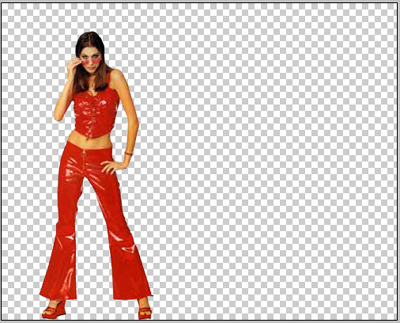
![]() , is shown with the red colour) Then we'll take the girl's photo and cut out the background using the instrument
, is shown with the red colour) Then we'll take the girl's photo and cut out the background using the instrument
![]() .
.
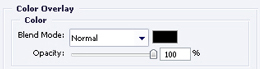
On this file, pressing the right button of the mouse choose the Blending options. Choose Colour Overlay and set out the black colour.
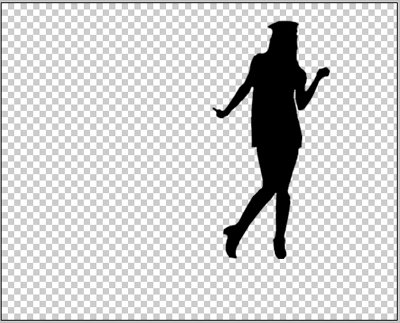
The girl became a silhouette.

We'll add another girl:
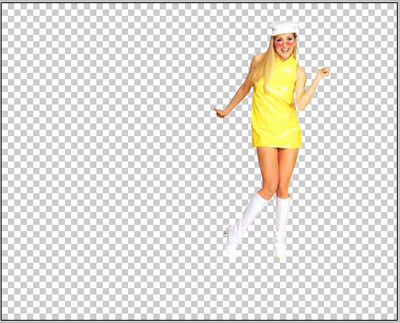
Using the same methods for the previous girl. We should mention that the first girl and the second one are cut out and placed considering their future position in the picture. (a silhouette must not cover the other one).
If you did everything correctly you should have got this:
