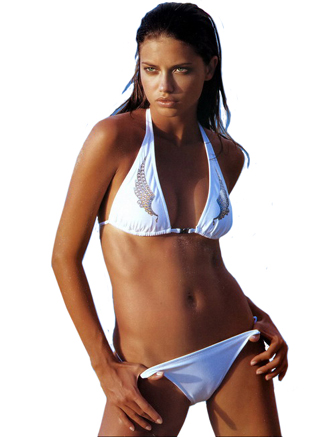
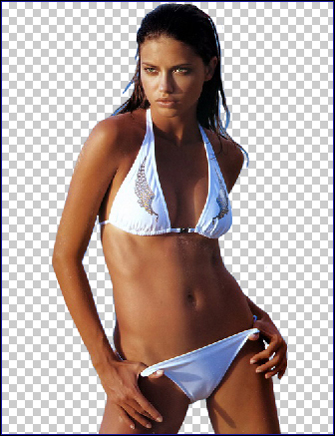
Begin with the fact that the dimensions of this new file will be 500x400 and a resolution of 72dpi. Now we'll take the girl's photo and cut out the background, using the instrument (Eraser tool).
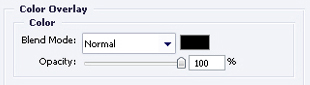
Now in this file, with a click on the right button of the mouse choose Blending options. Choose Color Overlay and set out the black color. Now the girl became a silhouette.
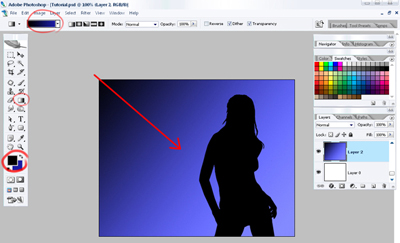
We'll transfer her in our new file, which we created at the beginning.

Choose the instrument Gradient tool and set out the colors, a dark-blue (Code 03030c) and alight-blue (code 1b1ca3). Then looking for the red pointer in the picture we'll paint another background, which will be placed under the girl's background.
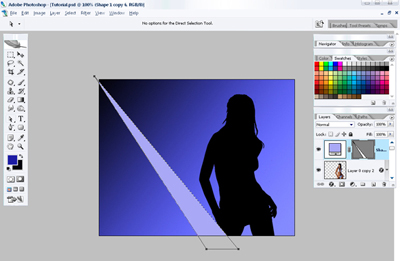
Now we have to create the rays. Using the instrument Point tool we'll set out 3 points, like it is done in the picture. Color code (a8a8f6). This ray will be situated above the girl.
The same way we'll do the rest of the rays. The rays' colors you may use from the picture.

Now it's time to create the girl's highlight. You should make it this way. We'll double the girl's background and give to the duplicate a color (code c6c6f7) and place it under the original one, move it to the left about a couple of millimeters. Now on this background we'll create another one - a mask - background, like in the picture. Then we'll chose the mask - background and using the black - color brush, we'll delete the right side of the girl's highlight. Like in the picture.
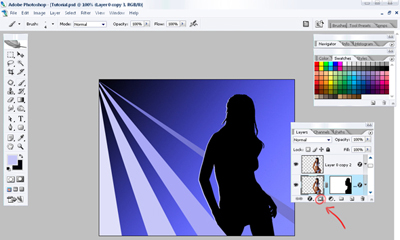
We'll set out more rays and that's what we got.

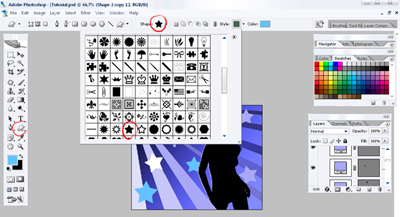
If you wish you may add more stars, using the instrument (Custom shape).
The final result: