

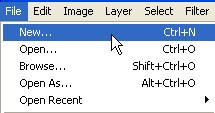
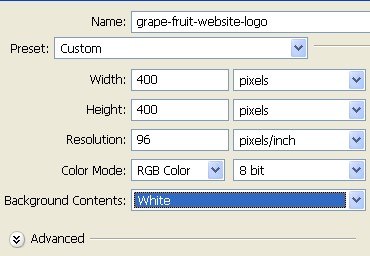
1. First of all to open a new Document. Go to Menu, select File > new and then a new document will appear. In the new Document type the name of the document and then specify the size width = 400 pixel, height = 400 pixel and resolution = 96 pixel/inch. You can do it with the file new > then press Ctrl+N.
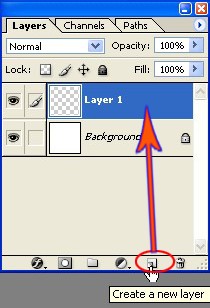
2. Now create a new Layer1, to create a new layer click on the icon that is shown with the hand sign in the Layer window or press Shift+Ctrl+N.
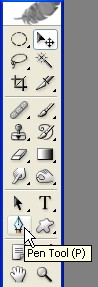
3. Select Pen Tool from the Toolbar which is shown with the arrow.
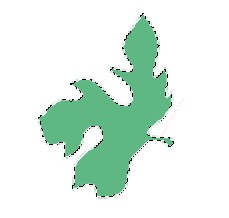
4. Create a new shape using pen tool.

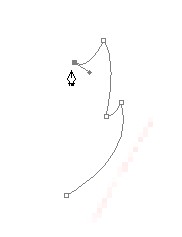

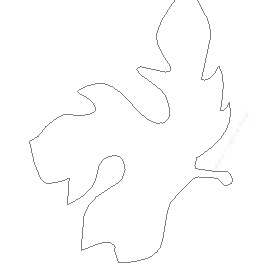
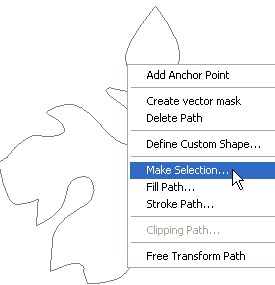
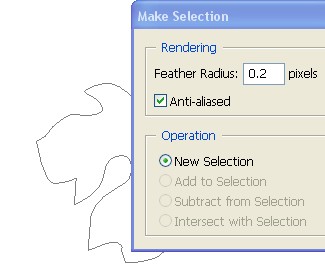
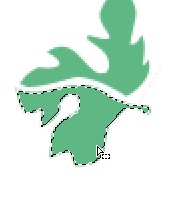
5. Right click the leaves and Make selection. use Feather- 0.2px and press ok.

6. click on foreground color as shown with the arrow.
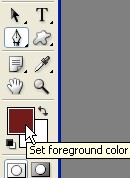
7. choose color code # 5FB784.
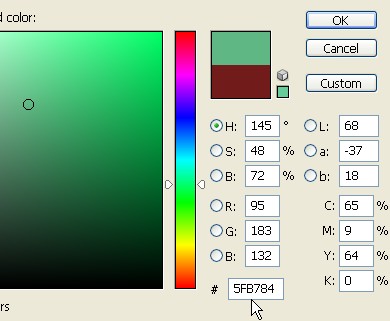
8. Use Alt+Backspace to fill the color fill . Ctrl+D to deselect.
9. Pen tool to create a vein in the leaf.


10. Select Magic Wand and choose Contiguous and Use All Layers as shown below.
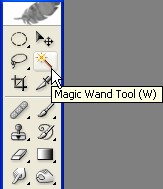
![]()
11. Use Magic wand tool and click the lower part of the leaf to make a selection.

12. Press Alt+Backspace to fill color code # 98CFAF .

13. Draw some more vines as shown below using pen.


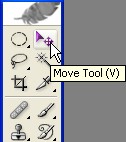
14. Select Move tool.
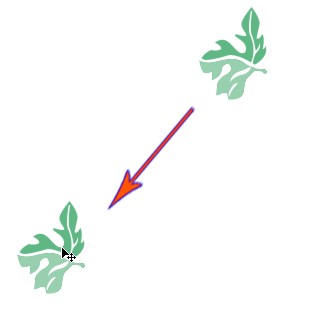
15. Press ctrl J to make a copy and then use move tool to space the leaves apart.
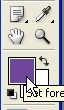
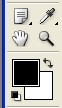
16. Set foreground color # 764D9E .
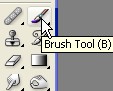
17. Select Brush tool.
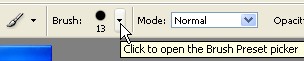
18. Use brush preset picker.
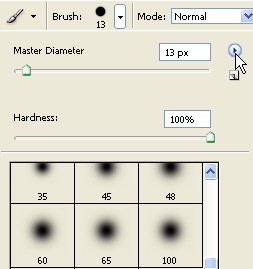
19. Click on arrow.
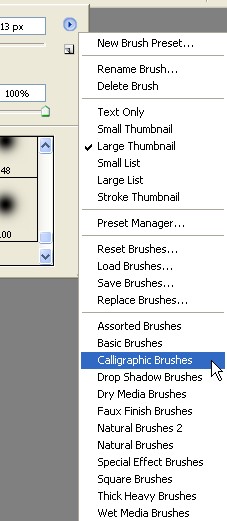
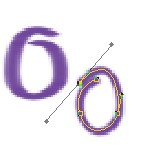
20. I am going to use Calligraphic Brushes here, so follow me please.
21. Select Oval60 px Brush. See selection below.

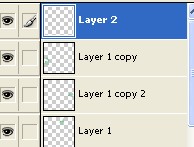
22. Now to create a new layer.
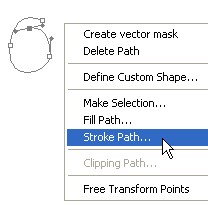
23. make a new shape as shown and use stroke path.
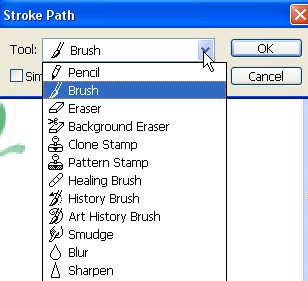
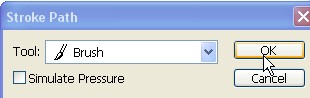
24. choose brush in Stroke Path as shown and press ok.
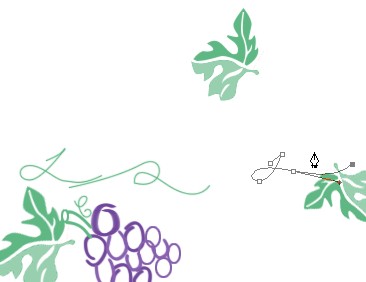
25. Draw some grapes using pen.


26. Using stroke path create some more grapes

27. Set Foreground color #5FB784.

28. Design or make some curly things for grapevine leaves.
29. Press D key to set foreground color which is black.
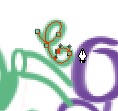
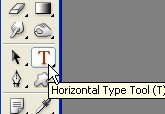
30. Select Type tool.
31. type some words here

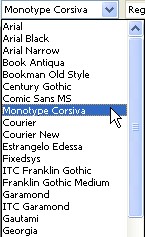
32. Set the Font Monotype Corsiva .
33. This is our final grape website logo image or icon.
