Blending Options-Pattern Overlay
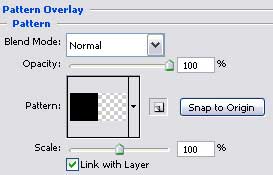
We should represent the flare on the lamp's light filter now, the way we have represented it on the primary layer.
Fill 0% on the layers.
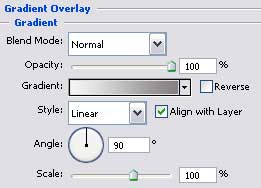
Blending Options-Gradient Overlay
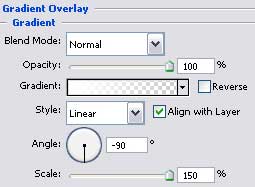
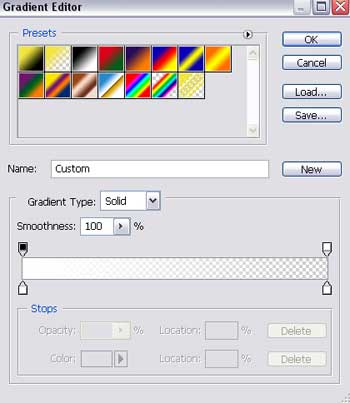
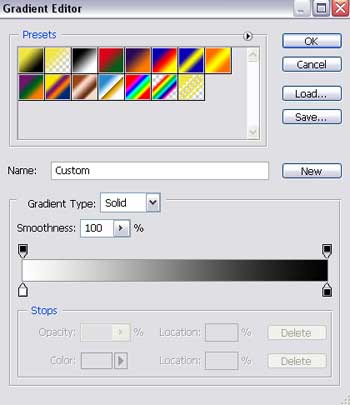
Gradient's parameters:
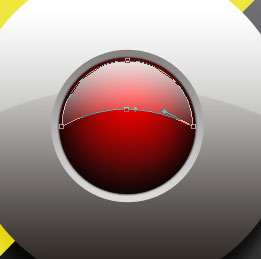
Represent now a deeping under the screw supporting the lamp's cover, applying the Ellipse Tool (U).

Fill 0% on the layers.
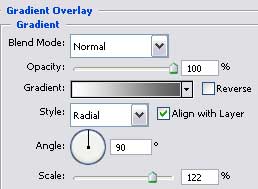
Blending Options-Gradient Overlay
Gradient's parameters:

Selecting the previous instrument, try to draw the screw's head.

Fill 0% on the layers.
Blending Options-Outer Glow
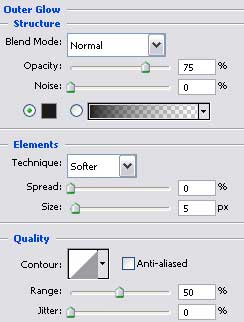
Blending Options-Gradient Overlay
Gradient's parameters:

Select now the Rounded Rectangle Tool to create a kind of trench on the screw's head.


Blending Options-Gradient Overlay
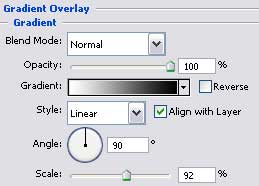
Gradient's parameters:
Merge down in a group now all the layers composing the screw. Make two copies of the new made group and place them the same way it is shown on the next picture.

Click to enlarge
Finished!