


Create a new layer having 1024x768 px and 72 dpi. Select now the Rectangle Tool (U) to represent the background for the picture to be next.

Blending Options-Gradient Overlay
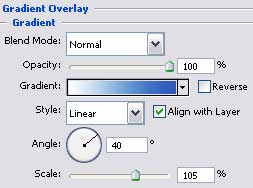
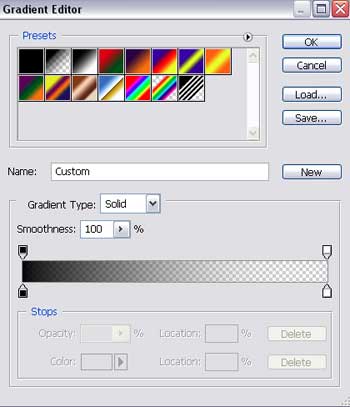
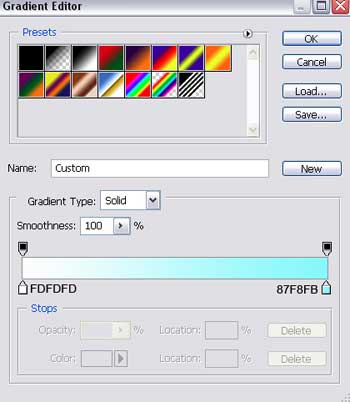
Gradient's parameters:
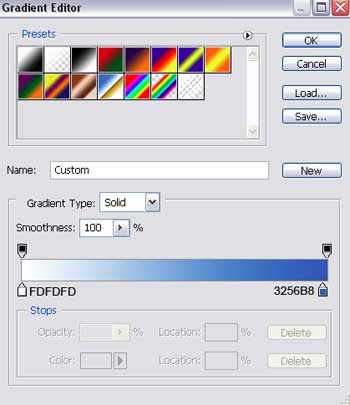
The new layer must be painted in white color by using the Paint Bucket Tool (G). Click after that on the next option on this layer:
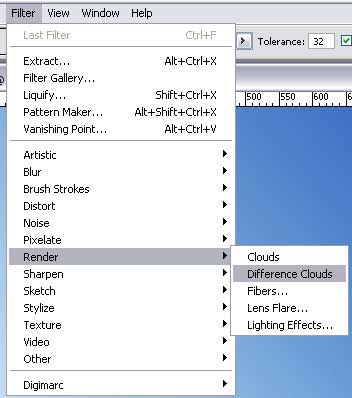
Press three times on Ctrl+F. Press on the Add a Mask on the layers, Fill 50%, Blending Mode - Soft Light. The Gradient Tool will be helpful to dark out the lowest part of the picture.

Choose the Brush Tool (B) and represent the grass on a new layer (press the right button on the picture and select
![]() )
)
Select two colors for the brush: CCDC4A and 7FB51B from the left panel, the way it is demonstrated in the next picture. Applying smooth motions, we have to represent the hills covered with the grass.


Blending Options-Gradient Overlay
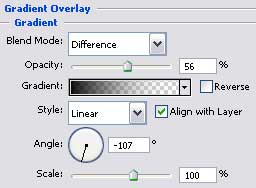
Gradient's parameters:
Applying the previous instrument (the brush
 ) represent now the train made of butterflies.

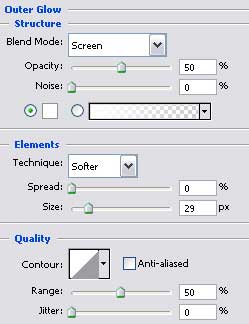
Blending Options-Outer Glow
Blending Options-Gradient Overlay
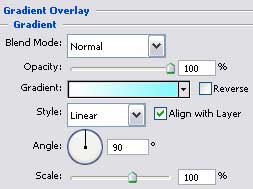
Gradient's parameters:
The Ellipse Tool (U) will help us to draw the sun.
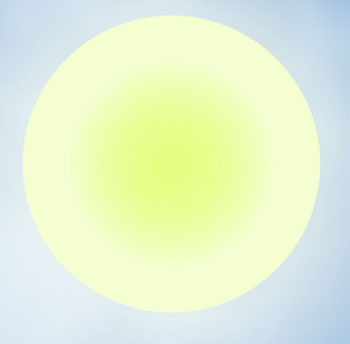
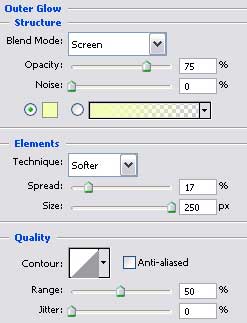
Blending Options-Outer Glow
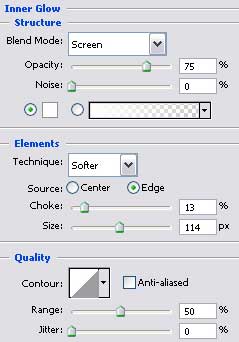
Blending Options-Inner Glow
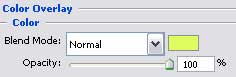
Blending Options-Color Overlay
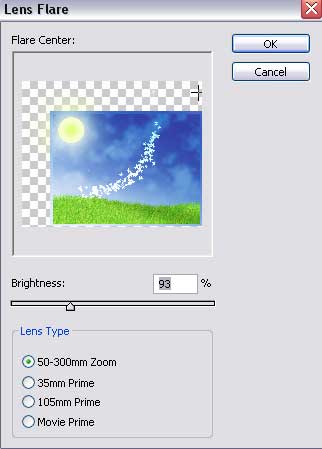
Apply on this layer also the next selection: Filter>Render>Lens Flare
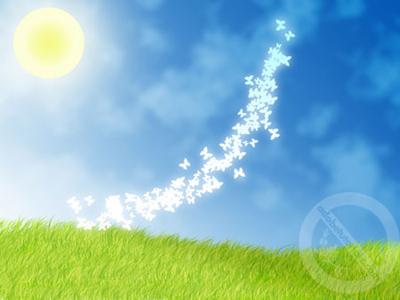
Finally the picture is ready!