

Open a new file that would have 1280x800 px and 72 dpi. Select then the Rectangle Tool (U) and represent the background of the picture to be next.

Fill 0% on the layers.
Blending Options-Gradient Overlay
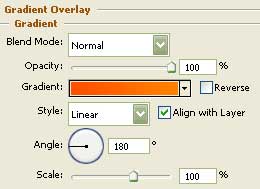
Gradient's parameters:
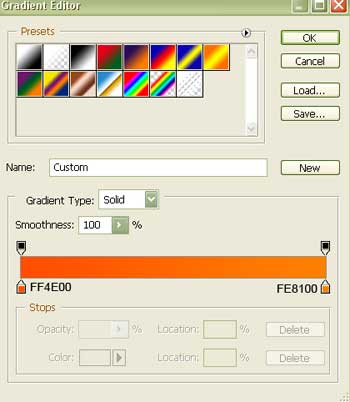
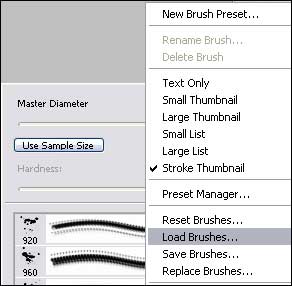
Download now from www.deviantart.com a set of brushes "evil_bloodsplat" for Adobe Photoshop. Place them on: Program FilesAdobeAdobe Photoshop CS2 PresetsBrushes.
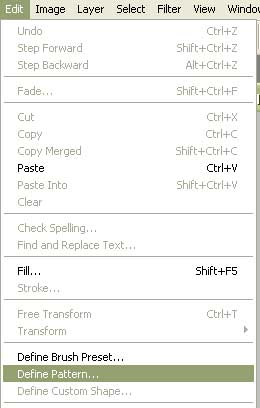
Load them and select the Brush Tool (B). Now we have to click with the right mouse's button on the picture. Clicking on the right button, choose then:
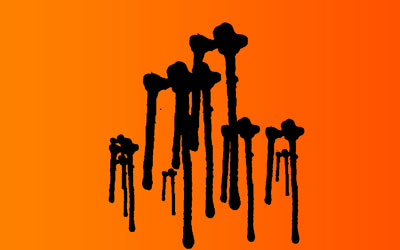
Each time on a new layer we'll use a corresponding brush of black color:
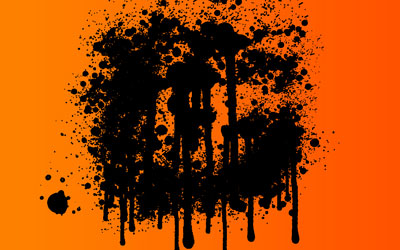
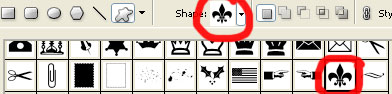
Select now the Custom Shape Tool (U) and choose from the table shown next the necessary cliche:
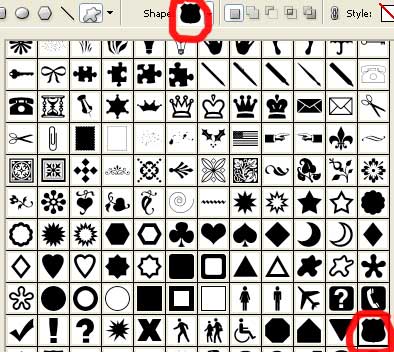
And represent an Sign of black color, like that one shown below:


Make a copy of this new layer and apply the Free Transform selection to make it a little smaller and change the Sign's color on white one:

Create a new document of 50x50 px and 72 dpi. Choose the Brush Tool (B) and the next color FFA400 to create an element like this one demonstrated below:
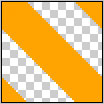
Save it!
Make a copy now of the white indicator's layer and apply again the Free Transform option to make the copy smaller and change its parameters:

Blending Options-Gradient Overlay
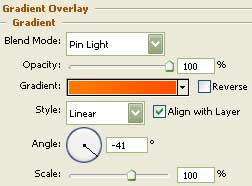
Gradient's parameters:

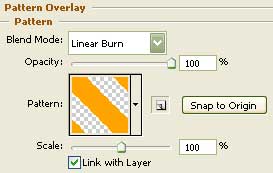
Blending Options-Pattern Overlay
Use the appropriate brush loaded earlier on a new layer.

The same Custom Shape Tool (U) will be helpful in selecting another cliche from the already known table:
Represent an Sign of black color with demonstrated below parameters:
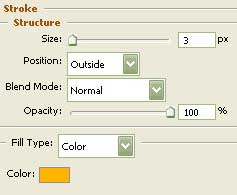
Blending Options-Stroke

The picture is finished!