


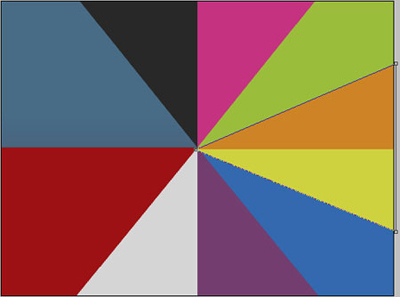
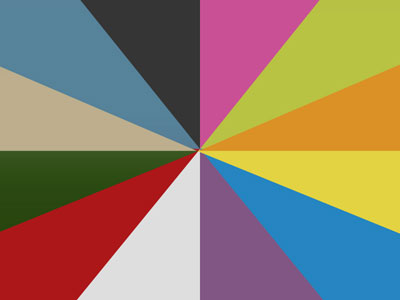
Open a new file with 800x600 px and 72 dpi. Apply the here shown instrument in two stages
![]() to create the primary background's layer. First we have to represent the right half and then by copying and changing the parameters we have to represent the left half.
to create the primary background's layer. First we have to represent the right half and then by copying and changing the parameters we have to represent the left half.
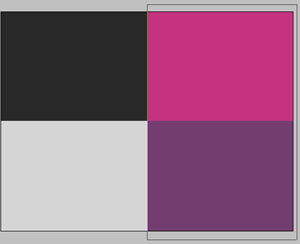
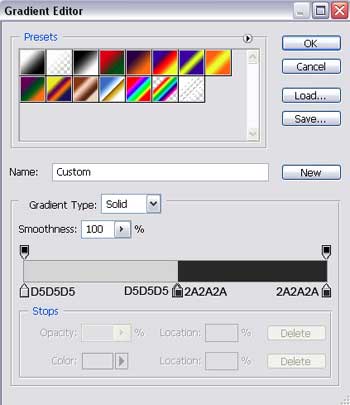
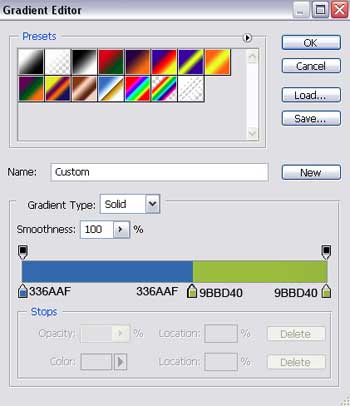
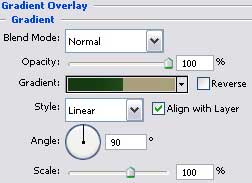
The parameters for the right half:
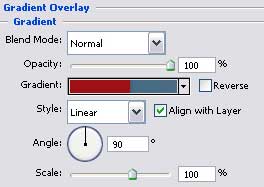
Blending Options-Gradient Overlay
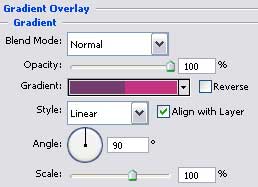
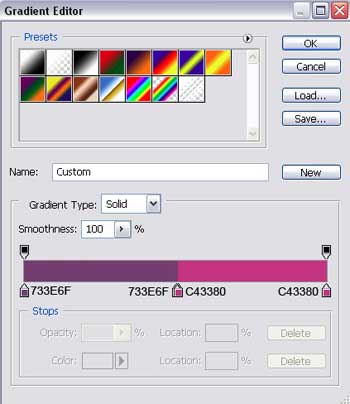
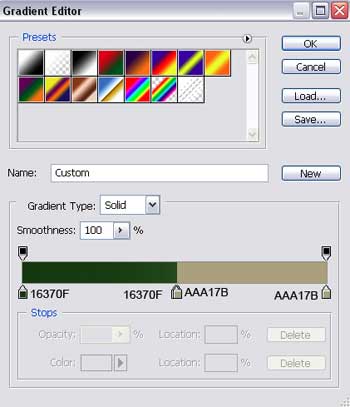
Gradient's parameters:
The parameters of the copy situated on the left side:
Blending Options-Gradient Overlay
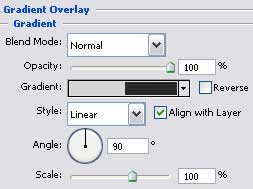
Gradient's parameters:
Take the next instrument
![]() and try to represent the next background's layer:
and try to represent the next background's layer:


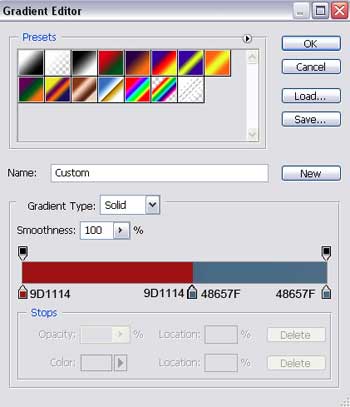
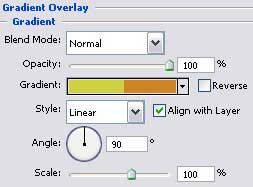
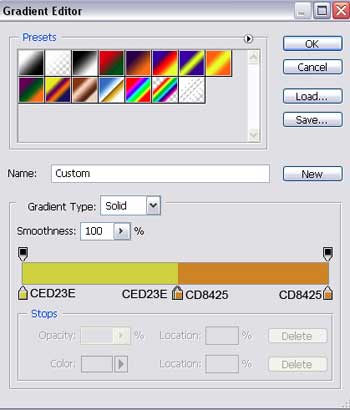
Blending Options-Gradient Overlay
Gradient's parameters:
Make a copy of the new made layer and select the Free Transform option to turn the copy around on 180 degrees. Change its parameters and place it the way it is shown below:

Blending Options-Gradient Overlay
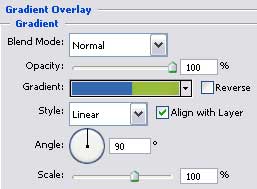
Gradient's parameters:
Selecting the last instrument, represent one more ornament's element reserved for the background of the picture to be.
Blending Options-Gradient Overlay
Gradient's parameters:
Make a copy of the new represented layer and select the Free Transform option to turn it around on 180 degrees and change its parameters:
Blending Options-Gradient Overlay
Gradient's parameters:
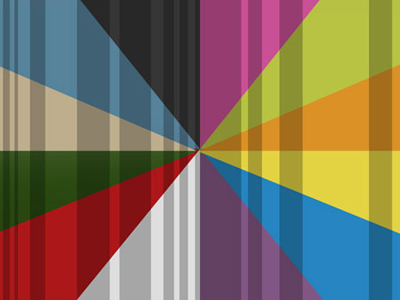
Using the next tool now
![]() , represent ten vertical rays of black color and merge them down in a group. The group must have Opacity of 25%.
, represent ten vertical rays of black color and merge them down in a group. The group must have Opacity of 25%.
Choose a different instrument now
![]() to represent a circle of white color, placed in the central part of the picture.
to represent a circle of white color, placed in the central part of the picture.